My Z4 ........................... My Way (Part 2).

I have paint. First coat applied and all can do now is wait. . . . . . .


Although another little project came by Royal Mail.

20220309_114236.webp


Tony.
 
As I said the paint arrived so the rear callipers were painted.
20220309_131228.webp

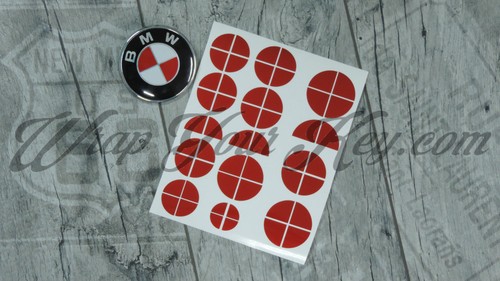
Then the Postie dropped the badge Decals through the letterbox, and as I was in waiting mode I decided to do this.
20220309_133449.webp
20220309_133502.webp
20220309_133514.webp

Just the boot lid badge left to do now.
The callipers are spending the night in our utility room to dry the paint overnight.
20220309_170213.webp

The Jury is still out re the bolt caps but until the car is back on its wheels I can't decide.
20220309_151638.webp
20220309_151702.webp

Tomorrow will hopefully see the rear callipers refitted, bled and the job done.

Tony.
 
And finally. Building up the rear carriers, a different style from the front ones.
20220310_112844.jpg

Fit the chrome shims and slider pins making sure the pins are free to slide in and out and that the rubbers are located correctly.
The pads will only go in one way. The one with the "pins" closer together is the outer pad and the one with the pins wider apart is the inner.
20220310_112852.jpg

I always fit the pads into the carrier with this type of calliper before fitting.
20220310_113739.jpg


Bolt the carrier onto the hub then using finger and thumb pinch the pads onto the disc.
20220310_115758.jpg
20220310_115816.jpg

Reconnect the hose to the calliper and refit it over the pads.
20220310_135159.jpg

On the O/S one there is the pad wear wire to connect to the inner pad. Leave the parking brake wiring disconnected until you have pumped out the brake pedal.
20220310_142137.jpg

The finished article.
20220310_142923.jpg
20220310_142931.jpg

Tomorrow I'll wash off the blusher.;)
20220310_144037.jpg
20220310_144049.jpg

Oh, got the boot badge done too.
20220310_181646.jpg


Tony.
 
Last edited:
You missed a bit! I can definitely still see some white, but I'm sure @AleNod has a spare rattle can from when he did his kettle 😜
 
Finished doing the badges today.
20220313_153419.webp
20220313_153438.webp


Tony.
 
Today was the turn of the "Smart Top" module to get fitted. To do this you want the roof half open, ie, the rear window up on the roof and the boot section tipped straight up. At this point switch off the ignition. You need to remove 3 bits of trim, all held by plastic rivets.
Then remove the cover from over the electronics in the rear corner. Disconnect the loom from the original module,
20220314_131426.jpg

and connect the new piece of loom between the module and original loom connector.
20220314_131530.webp

20220314_132249.jpg

Tuck the connector under the trim and secure the wiring with a cable tie.
The Smart Top module is connected onto the fly lead and mounted by use of a velcro pad.
20220314_132259.jpg
20220314_132535.jpg

Cover replaced for now.
20220314_132918.jpg

Still need to get the module "coded" to the car, then replace the trim in the boot.
Another little job done today, and again, it's red!!
It was black.
20220314_150918.jpg

Now.
20220314_134513.jpg
20220314_133028.jpg


Tony.
 
Another miserable wet afternoon so the under bonnet got some TLC.
20220316_155818.webp
20220316_155753.webp
20220316_155732.webp
20220316_155802.webp


Tony.
 
Another little job finished today after I received these,
20220317_142311.webp

There were bought to replace the original security bolts, so that I could fit these rest of these.
20220317_142316.webp

All done.
20220317_143516.webp
20220317_143534.webp


Tony.
 
New forum name, "Scorcerer's Apprentice".

Tony.
 
Back
Top