
You are using an out of date browser. It may not display this or other websites correctly.
You should upgrade or use an alternative browser.
You should upgrade or use an alternative browser.
Looking for a Z (Now found & Built!)
- Thread starter Aaron MacQ
- Start date


You were correct now that I've reread your posts. In my mind I got it backwards somehow, old age maybe?? With the 70mm cone going into the 80mm you will have a band of air in the tube up against the outer walls that will be low volocity as compared to the stream down the centre which will only be the size of the opening of the TB. So you may or may not notice a breathing problem. You'll want to reduce the heat around the cone with a deflector otherwise the air drawn in will be heat saturated and not very dense. This is the same situation as the difference in how your car runs in the cool dense morning air compared with the thin air of a hot afternoon. I hope that makes sense! JIM

Aaron MacQ
Zorg Guru (I)
Proper progess
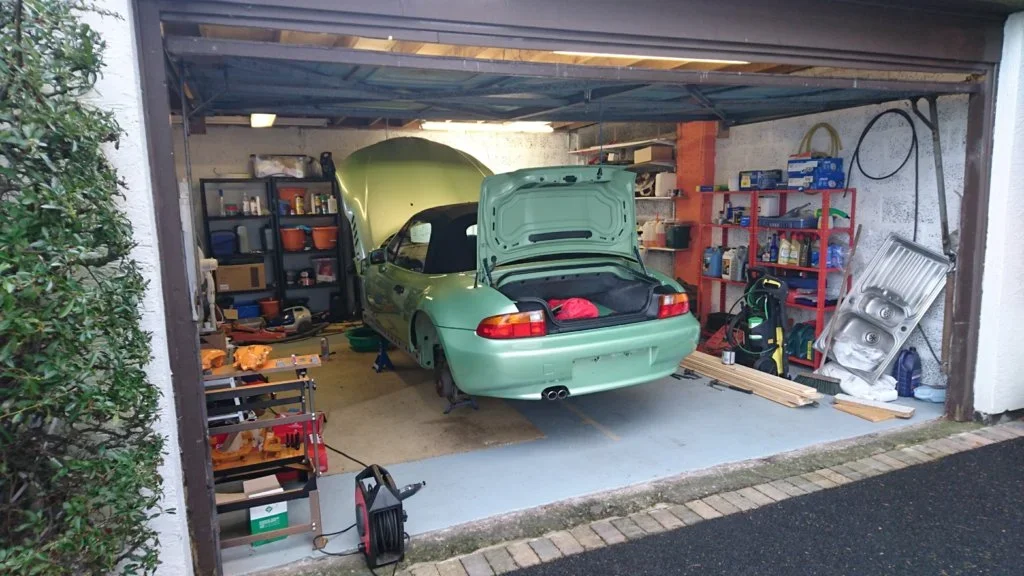
Up on stands...
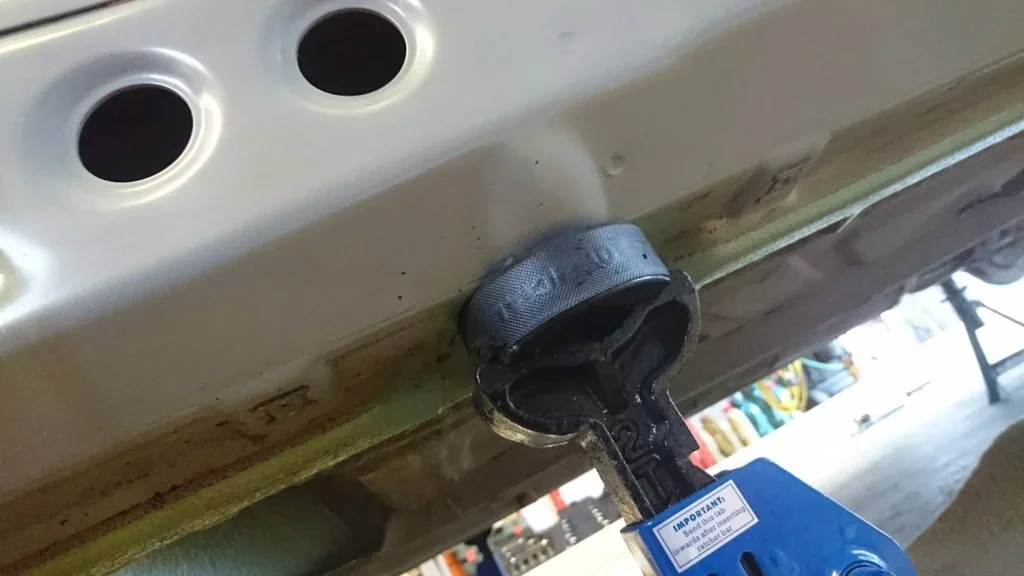
Hockey pucks always handy...
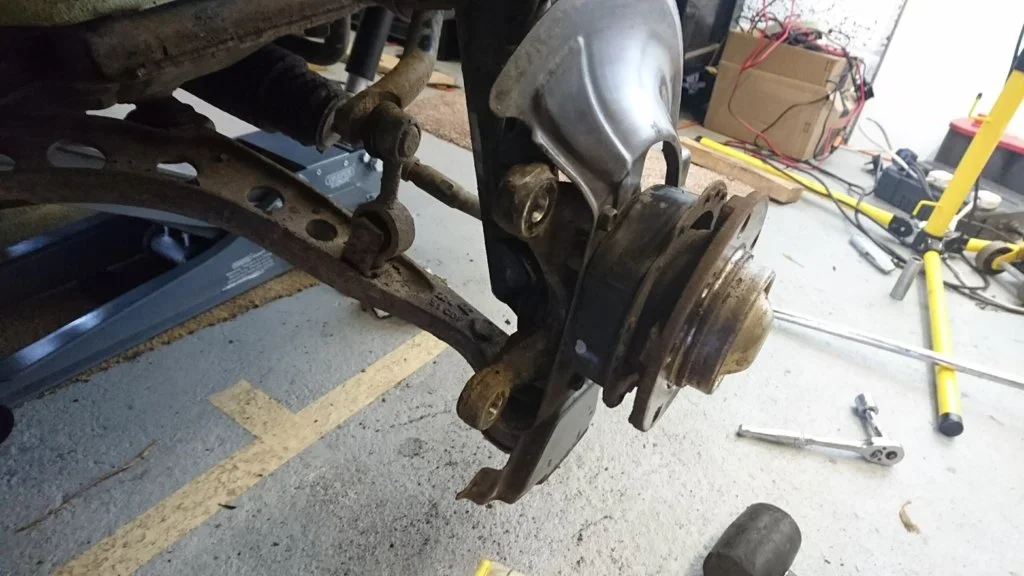
Front Brakes stripped down..
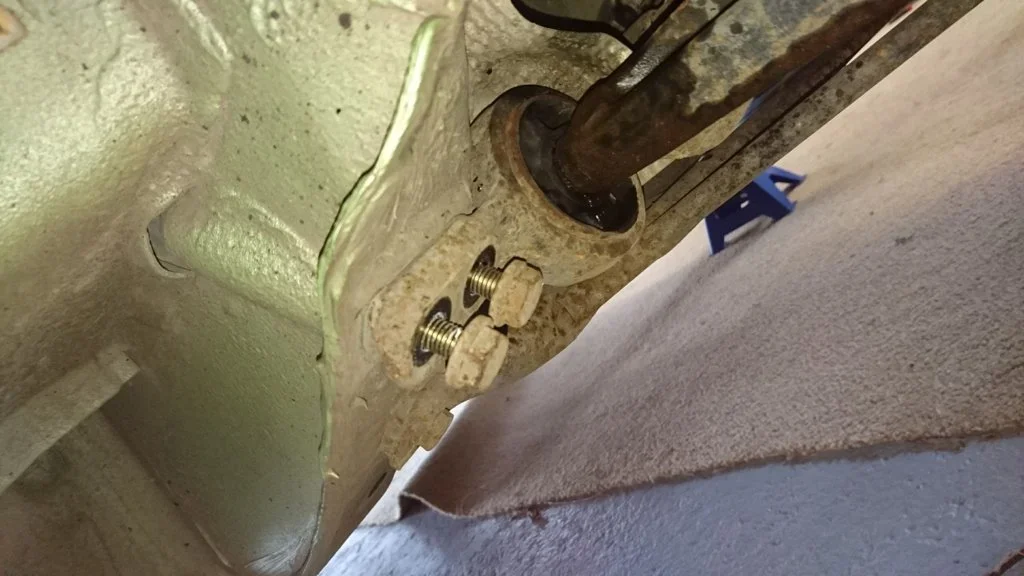
FCAB removed, the proper way!
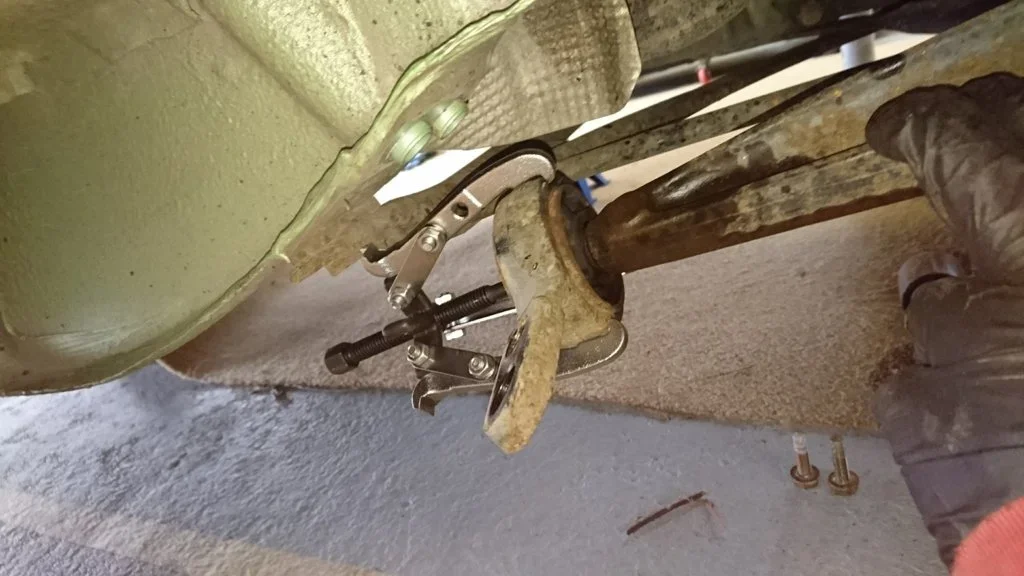
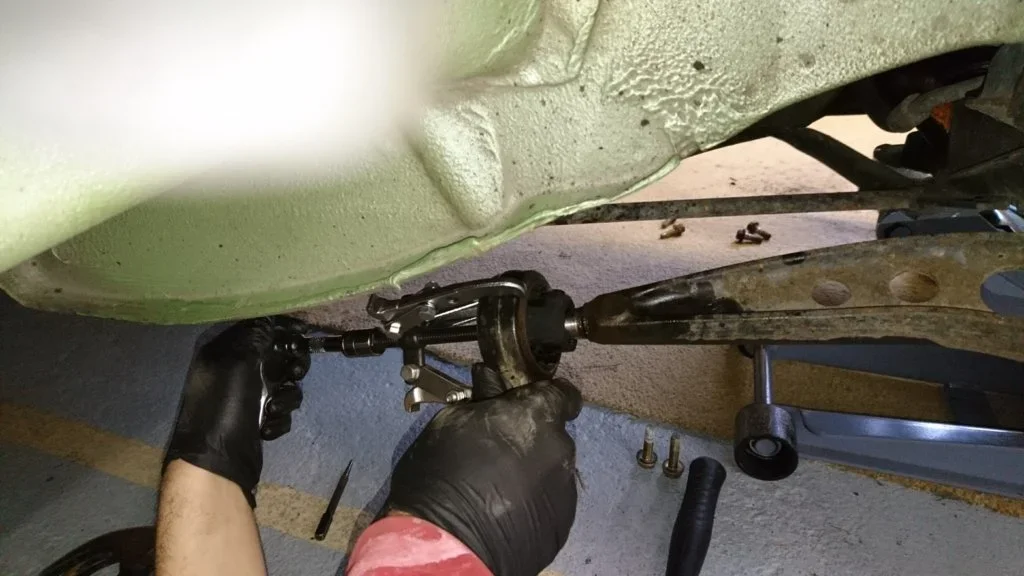
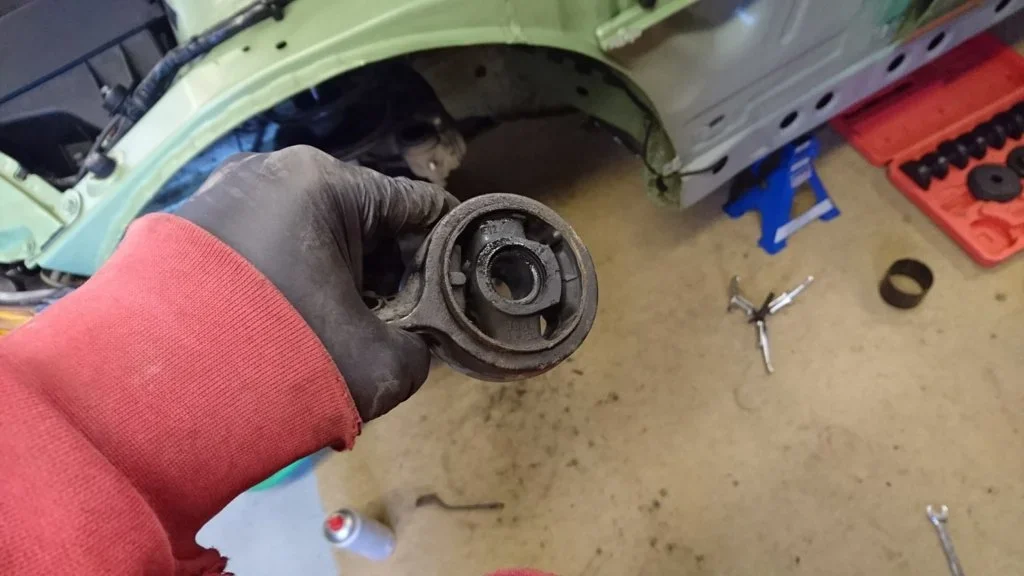
Bushes removed from the carrier
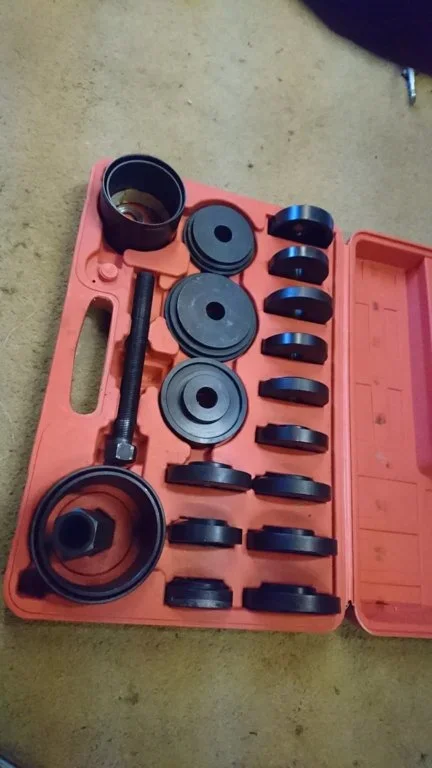
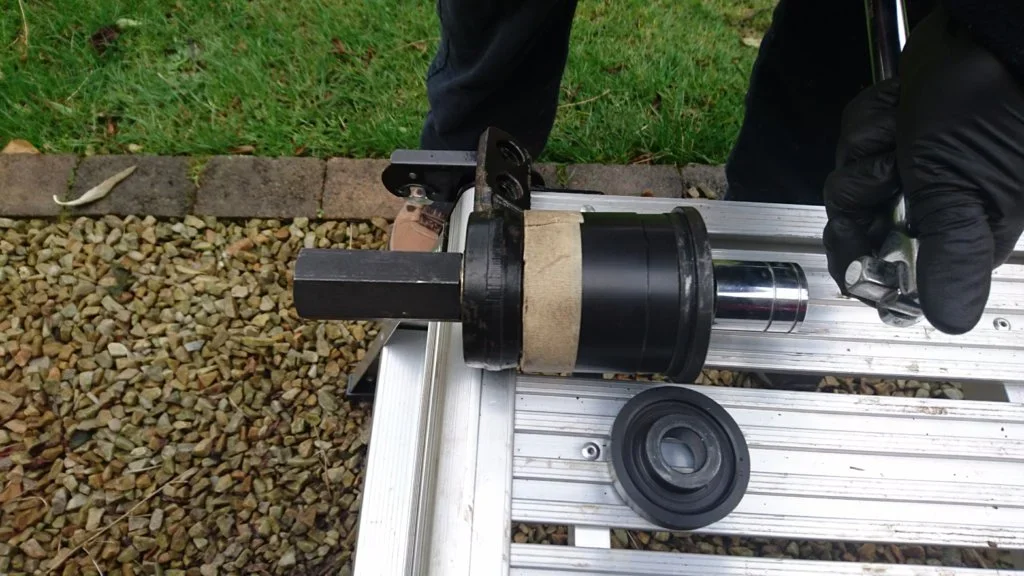
New Powerflex offset ones pressed in
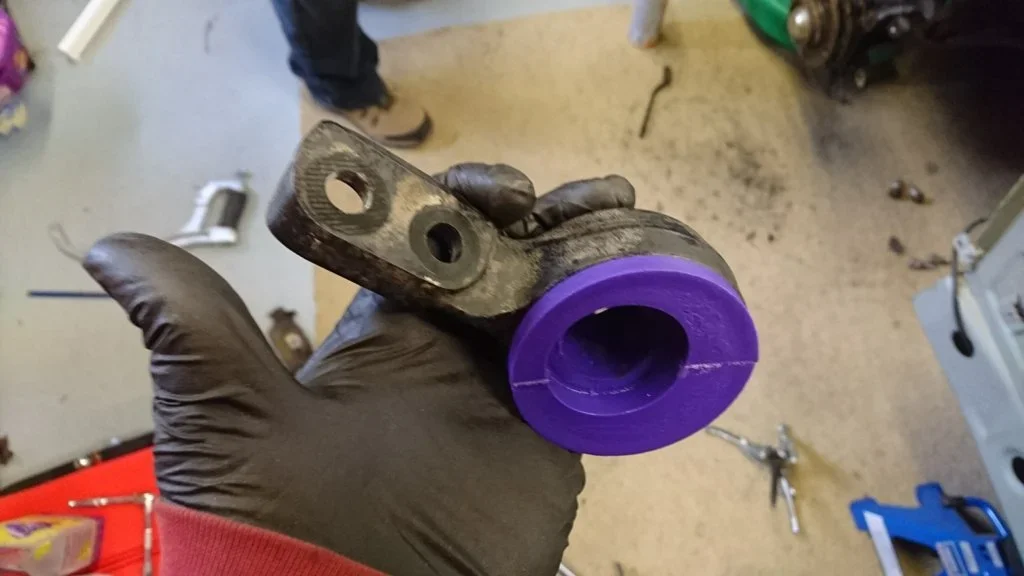
FCAB's refitted.
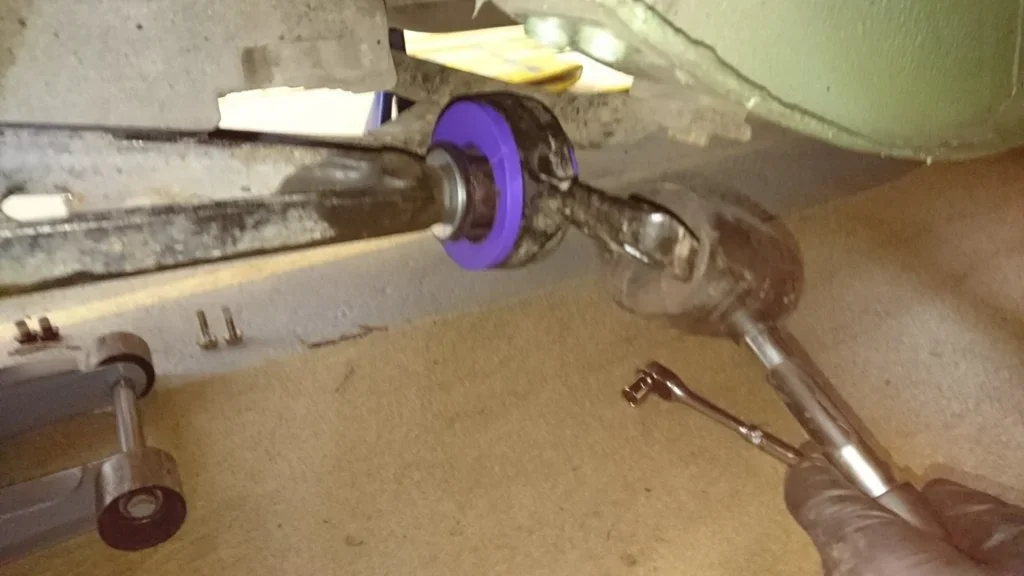
Rear springs out.
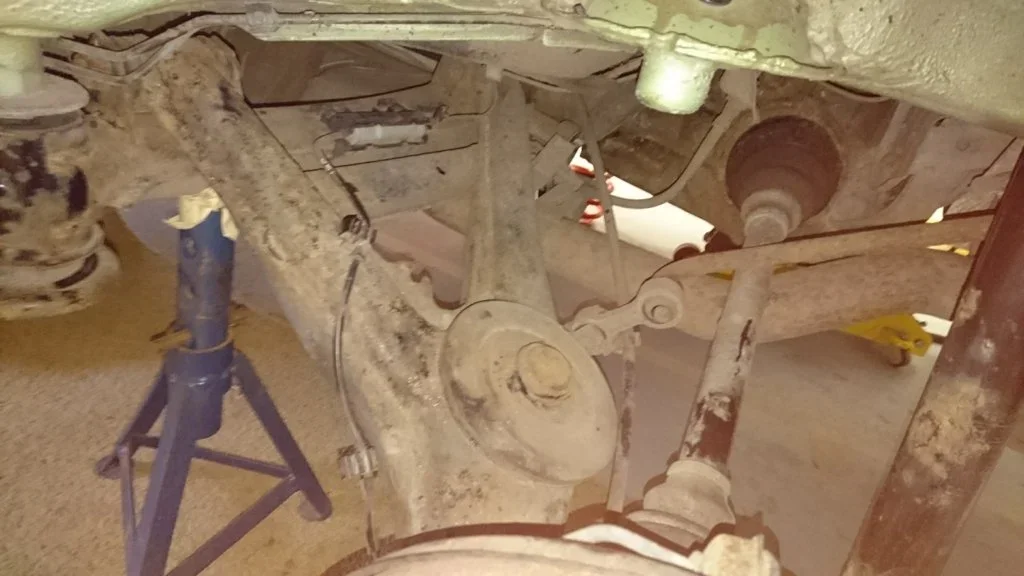
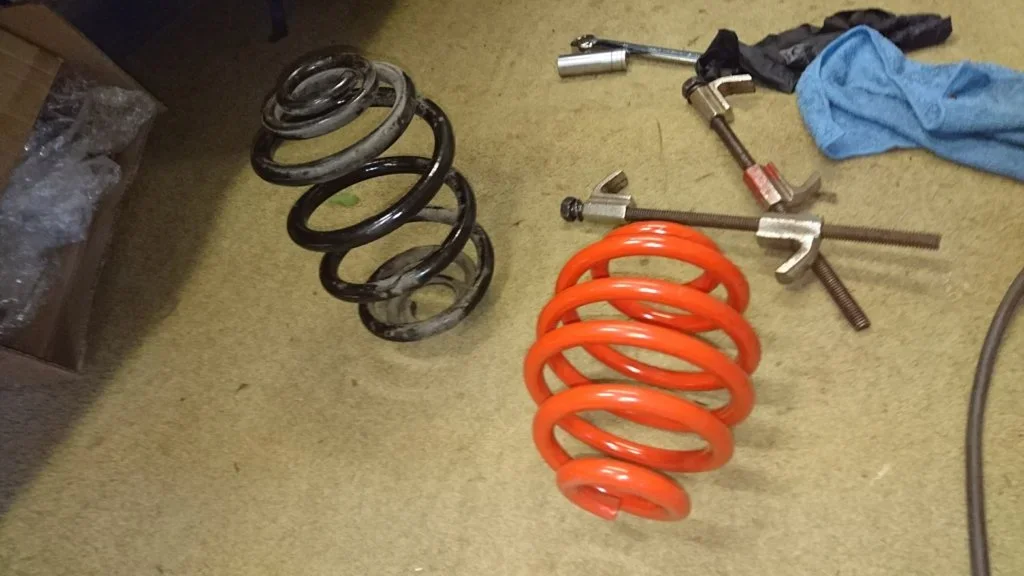
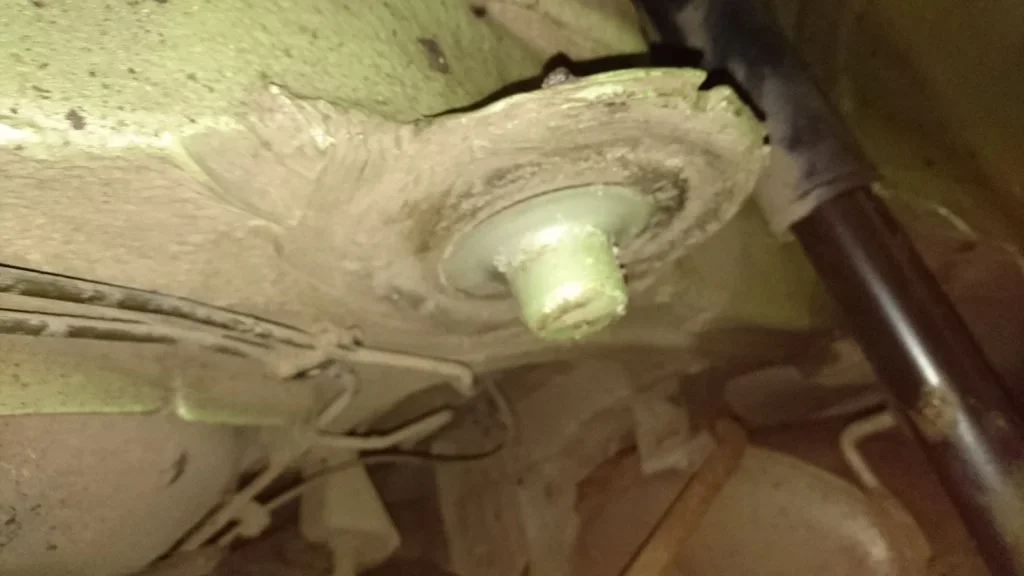
That's it for this evening. More tomorrow perhaps...
Up on stands...
Hockey pucks always handy...
Front Brakes stripped down..
FCAB removed, the proper way!
Bushes removed from the carrier
New Powerflex offset ones pressed in
FCAB's refitted.
Rear springs out.
That's it for this evening. More tomorrow perhaps...

All good work watching your progress with interest
Keep the pics coming, very interesting! JIM

Aaron MacQ
Zorg Guru (I)
As you pull the wishbone outwards at the rear, you effectively push the hub and wheel forward, increasing castor.Forgive my niaviety, but what is the benefit of the offset bushes in the lollipop?
More castor should give a few benefits on the road, such as less tramlining, more front end mid-corner grip and a greater self centering effect on the steering and high speed stability, with little downside.
If going poly bushes, then why not go offset

As you pull the wishbone outwards at the rear, you effectively push the hub and wheel forward, increasing castor.
More castor should give a few benefits on the road, such as less tramlining, more front end mid-corner grip and a greater self centering effect on the steering and high speed stability, with little downside.
If going poly bushes, then why not go offset
Sounds good, the Ms have a quite a bit of caster. Any way to work how much this adds?
I already have power flex ones but don't think they are offset, should be easy enough to diy though.

Enjoying this read. Nothing more satisfying then fitting new parts. P.S I've got a serious soft spot for those pugs. Specially that colour. I should never of let my XSI rally go.
Aaron MacQ
Zorg Guru (I)
Sounds good, the Ms have a quite a bit of caster. Any way to work how much this adds?
I already have power flex ones but don't think they are offset, should be easy enough to diy though.
The powerflex bushes effectively moved the wheel forward about 1cm, and once the cars back down and suspension compressed, i reckon it'll be about 1 degree extra. I'll measure the castor once it's back on the ground (as ride height has an effect on castor too).
As for a diy, only took about 5 mins a side using a 3 prong puller and bearing press. Be even easier if you already have the standard powerflex as I believe the center part is exactly the same. Just need to punch out the old outer and replace with the offset version. (will affect your wheel alignment tho!)
Quick vid. It's a bit cobbled together with various attempts of my dad having his first go with the bearing press, but you'll get the idea.
Enjoying this read. Nothing more satisfying then fitting new parts. P.S I've got a serious soft spot for those pugs. Specially that colour. I should never of let my XSI rally go.
Cheers... I'm enjoying the project. the Z3 is such an easy car to work on.
Love the pug also but don't use it much. Could never sell it tho.
Last edited:
Aaron MacQ
Zorg Guru (I)
Quick vid from the first days work...
So, another few hours on it today.
Stripped the struts out and more time cleaning the arches and underside.
BEFORE (back when we first got the car):
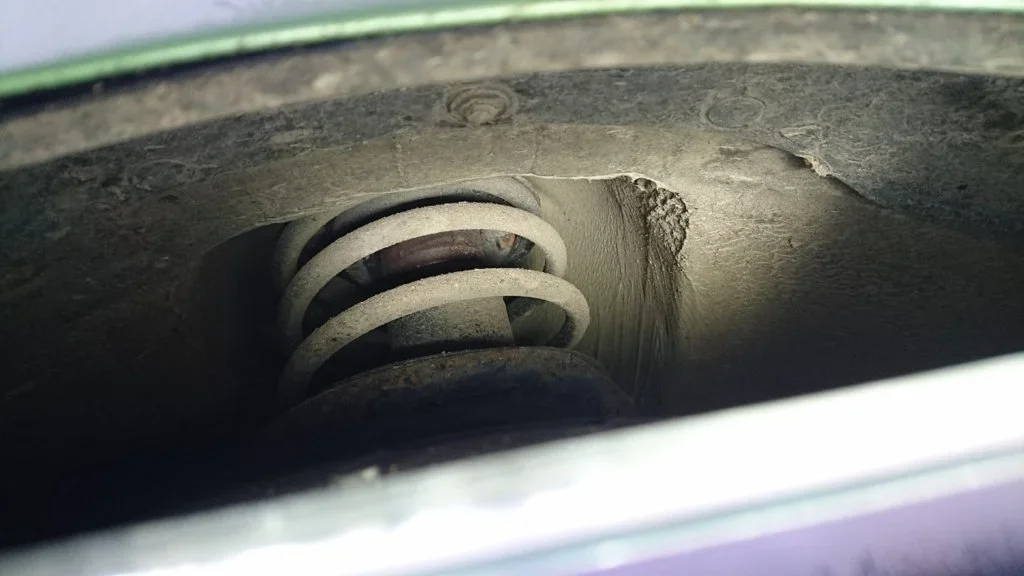
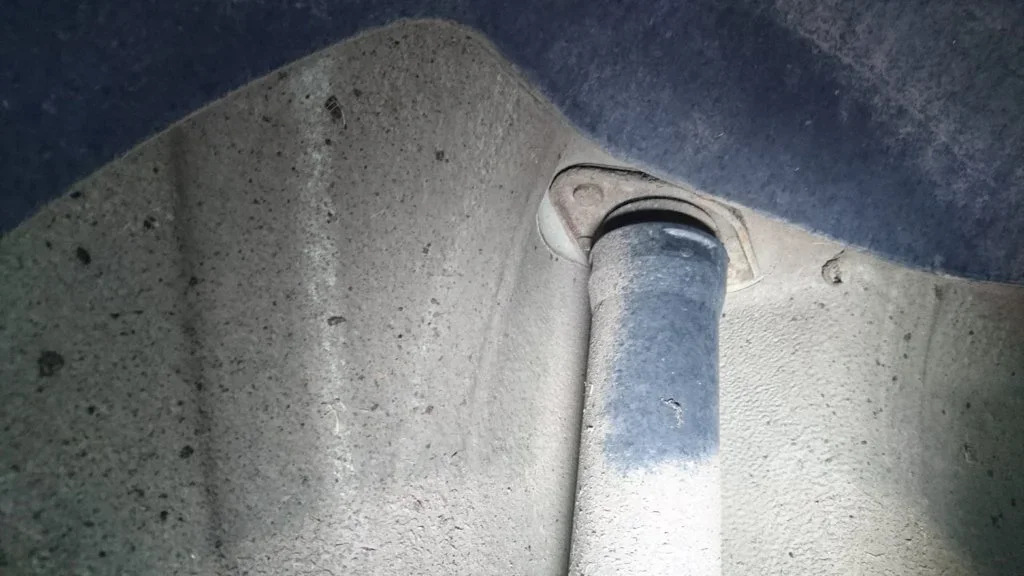
Washed (a few weeks back)
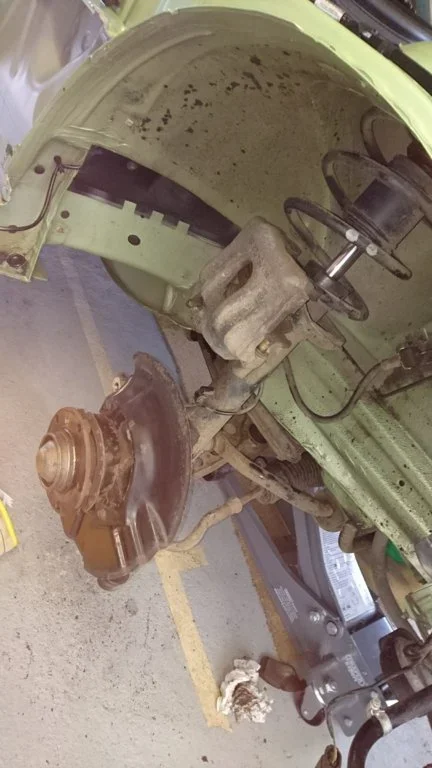
Tar removed...
Had to resort to using petrol on a rag to get the really ingrained stuff off, but as you can see, worked wonders.
Washed it down after with soapy water.
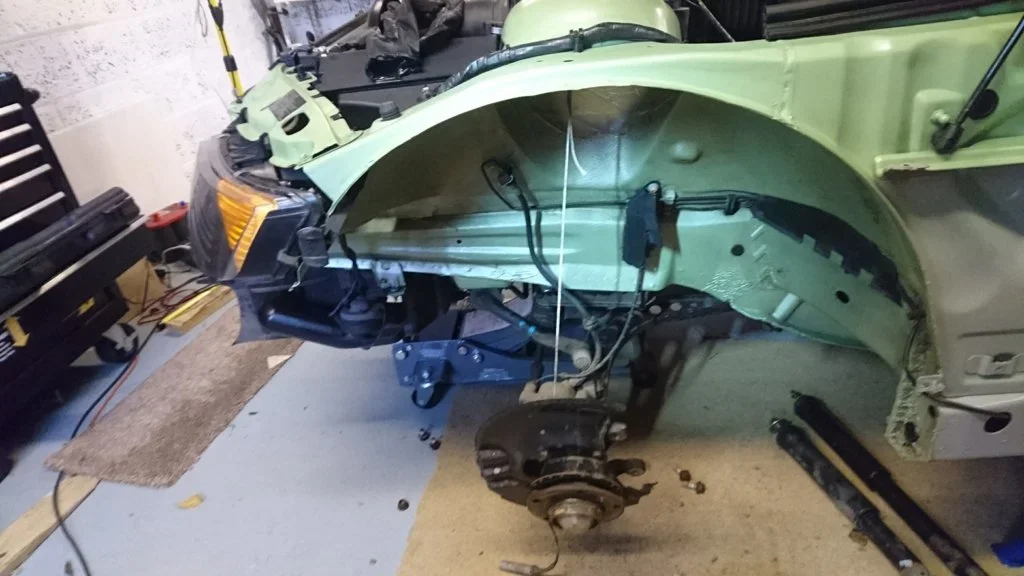
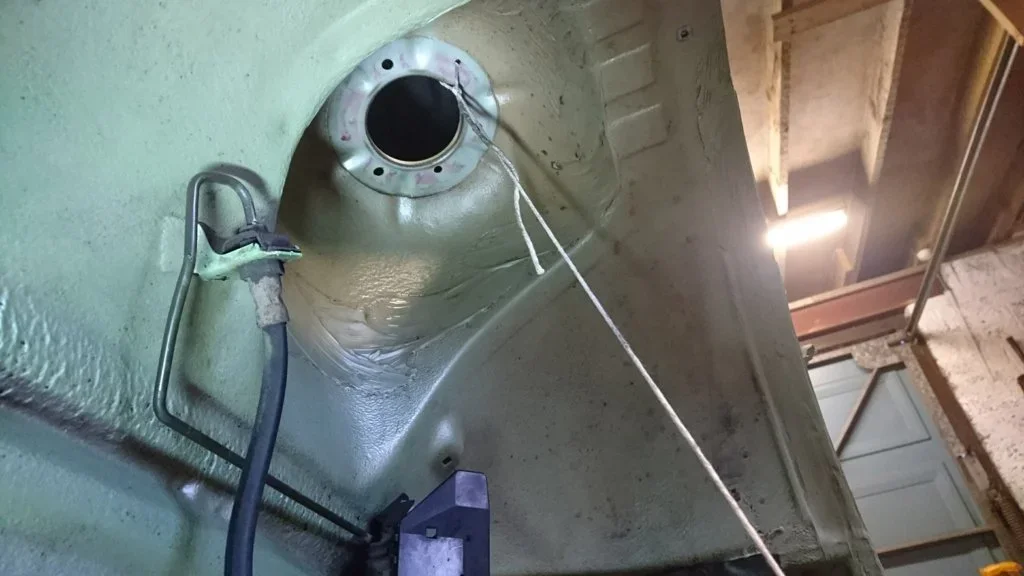
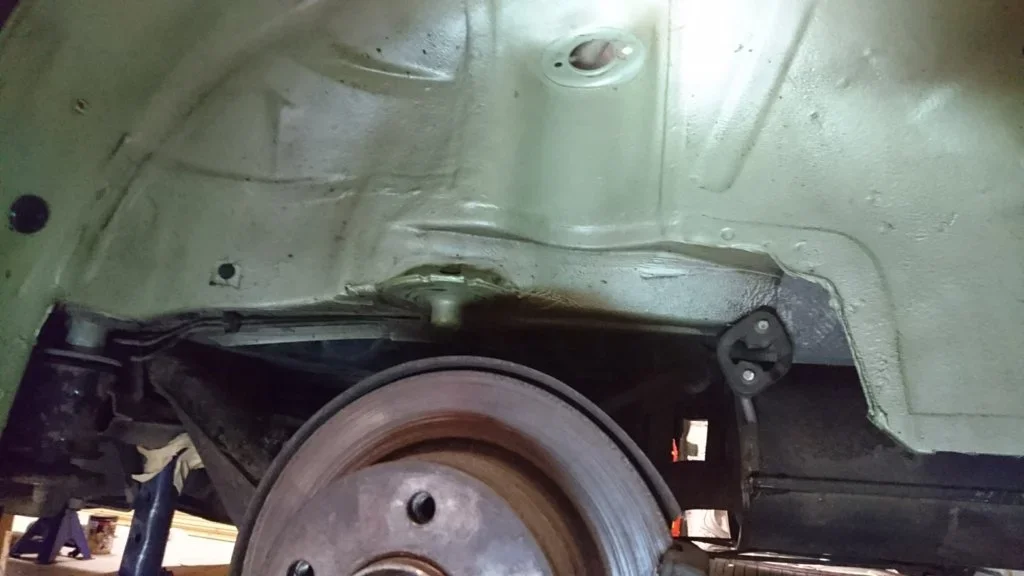
Another progress vid:
Hopefully, tomorrow or Sunday I'll be painting the area where the top mounts sit to prevent any possible future corrosion, along with the rear spring perches, inner sills and any exposed panel lips around the wheel wells or underside. Also, we'll tidy up the backing plates on the brakes and paint up the rear calipers.
So, another few hours on it today.
Stripped the struts out and more time cleaning the arches and underside.
BEFORE (back when we first got the car):
Washed (a few weeks back)
Tar removed...
Had to resort to using petrol on a rag to get the really ingrained stuff off, but as you can see, worked wonders.
Washed it down after with soapy water.
Another progress vid:
Hopefully, tomorrow or Sunday I'll be painting the area where the top mounts sit to prevent any possible future corrosion, along with the rear spring perches, inner sills and any exposed panel lips around the wheel wells or underside. Also, we'll tidy up the backing plates on the brakes and paint up the rear calipers.
Last edited:

This is a brilliant thread Aaron. Keep up the good work mate. Phil
Aaron MacQ
Zorg Guru (I)
Got a few hours at it today again...
The only area of visible corrosion was in the rear of the left side inner sill, although once I knocked the paint off, it was nothing more than a bit of surface rust and flakey paint, so ground any affected areas back to bare metal and treated with KuRust.
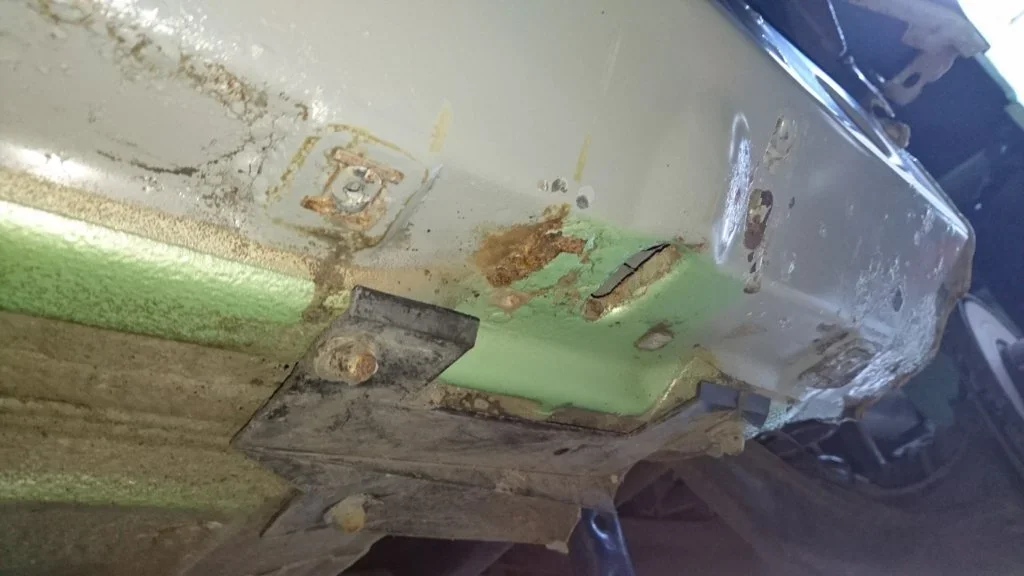
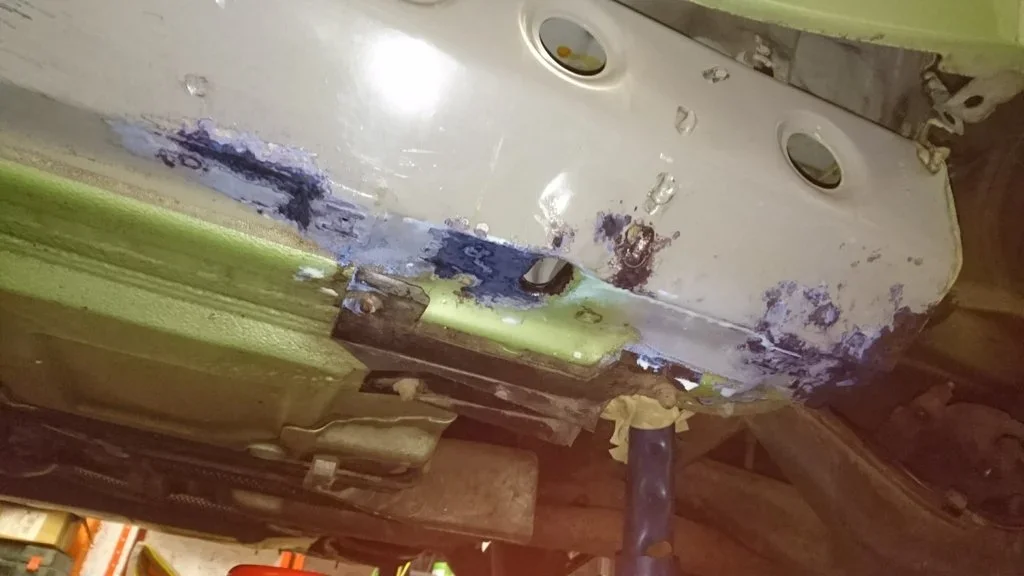
Strangely, the rear right (where I had the rotten sill) didn't look as bad, but once it started to knock off any flakey paint I found quite a bit of corrosion that had set in around one of the body clips. I didn't take a photo , but it's the small area about 15cm from the back in this shot from last week.
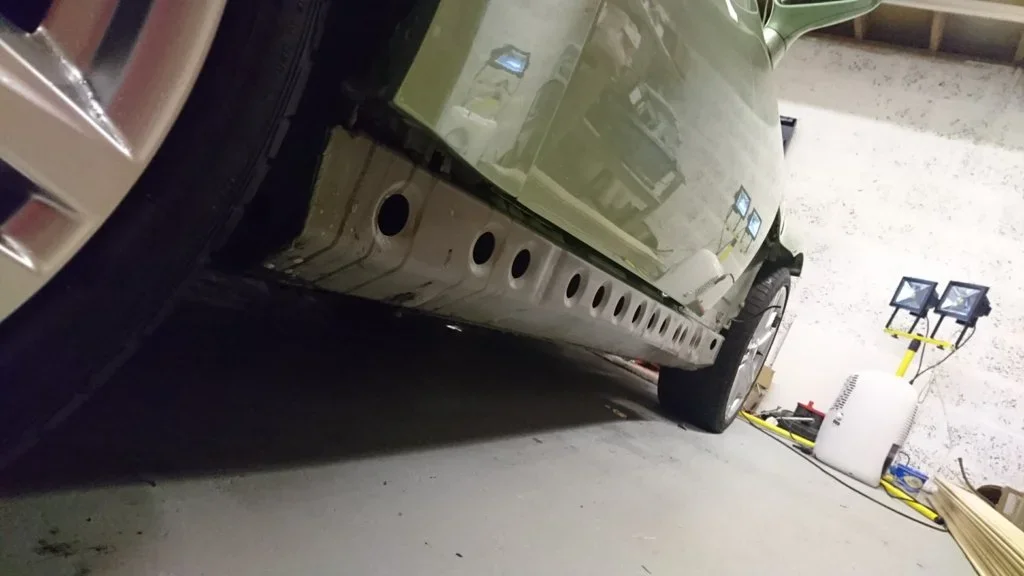
Anyway, took a blunt hammer and cold chisel and knocked all the nasty layers of rust off and fortunately it wasn't too bad and quite localized. I then ground it out with the dremel again and finished it off with a wire wheel before treating with KuRust. I think if this had have not been sorted now, in a year or two, it could have become a problem, so really glad we went to the effort of cleaning all this up now.
Anyway, will complete the job tomorrow with any followup treatment and the fantastic Por15.
So, I'm currently sitting watching the Nascar Xfinity race at Daytona which was under red flag for nearly 45 mins and remembered I had the wing mirror glass sitting on the radiator next door (to soften the glue).
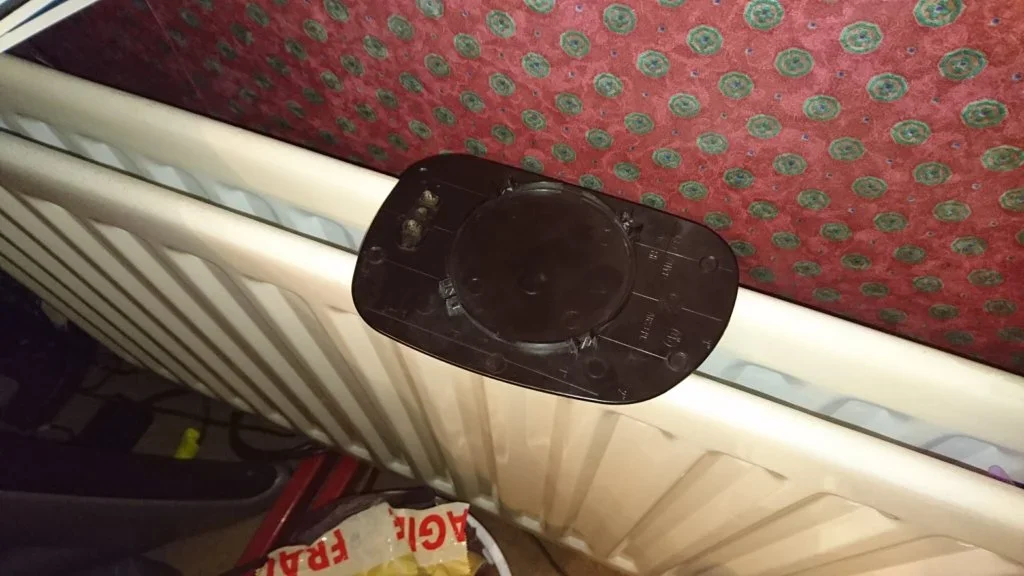
Anyway, with the glue nice and soft, splitting it off from the OEM backing plate was dead easy. Just pulled apart with no fuss.
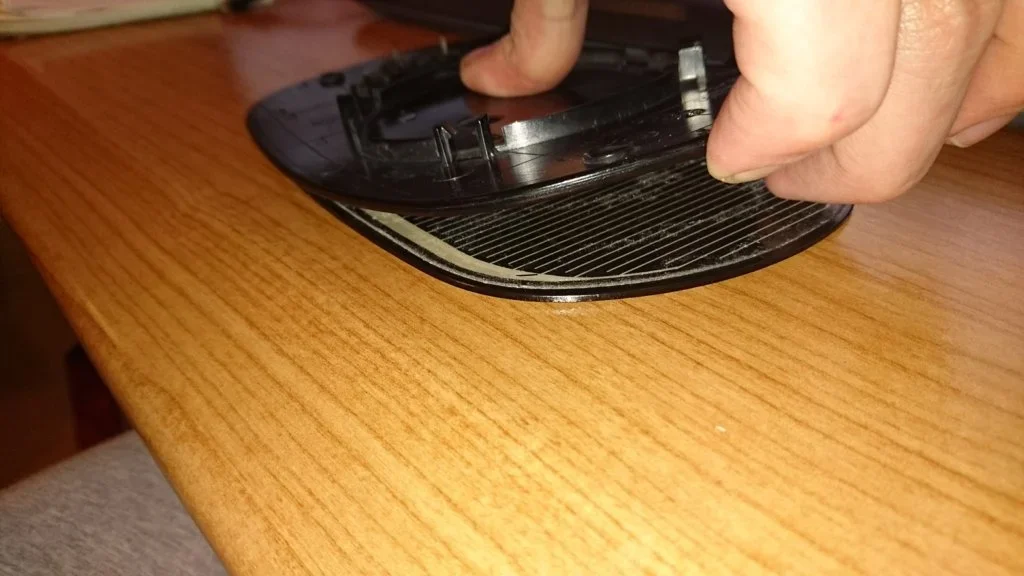
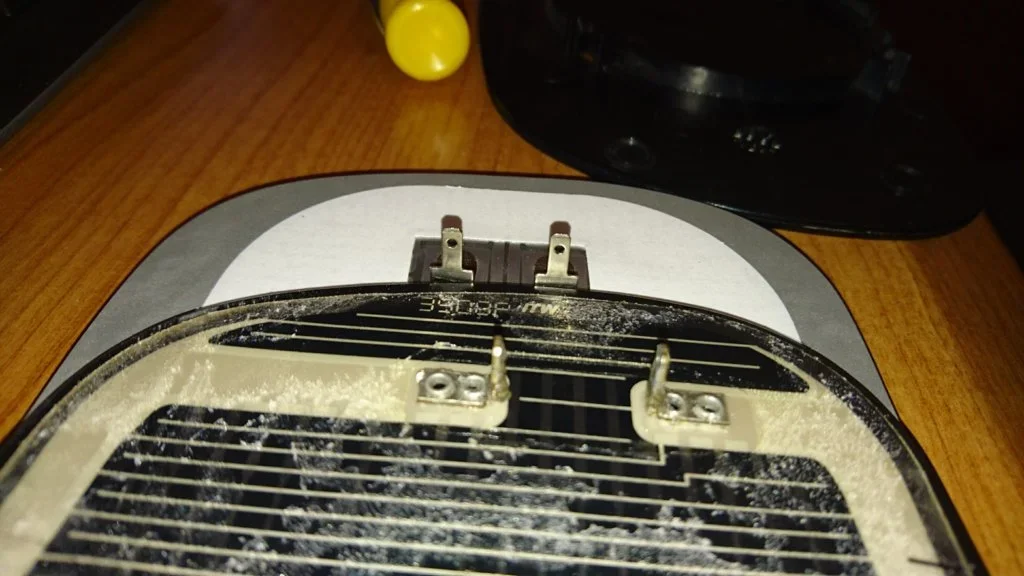
Unfortunately, I can't finish the job as the heater pins are in a different area so i'll need to drill new holes in the backing plate tomorrow.
The only area of visible corrosion was in the rear of the left side inner sill, although once I knocked the paint off, it was nothing more than a bit of surface rust and flakey paint, so ground any affected areas back to bare metal and treated with KuRust.
Strangely, the rear right (where I had the rotten sill) didn't look as bad, but once it started to knock off any flakey paint I found quite a bit of corrosion that had set in around one of the body clips. I didn't take a photo , but it's the small area about 15cm from the back in this shot from last week.
Anyway, took a blunt hammer and cold chisel and knocked all the nasty layers of rust off and fortunately it wasn't too bad and quite localized. I then ground it out with the dremel again and finished it off with a wire wheel before treating with KuRust. I think if this had have not been sorted now, in a year or two, it could have become a problem, so really glad we went to the effort of cleaning all this up now.
Anyway, will complete the job tomorrow with any followup treatment and the fantastic Por15.
So, I'm currently sitting watching the Nascar Xfinity race at Daytona which was under red flag for nearly 45 mins and remembered I had the wing mirror glass sitting on the radiator next door (to soften the glue).
Anyway, with the glue nice and soft, splitting it off from the OEM backing plate was dead easy. Just pulled apart with no fuss.
Unfortunately, I can't finish the job as the heater pins are in a different area so i'll need to drill new holes in the backing plate tomorrow.
Aaron MacQ
Zorg Guru (I)
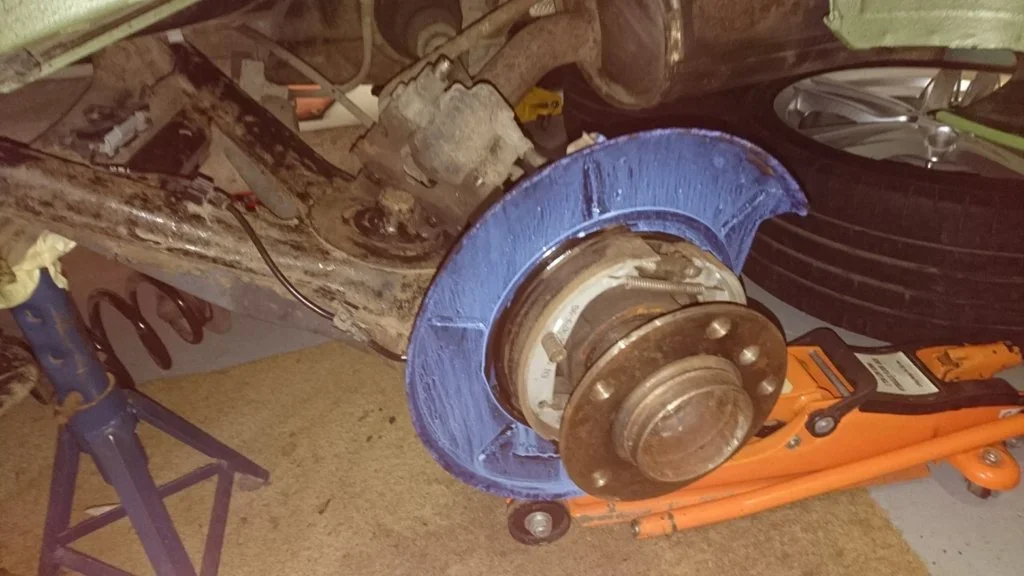
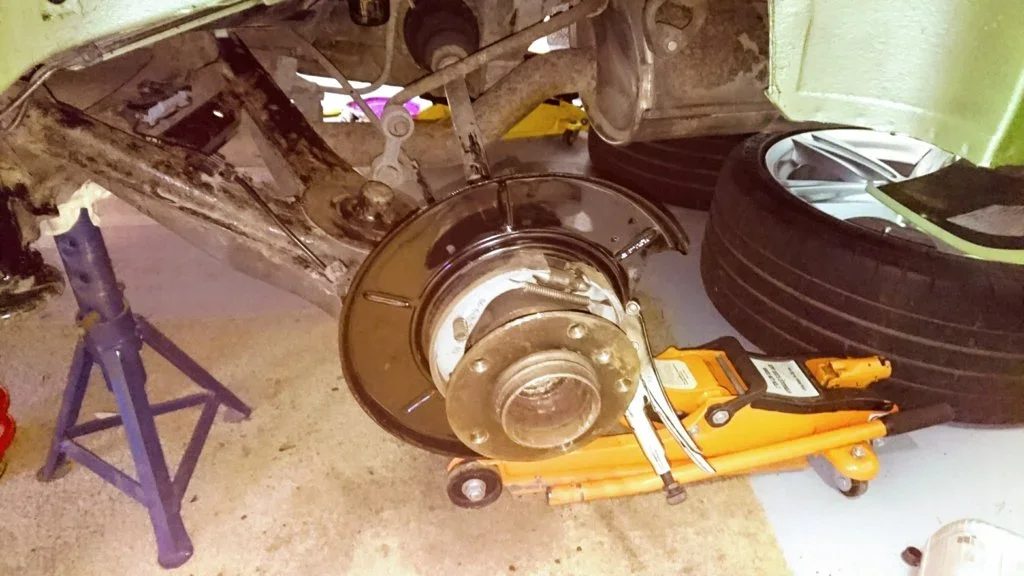
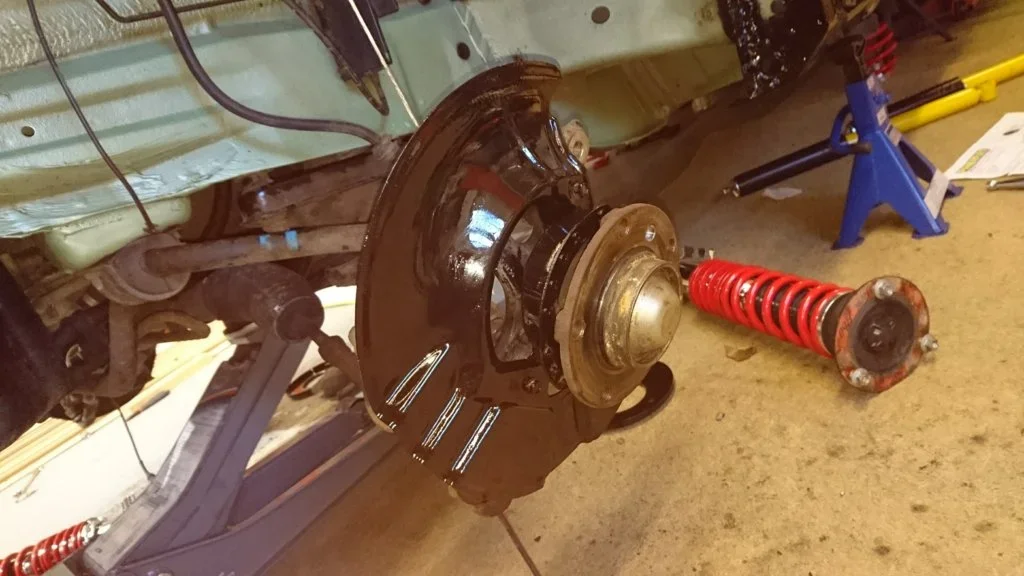
So yesterday we removed the rear brakes, used a dremel to clean them up and treated the calipers, carriers and backing plates with KuRust.
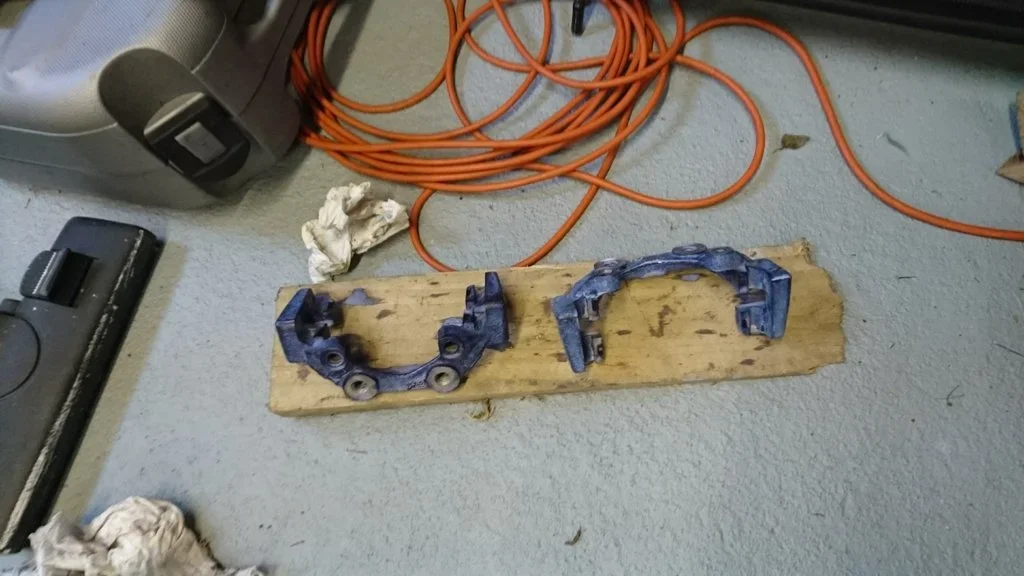
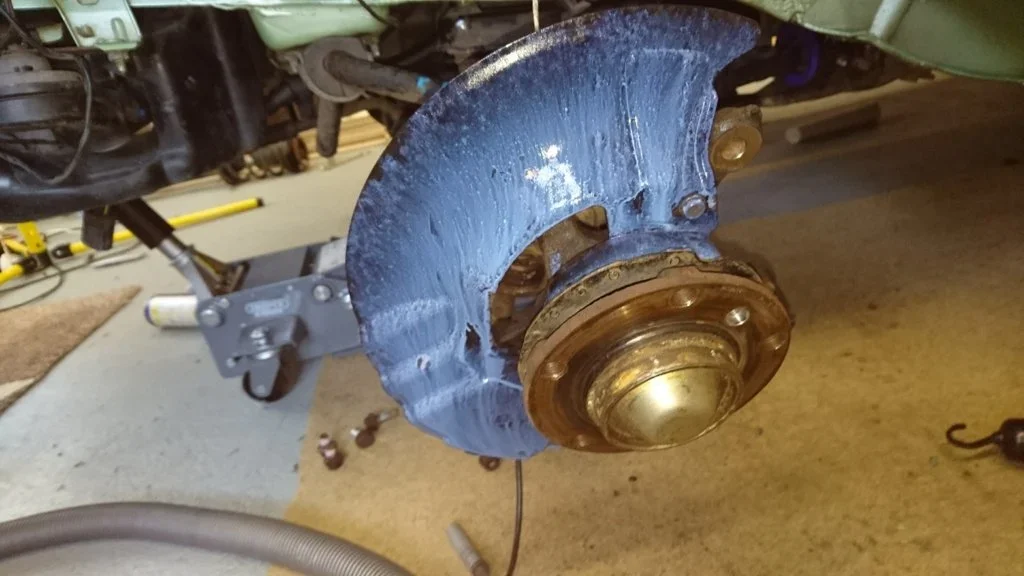
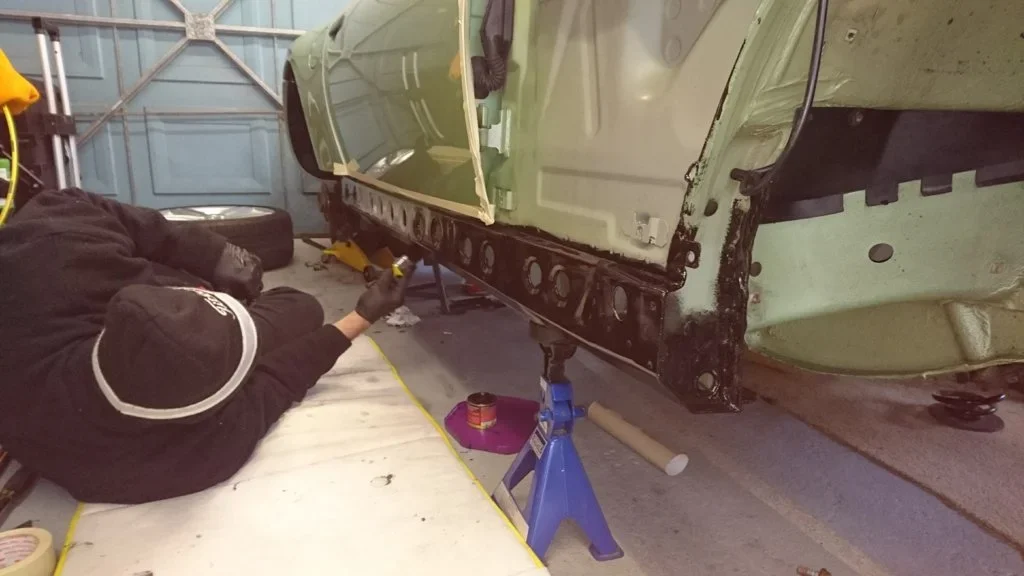
After washing down, I got my dad to start with the Por15 around the main areas in the the arches and sills, etc...
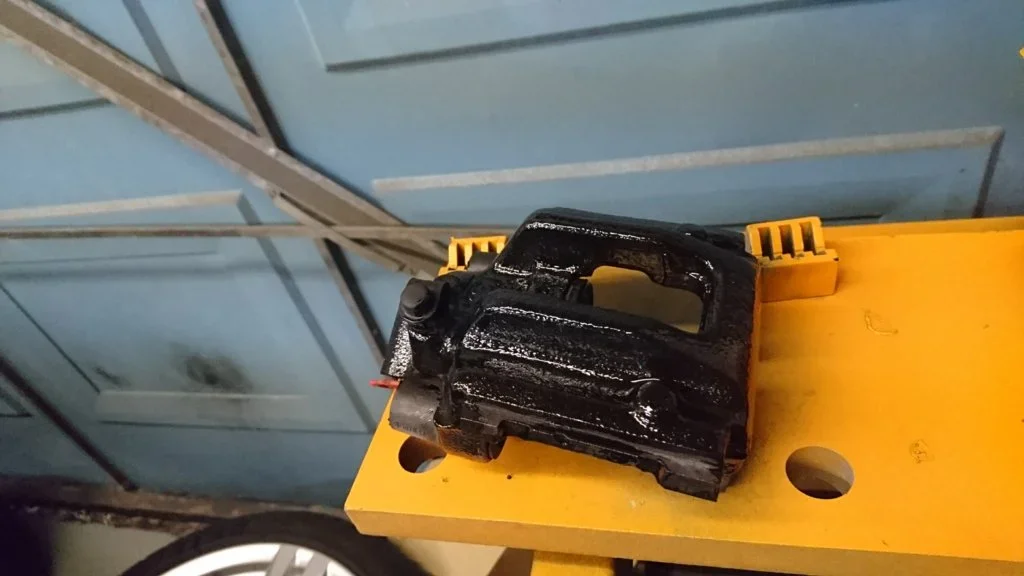
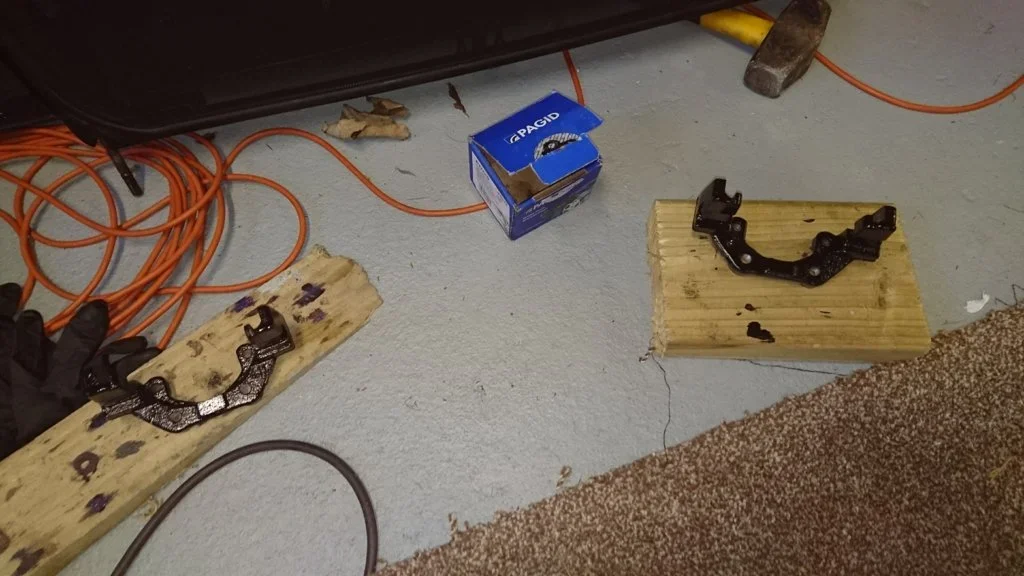
Whilst he was doing that, I did the brakes up as well..
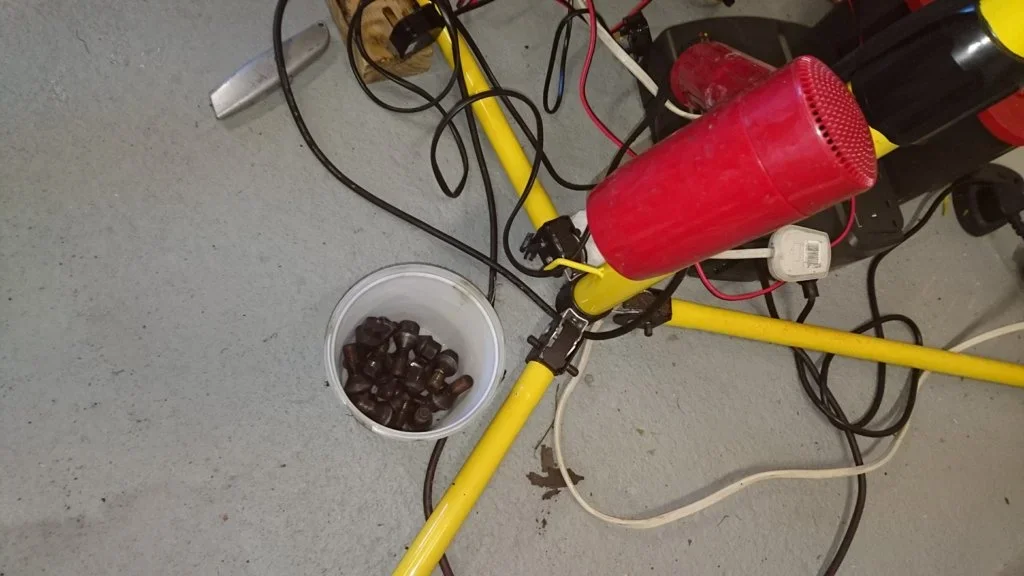
Whilst all that was drying I cleaned up the wheel nuts, drying them off with a hairdryer and painted them satin black. They were already black, but this will freshen them up.
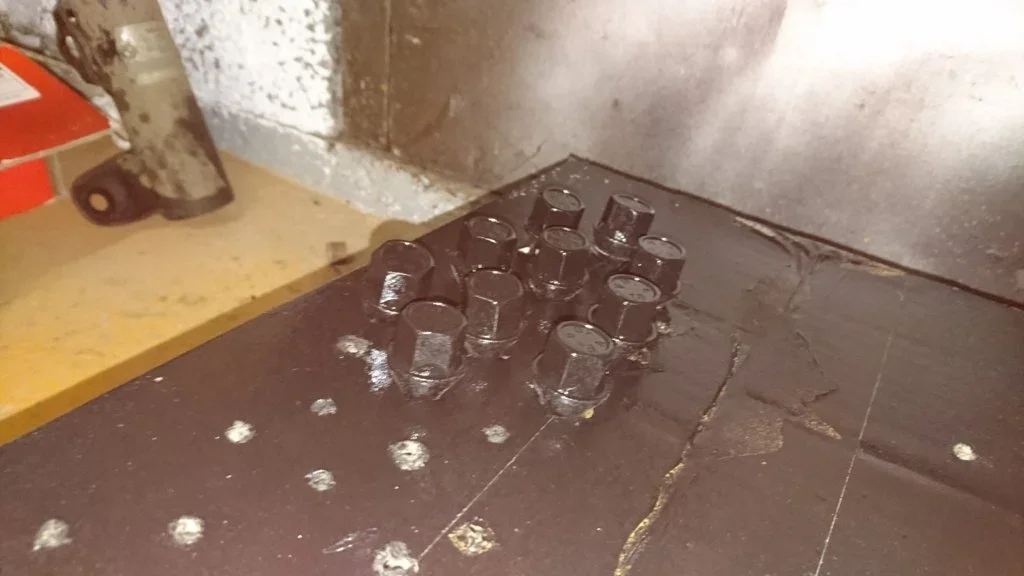
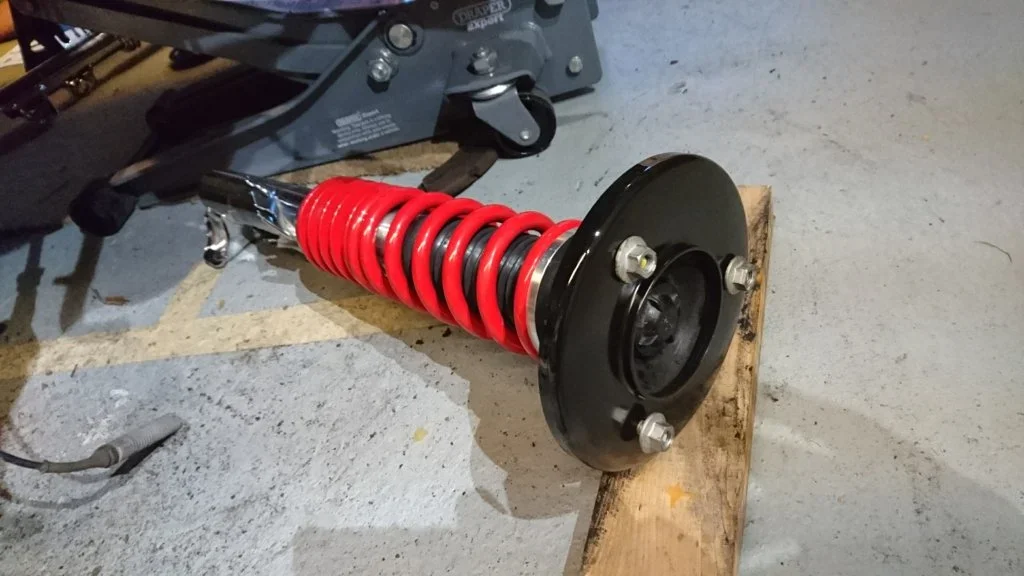
Whilst all that was drying, we built up the front shocks, swapping the top mount off the old shock, over to the new coilover.
Made a mistake here tho. Normally, I'd use a spring compressor, but with our own weight we were able to push the piston and spring down a few cm's. Great, no need for the spring compressors I thought.. So I got my dad to put his weight on the shock as i undid the top nut but as it came off it jumped about 10cm. Maybe he didn't have all his weight on it, but I thought for the other side, we'd play it safe and do it properly.
The top mount and BMW reinforcement plates are now in place ready to be fitted next time we're working on the car.
As the Por15 dried, it leaves a lovely gloss finish. Looks good, and easy to clean too!
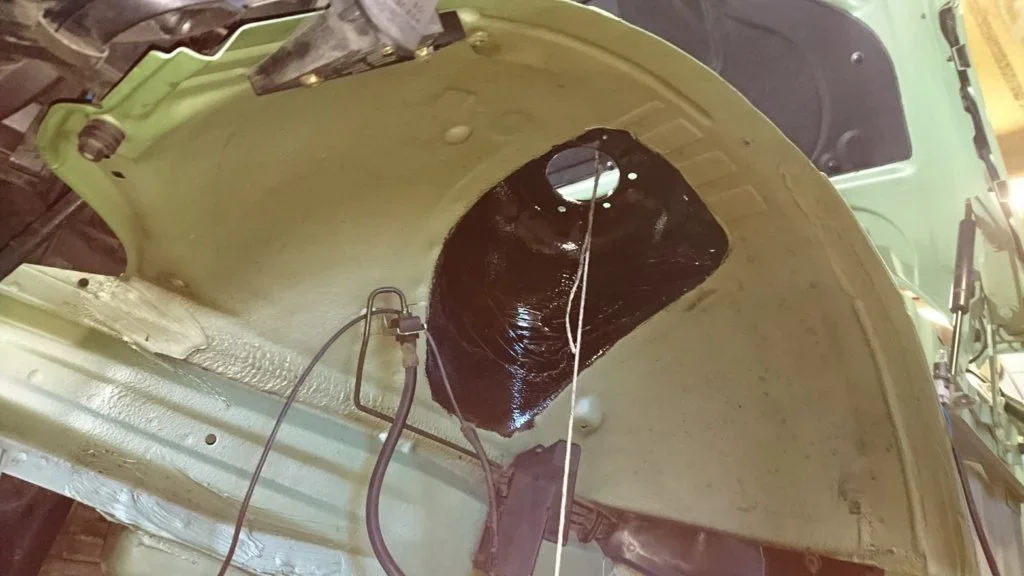
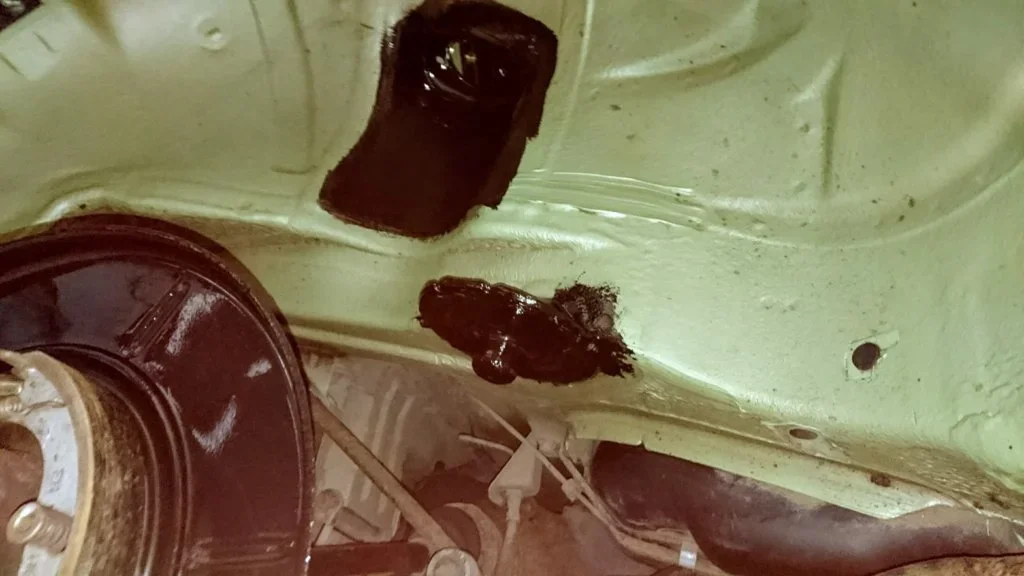
This is the area where we did have a but of corrosion, but now it's cleaned up and painted I don't expect we'll see any issues in the future.
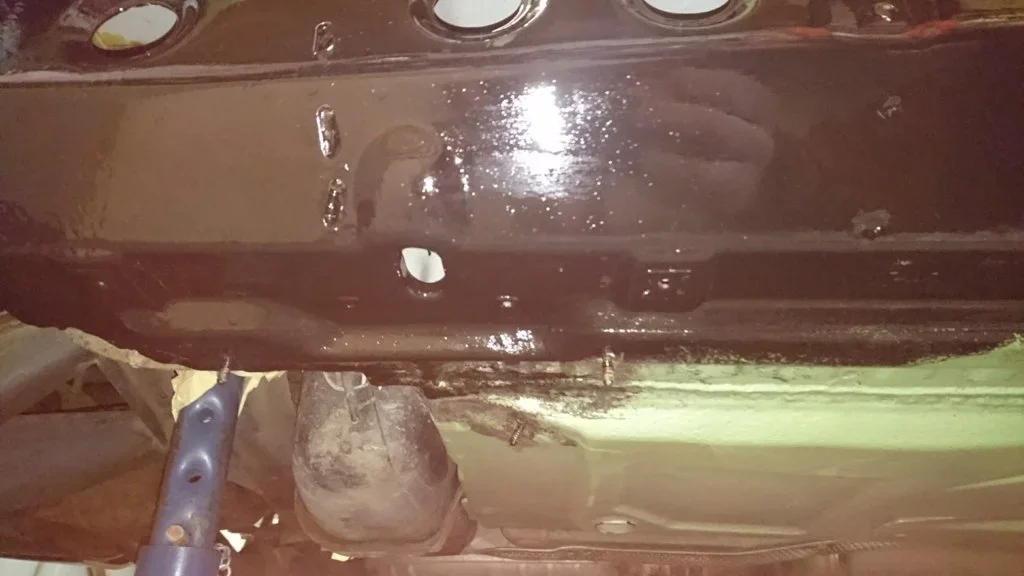
Anyway, that's it for the day and hopefully next time we'll be fitting the new brakes, suspension and getting it back on it's feet.
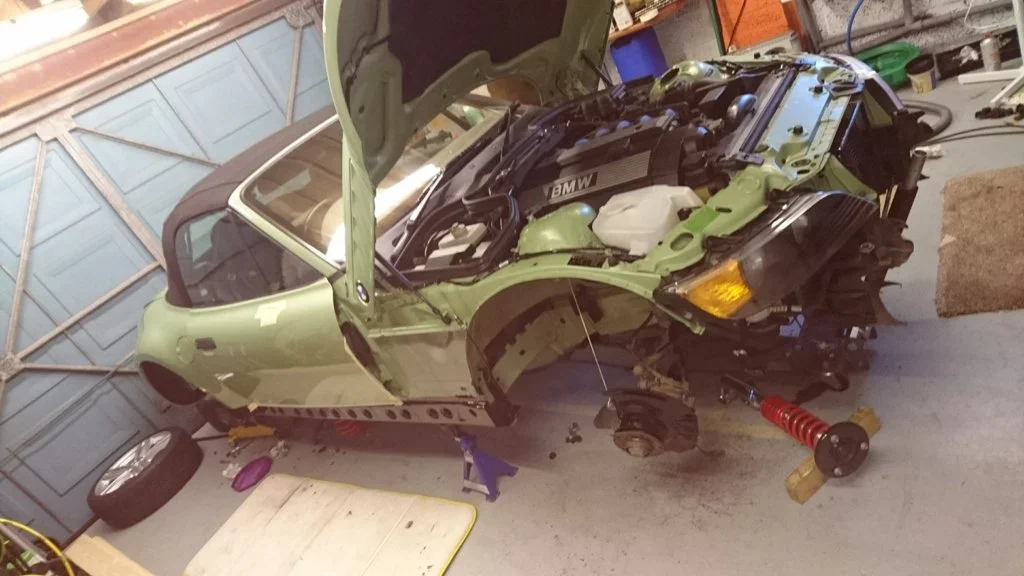
After washing down, I got my dad to start with the Por15 around the main areas in the the arches and sills, etc...
Whilst he was doing that, I did the brakes up as well..
Whilst all that was drying I cleaned up the wheel nuts, drying them off with a hairdryer and painted them satin black. They were already black, but this will freshen them up.
Whilst all that was drying, we built up the front shocks, swapping the top mount off the old shock, over to the new coilover.
Made a mistake here tho. Normally, I'd use a spring compressor, but with our own weight we were able to push the piston and spring down a few cm's. Great, no need for the spring compressors I thought.. So I got my dad to put his weight on the shock as i undid the top nut but as it came off it jumped about 10cm. Maybe he didn't have all his weight on it, but I thought for the other side, we'd play it safe and do it properly.
The top mount and BMW reinforcement plates are now in place ready to be fitted next time we're working on the car.
As the Por15 dried, it leaves a lovely gloss finish. Looks good, and easy to clean too!
This is the area where we did have a but of corrosion, but now it's cleaned up and painted I don't expect we'll see any issues in the future.
Anyway, that's it for the day and hopefully next time we'll be fitting the new brakes, suspension and getting it back on it's feet.
I'm loving this thread Aaron. Keep up the great work mate.

Por15 is the nuts, such good stuff
Aaron MacQ
Zorg Guru (I)
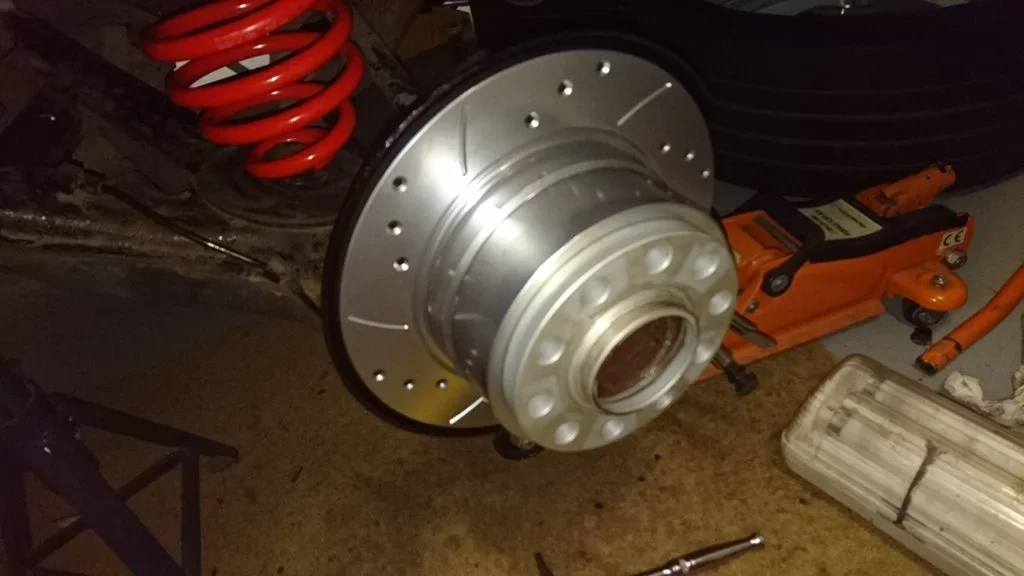
Had an hour after work, so this happened!
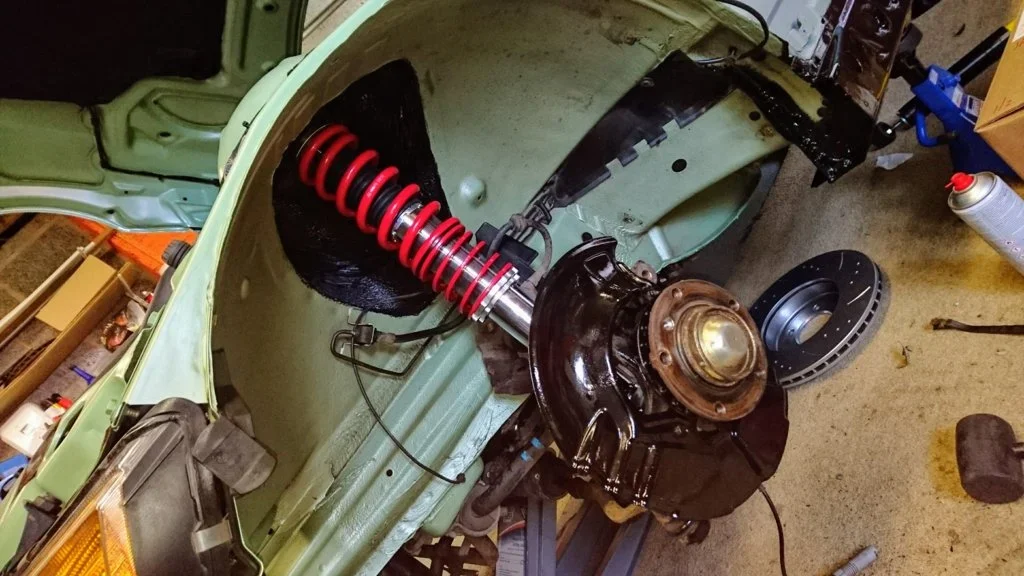
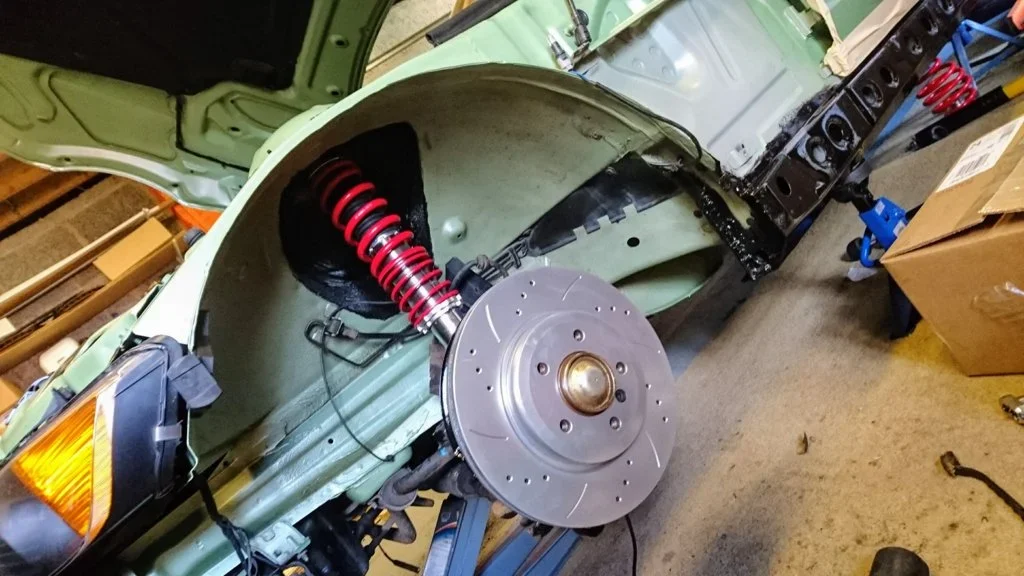
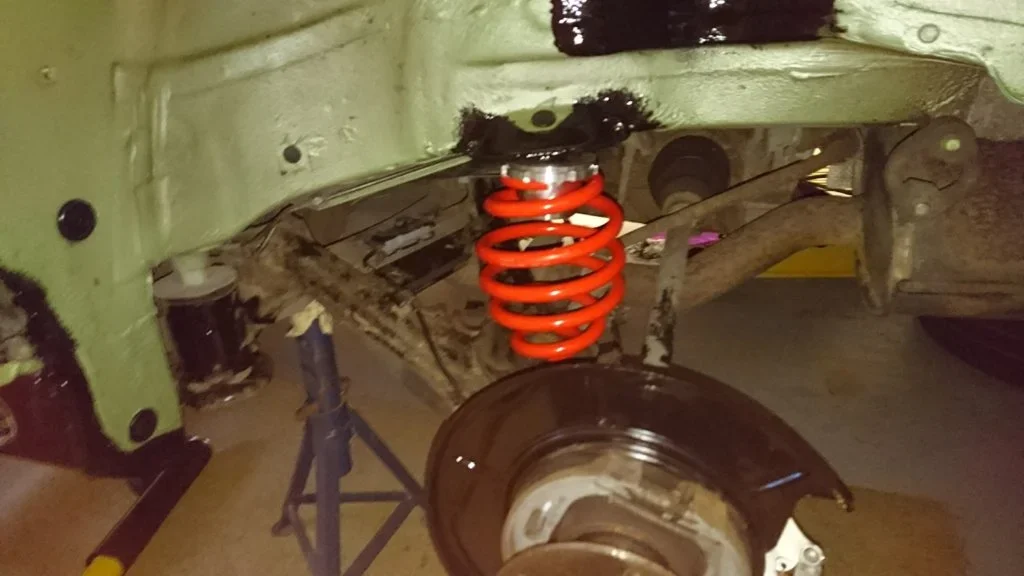
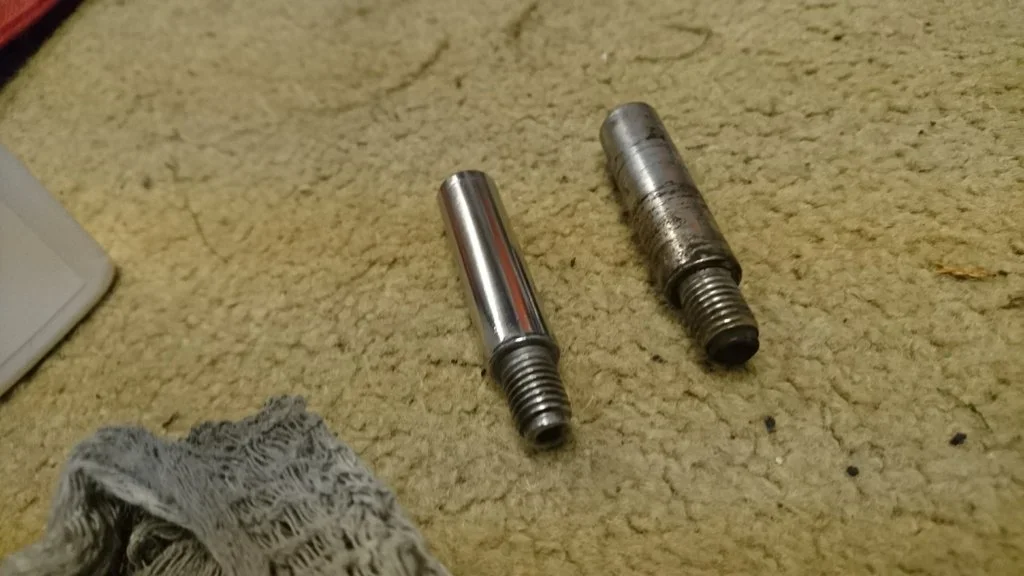
The rear calipers looked in fine condition although the sliders looked a bit tarnished, so a quick once over with some metal polish should make them as good as new.
Fresh grease will be used when refitting, as I also did with the front top mount bearings though forgot to take any photos. Basically cleaned out the bearing, top and bottom and packed with fresh stuff.
I still need to paint the rear calipers to match the fronts so hopefully get that done tomorrow and I still need to go and collect the new sills, freshly painted, then I can complete reassembly and find a ride height.
One other thing I did spot. The new rear shocks don't have any spacer for between the shock and the swing arm.
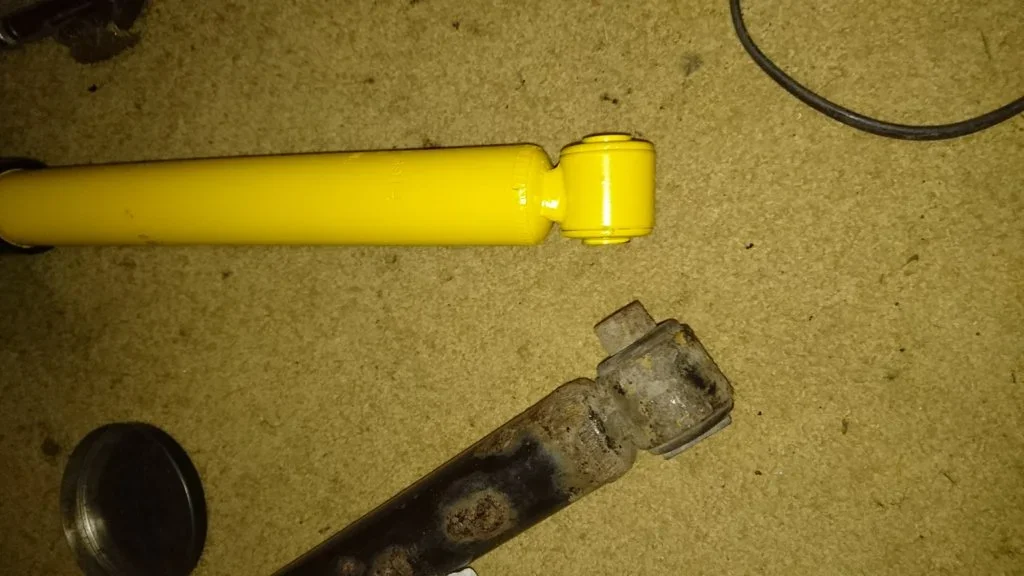
As such, the factory bolt is too long to actually fit, so I'm assuming I'll just have to pack it out with a few washers?
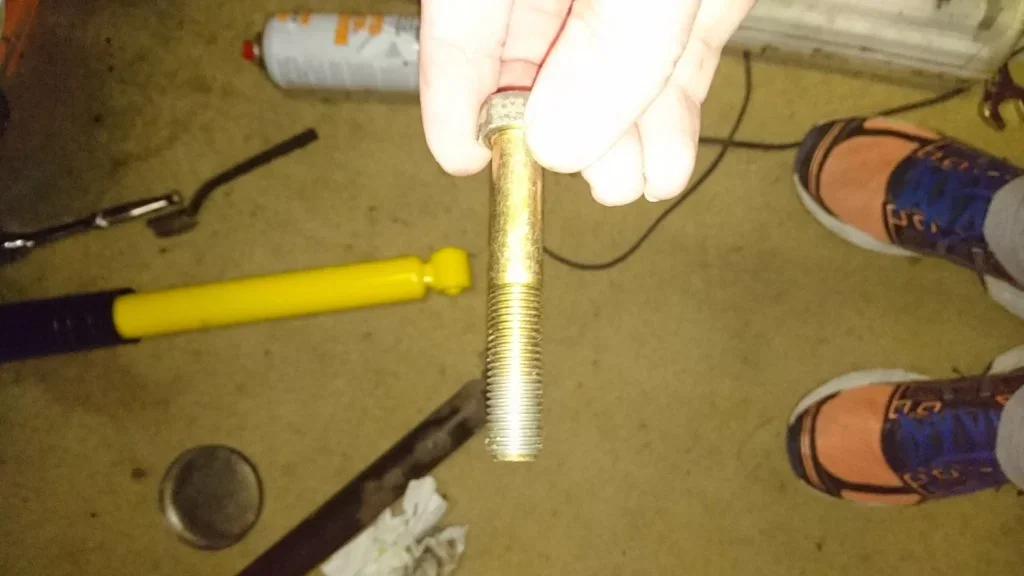
Or, would it be worth pressing out the spacer from the old bush and reusing?
Or, is shortening the bolt a good idea?
Thoughts anyone....
The rear calipers looked in fine condition although the sliders looked a bit tarnished, so a quick once over with some metal polish should make them as good as new.
Fresh grease will be used when refitting, as I also did with the front top mount bearings though forgot to take any photos. Basically cleaned out the bearing, top and bottom and packed with fresh stuff.
I still need to paint the rear calipers to match the fronts so hopefully get that done tomorrow and I still need to go and collect the new sills, freshly painted, then I can complete reassembly and find a ride height.
One other thing I did spot. The new rear shocks don't have any spacer for between the shock and the swing arm.
As such, the factory bolt is too long to actually fit, so I'm assuming I'll just have to pack it out with a few washers?
Or, would it be worth pressing out the spacer from the old bush and reusing?
Or, is shortening the bolt a good idea?
Thoughts anyone....

If you try to push the sleeves out you will ruin the bush as they're bonded in place. I would make solid spacers rather than use several washers, or just cut the ends off the old shock sleeves?Had an hour after work, so this happened!
View attachment 50976 View attachment 50977 View attachment 50978 View attachment 50979
The rear calipers looked in fine condition although the sliders looked a bit tarnished, so a quick once over with some metal polish should make them as good as new.
View attachment 50980
Fresh grease will be used when refitting, as I also did with the front top mount bearings though forgot to take any photos. Basically cleaned out the bearing, top and bottom and packed with fresh stuff.
I still need to paint the rear calipers to match the fronts so hopefully get that done tomorrow and I still need to go and collect the new sills, freshly painted, then I can complete reassembly and find a ride height.
One other thing I did spot. The new rear shocks don't have any spacer for between the shock and the swing arm.
View attachment 50984
As such, the factory bolt is too long to actually fit, so I'm assuming I'll just have to pack it out with a few washers?
View attachment 50985
Or, would it be worth pressing out the spacer from the old bush and reusing?
Thoughts anyone?
Tony.
If you try to push the sleeves out you will ruin the bush as they're bonded in place. I would make solid spacers rather than use several washers, or just cut the ends off the old shock sleeves?
Tony.
This. My new bilsteins came with a solid spacer.