Titan 3.0 Progress

Braz86

Zorg Legend
British Zeds
Joined
Feb 26, 2019
Points
75
Location
Aylesbury, Bucks
Model of Z
Z3
After a month of ownership, it's only fair that the 3.0 took a trip to the Zed Shed to get it off its stock stilts and to a more sensible ride height.

Considering how long it took to do the front shocks on my 2.0, this was a walk in the park, all parts went on and off with ease and felt like it took no time at all.
20190928_104245.webp
@Lee hiding under @GazHyde armpit

20190928_104255.webp
20190928_105636.webp
20190928_112213.webp


The only issue we came across was this little beauty
20190928_122337.webp
20190928_122355.webp


So it was an emergency trip to ECP with @pgunter to get new pads and disks, and coffee of course, and all was well again.

No pics or work on the rear shocks and springs, but here's the finished job
20190928_143208.webp


Thanks as always to the Zed Shed gents, they are already trying to get me to spend my money on refurbing the subframe as all the bushes need doing. I'll put it on the Xmas list gents!
 
That sits so nicely on those wheels.

Trust them on subframe and bushes - it’s a transformation you won’t believe - I certainly didn’t believe it possible to have such a planted Z until it went under the knife at the shed...these are are amazing once refreshed set up properly- you are in the right place for it too, doubt there is anywhere else that has done so many Z3 rear ends!
 
Looks so good. Can’t wait to get mine done
 
  • Like
Reactions: Lee
Yesterday, after chatting to Paul regarding speakers and frequency ranges, I bit the bullet and ordered some low range pioneers from Halfords, currently £20 for the 4" for the rear with a 35hz low end, and £35 for the 5" which should fit the front, 33hz low end. Slight modding needed of the speaker cover due to the central protrusion, just have to remove the wire gauze, then the foam that crumbles away, and snip out the central star and replace the gauze. Easy! Pics below
20191001_175648.webp
20191001_175927.webp
20191001_175948.webp
20191001_180039.webp
20191001_173836.webp


Sounded a lot better then stock obviously, and checked out the range with a signal generator on my phone, bluetoothed to the head unit, then recorded for you lovely people

I have some new speaker wire on order, just incase I need it, but hope to do the fronts tonight and see what the overall quality is like
 

Attachments

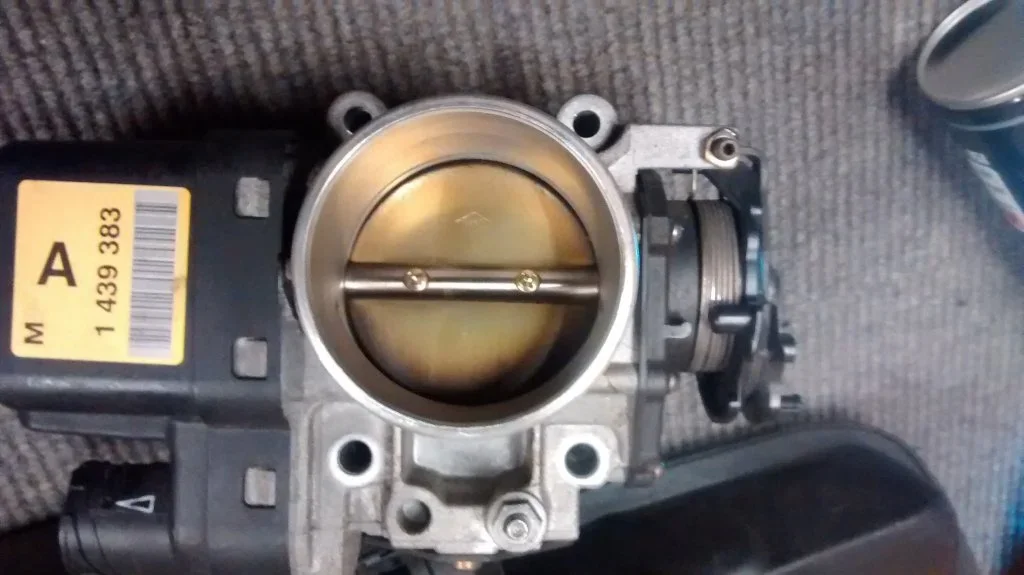
A dry day! Managed to get some free time too, so installed my Christmas presents-new water pump and thermostat. All seems good, but will check it tomorrow. Also tried the accelerator reset, but will see if there's any difference tomorrow too. A few pics below
20200125_143059.webp
Fan out, ready for the real work

20200125_145211.webp

Yup, knackered

20200125_151652.webp

Thermostat found at the bottom of the radiator pipe, definitely good to remove all hoses and check!

Screenshot_20200126-002037_WhatsApp.webp

Cock! Sheered off trying to push out the water pump :banghead:

20200125_170037.webp

New bolt was a bit longer, so packed out a bit to compensate

Next jobs are sorting out shoddy bodywork 'repairs' not that I'll be much better, and replacing the wishbones/mounts/track rods etc. Then I just need to save for the rear subframe refresh
 
Good work mate.:) I still have a new W/pump and T/stat to fit. Must get it done.;)

Tony.
 
Finally a dry enough day to work on the car, wishbones, drop-links and track rods are the order of the day, so that hopefully I can drive in a straight line! Going by the last time I did this, I made the decision to go with pre-fitted mounts on the wishbones, which would save about 2 hours of sweat and swearing.

Everything came off smoothly, except the tie rods, which seemed like they were welded on!! They are in good nick, so will leave those alone
20200314_125415.webp
20200314_125419.webp


Managed to attack the nearside top nut with a bit of engineering too
20200314_133229.webp


Old wishbones and mounts
Screenshot_20200315-002235_Gallery.webp


It was all going so well, and then someone *coughs* @Mnbrennan *coughs* :whistle: decides to snap both new bolts for the OS lollypop :facepalm::bashhead::slaphead:Much swearing ensued (I was surprisingly calm and relaxed), and we moved on to finishing the NS, which went better as we used my tapping set to clean out the threads first
20200314_162333.webp


I collected my extensive set of blunt drill bits and Martin set about trying to right his wrongs, but in the end we decided to call it time and think about how we are going to fix this slight predicament
20200314_162253.webp


To be continued......:popcorn:
20200314_174720.webp
 
Last edited:
Can I ask what the accelerator reset is ? I have a 2.0 6cyl and throttle is stiff
Thanks
 
Can I ask what the accelerator reset is ? I have a 2.0 6cyl and throttle is stiff
Thanks
What year is it? Models from around 2000 had a fly by wire accelerator, so no throttle cable. Stiff pedal sounds more like you have a cable
 
What year is it? Models from around 2000 had a fly by wire accelerator, so no throttle cable. Stiff pedal sounds more like you have a cable

not necessarily, some are a hybrid and have both an electronic throttle, and a cable, where the motor only does cruise control and asc, the cable is used as a normal accelerator

This is mine with both:
img_20151031_183930819_22022860824_o.webp


The throttle reset is by using the 'adaptations' in INPA where the software calibrates itself to the driving style, Resetting it gets it back to normal defaults
 
Last edited:
Yeah I was pretty p*****, someone previously had screwed the threads and I just made it worse :banghead:

I have a plan...
 
I haven't updated this for a while.

Managed to get the snapped bolts out, it did take a day and a half, but it's all part of the fun
20200321_114336.webp
20200321_114655.webp


New bolts in after a good clean up of the thread, and a bit of loktite just to be extra cautious, and jobs a goodun.

Next project is the sills. Someone that a specialist in Luton sent it to for new outers and any welding required, did an absolute bodge job.
20200407_124130.webp
Anything rusty was just painted over with waxoyl, or similar sticky paint, no cleaning up attempted. Less than 2 years ago!

This is what I found
20200407_141411.webp
20200407_135735.webp


Looks horrific, but that end plate is so thin it's like they wanted it to happen! Although I've never seen it before. Quick thinking and came up with a plan. 0.5mm steel sheet ordered online, and was considering welding, but found super steel in Halfords, which I thought I'd give a try. It's an absolute life saver! Not the neatest job, but gets everything sealed and looking better
20200425_173535.webp
20200506_133343.webp


Luckily the main sill bodys were just a bit of surface rust, so worse than it looked in all.

Everything cleaned back to bright steel then treated with Vactan outside and Dynax S-50 inside, before painting with red oxide and a spray of stone chip for good measure.
20200411_111218.webp
20200427_141555.webp


The goon at the bodyshop never stone chipped the sills, I did that too whilst I was at it
20200512_001040.webp
20200512_001021.webp


Now I have to find something else to do or fix, any ideas?!
 
Last edited:
Great work :thumbsup:

I'm currently using the downtime to strip out the interior and refurbish the leather, also sort out any wiring whilst the dash, centre console and seats are out.
 
Out of interest approximately how much £££s is it to drop the rear sub and refresh everything and put it back? Would like to know roughly how much I need to save up to sort my rusty bits..
 
Out of interest approximately how much £££s is it to drop the rear sub and refresh everything and put it back? Would like to know roughly how much I need to save up to sort my rusty bits..
At a guess, I'd go with about 500, but it depends exactly what you are replacing/upgrading. @Lee is the best person to ask on that
 
Tank strap Friday courtesy of next day delivery from @Mazza. Glad I don't have to do that again! NS hook was rusted to the bracket so took about 20 mins to get off, and OS is jus a pain in the arse!
20200529_133254.webp
20200529_134809.webp
20200529_141845.webp
20200529_142003.webp
20200529_142033.webp
20200529_143529.webp
Managed to unhook the bracket, but still needs cutting to remove. Gives you a bit more play
20200529_152241.webp
10mm spanner required here as the nut is too close to the beam
20200529_153034.webp
 
Back
Top