S50 Z3M Roadster Progress

Had some massive progress this evening. The beam bushes are now out. It certainly wasn't easy though. I did some research on the intorwebz and found someone had modified a pitman arm puller and combined it with a gear puller to get the bushes out. I thought I'd try something similar.

One of the problems when trying to get the bushes out, is that if you just try and pull them from the far side there's large amount of movement in the bush and it doesn't really come out. I tried using the method I found online but unfortunately the gear puller kept on pinging off. Instead I tried pulling from one side and pushing from the other.
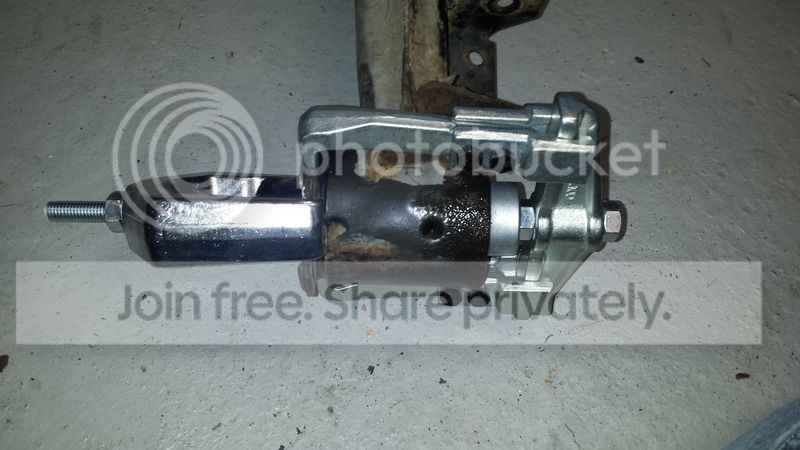
20150730_204542.jpg

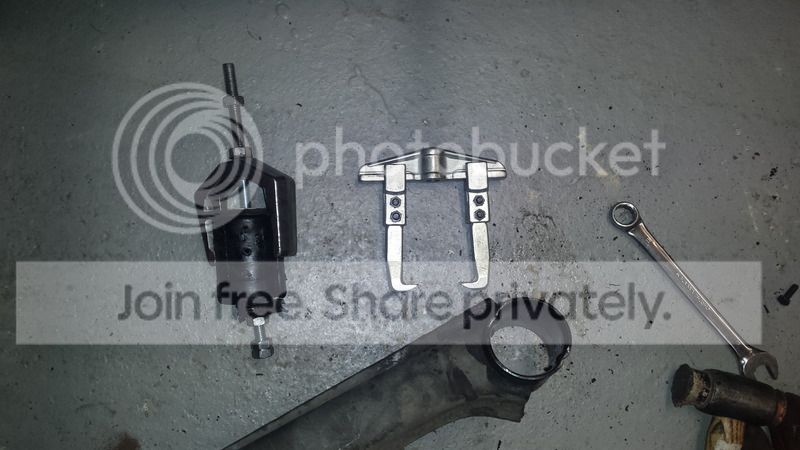
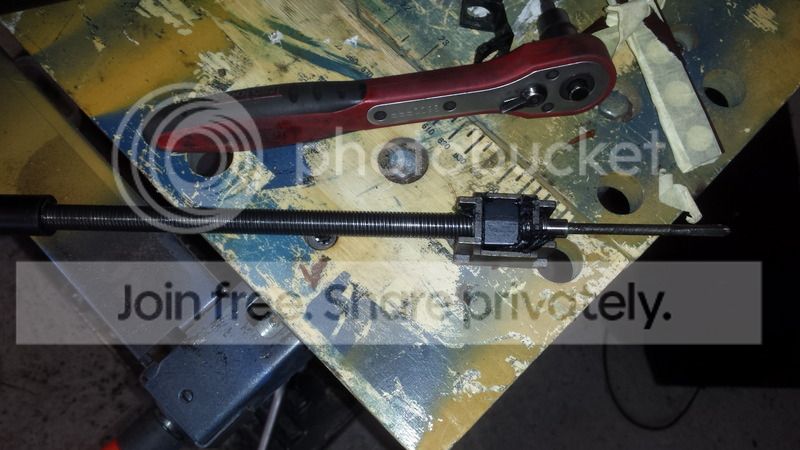
The pitman puller is on the left, a piece of threaded bar passing all the way through, pulling on the bush against a socket, then with the gear puller pushing on the steel lip of the bush.

This kind of worked, but actually it was the pulling which was doing most of the work. I replaced the socket with an offcut I had which filled the inner diameter of the bush housing. Lots of WD40 was added and then it start to come out:
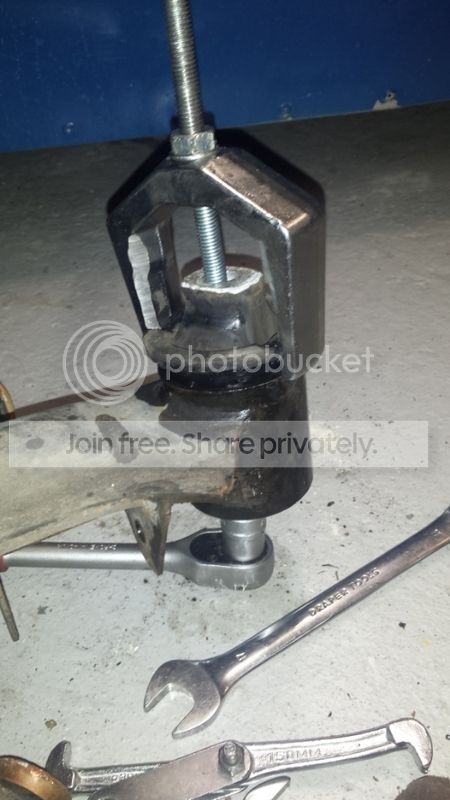
c1a0e2fa-f50e-4408-b4a5-a340710bf250.jpg


I then put the gear puller back on to help pull it out. This final configuration worked a treat!
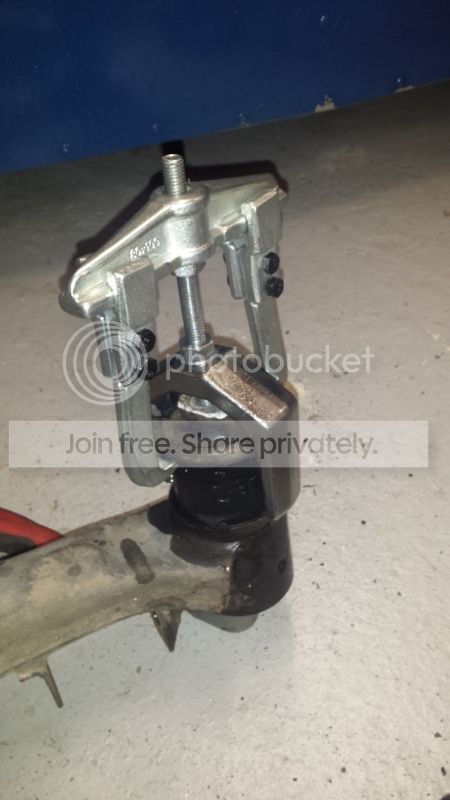
a225ea0b-5350-478a-ba3e-781d58fc209c.jpg


This was what I used:
20150730_220553.jpg
 
  • Like
Reactions: Lee
There's a much easier but far smellier way.

Tony.
 
There's a much easier but far smellier way.

Tony.

Yeah, burning them out was going to be the last resort but I once I'd got the method sorted on one, it only took about 10 minutes to get the other out.....and no smoke, mess, or horrible cleaning up to be done.
 
Good for you for sticking to your plan mate, how are you going to fit the new ones? Just a reversal of the removal process?

Tony.
 
Getting them back in is easy, I'll just push them in - if they turn out to be a little tight then I can do something similar with some threaded bar or a G-clamp.
 
I've been super busy over the last few days as I have 'enforced summer holidays' with my job meaning two weeks off in the summer! Anyway, there's loads of photos as I wanted to track everything I did.

20150804_103912.jpg

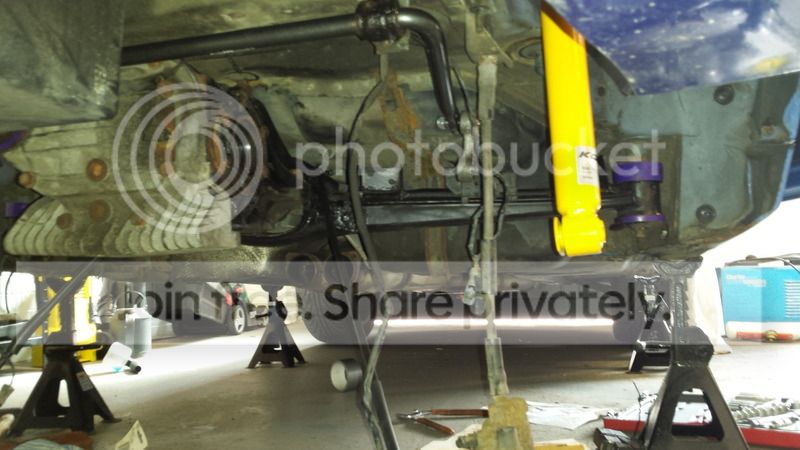
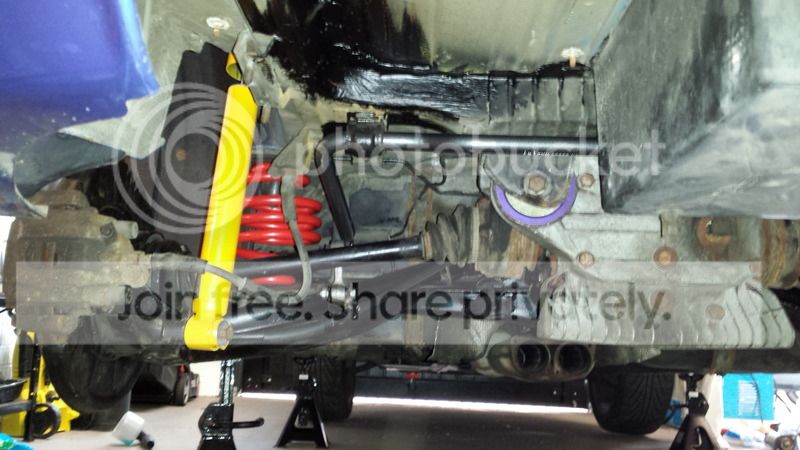
Rear beam back in with the diff - I decided to put it back together in pieces as the whole assembled subframe is way to heavy to do by myself! I'd also fitted the new rear ARB, shocks and poly bushes.
20150804_122218.jpg

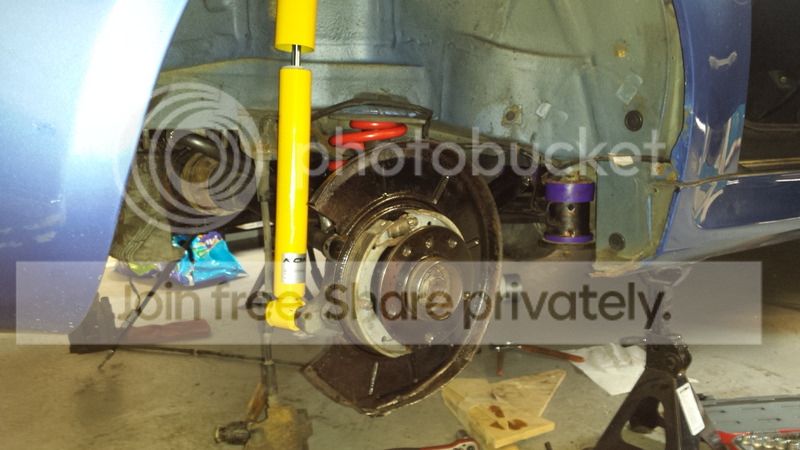
I was worried about putting the handbrake shoes back on as I'd not paid much attention taking them off. However, it was very easy, and with new cables.
20150804_145510.jpg

And the other side......I decided to wire brush everything an paint it to prevent further rust.
20150804_162026.jpg

A pic of it all in before fitting the exhausts and heat shields
20150804_173930.jpg

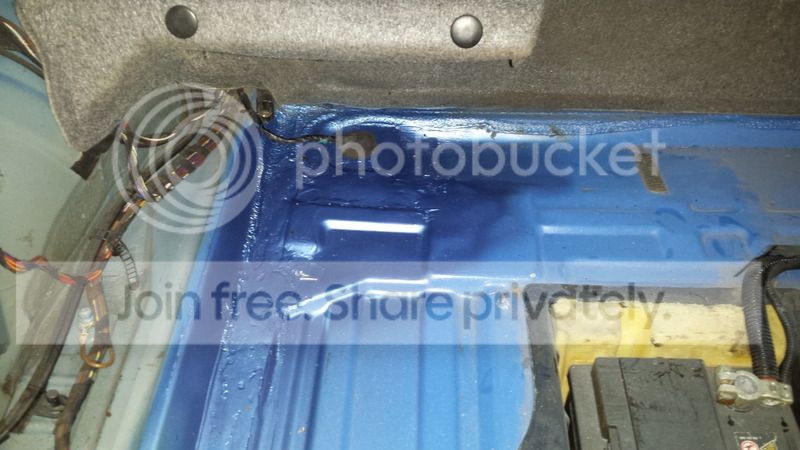
The boot floor fix was reasonably successful....my welder started packing up half way through though :-(
20150804_161717.jpg

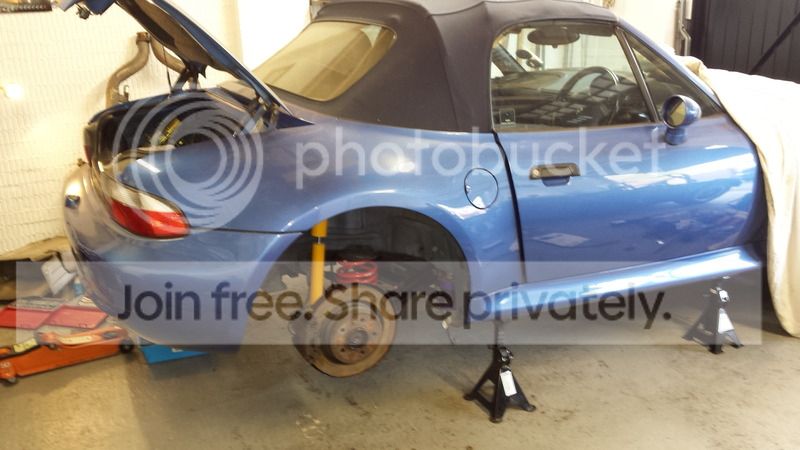
Progress! Back end basically complete, time to move to the front.
20150805_102906.jpg

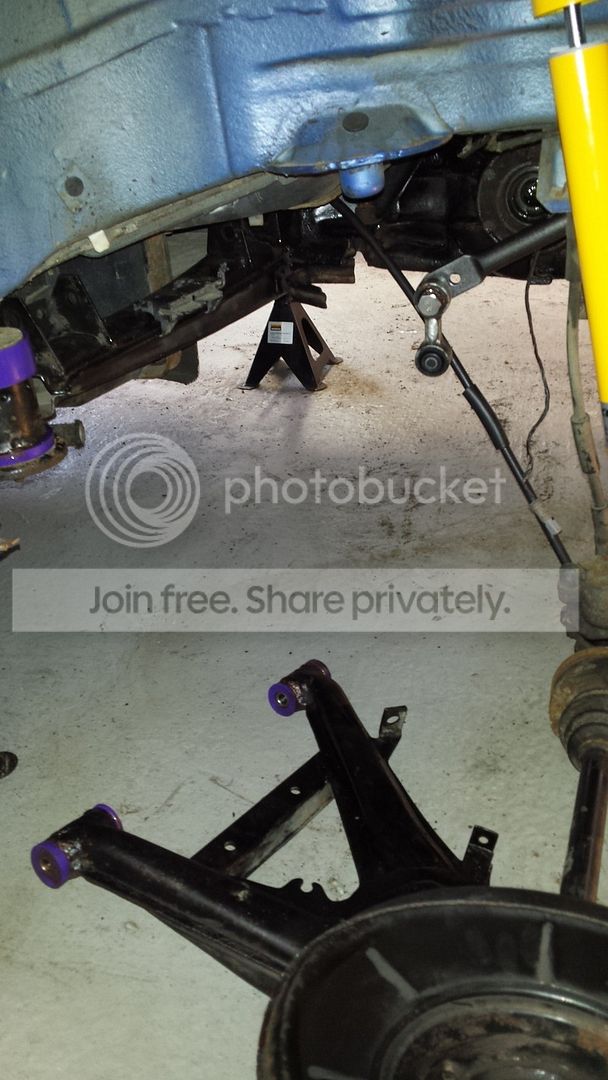
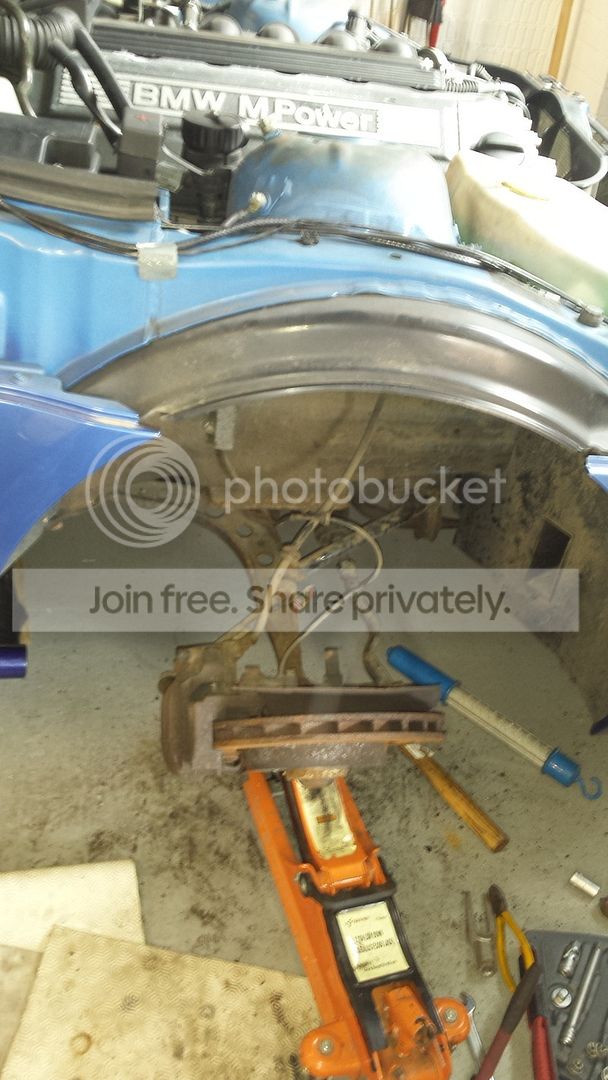
Front shocks out, and front bushes - the front bushes were really easy to remove with a load of WD40 and the 2 arm gear puller. No need to burn anything!
20150805_163241.jpg

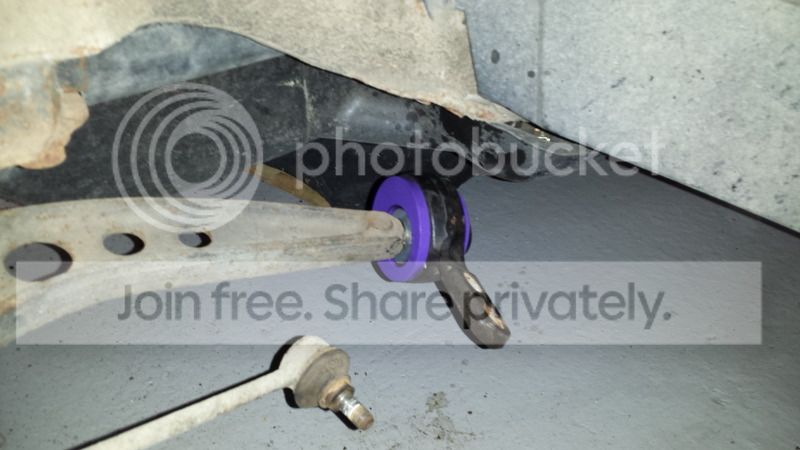
Front polybush in
20150806_105352.jpg

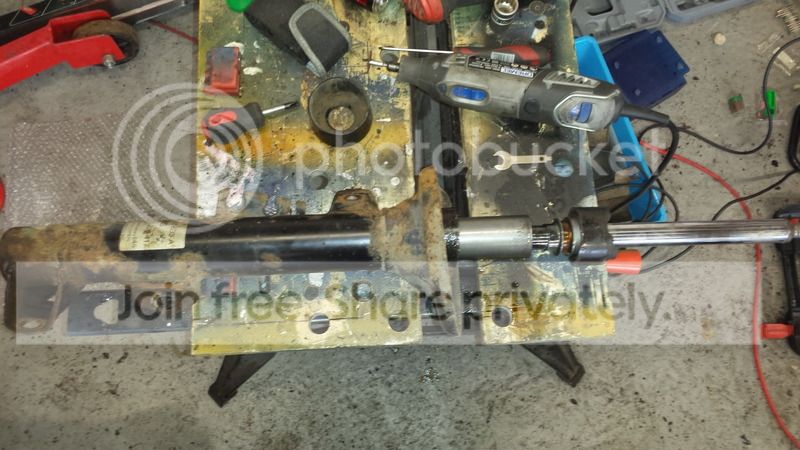
I cut the top of the strut off to allow the fitting of the new insert
20150806_110802.jpg

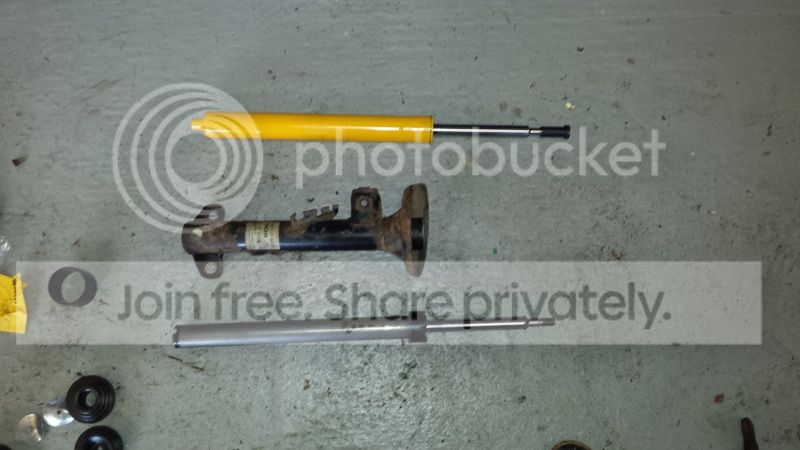
Old damper and new KONI \adjustable damper
20150806_115651.jpg

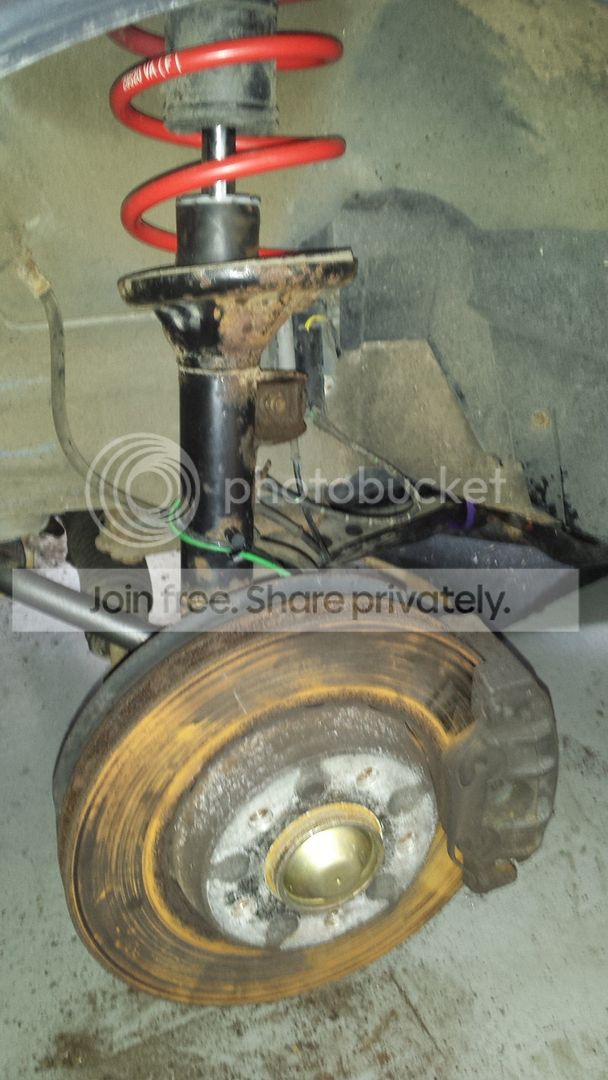
And fitted with the new springs. I probably should have painted the struts.....that's a job for next time, I really couldn't be bothered after doing all the rear subframe.
20150806_120648.jpg

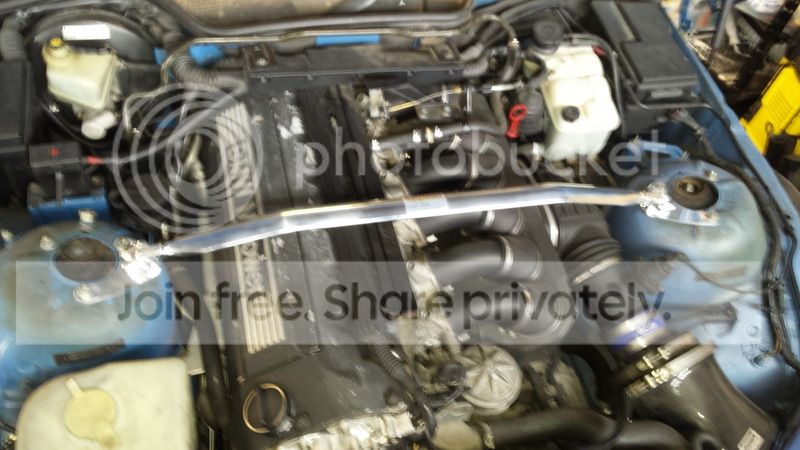
Weichers strut brace - sorry about the crap quality picture
20150806_135717.jpg

My seat had some play in it and I was horrified to find that on this side there wasn't even a bush, just a load of silicone sealant...all sorted now

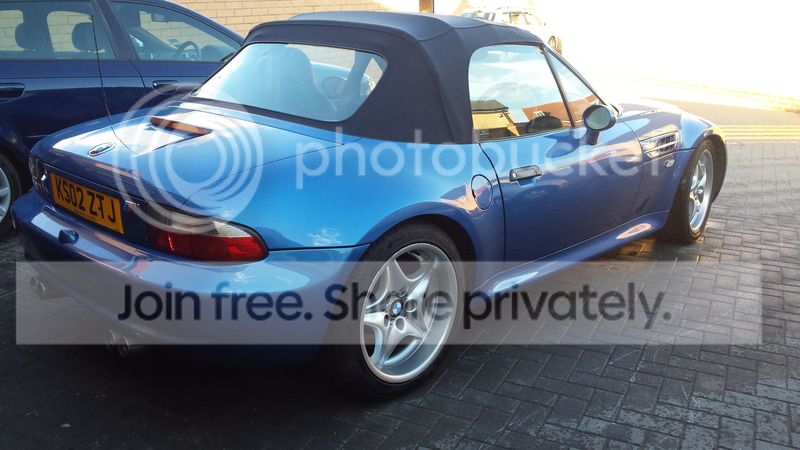
and finally all done!

20150806_183705.jpg

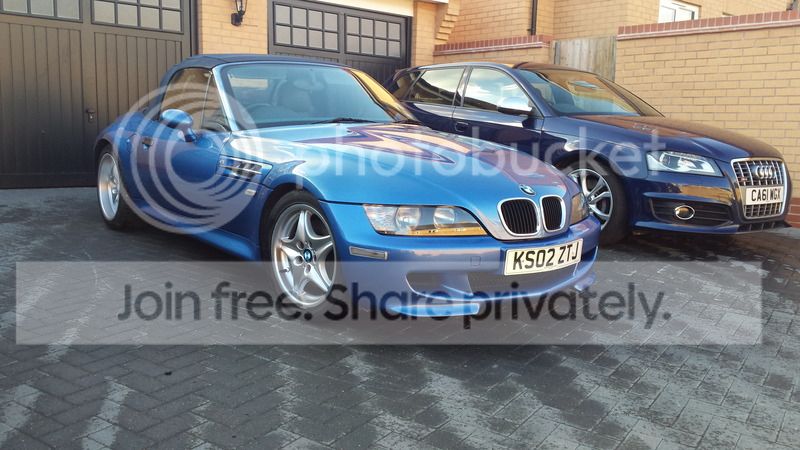
I really like the subtle drop, makes my S3 look HUGE!!

20150806_183722.jpg


I took it in for it's MOT, but it failed on an airbag light and emissions. I've booked it in for next wednesday to get these sorted. I can't wait to take it for a proper spin. Just driving it to the garage felt awesome, all the upgrades have made a massive difference. I need to bed everything in, check everything is all still tight, then I can take it for a proper drive!

I'm very excited!!
 
I've been super busy over the last few days as I have 'enforced summer holidays' with my job meaning two weeks off in the summer! Anyway, there's loads of photos as I wanted to track everything I did.

20150804_103912.jpg

Rear beam back in with the diff - I decided to put it back together in pieces as the whole assembled subframe is way to heavy to do by myself! I'd also fitted the new rear ARB, shocks and poly bushes.
20150804_122218.jpg

I was worried about putting the handbrake shoes back on as I'd not paid much attention taking them off. However, it was very easy, and with new cables.
20150804_145510.jpg

And the other side......I decided to wire brush everything an paint it to prevent further rust.
20150804_162026.jpg

A pic of it all in before fitting the exhausts and heat shields
20150804_173930.jpg

The boot floor fix was reasonably successful....my welder started packing up half way through though :-(
20150804_161717.jpg

Progress! Back end basically complete, time to move to the front.
20150805_102906.jpg

Front shocks out, and front bushes - the front bushes were really easy to remove with a load of WD40 and the 2 arm gear puller. No need to burn anything!
20150805_163241.jpg

Front polybush in
20150806_105352.jpg

I cut the top of the strut off to allow the fitting of the new insert
20150806_110802.jpg

Old damper and new KONI \adjustable damper
20150806_115651.jpg

And fitted with the new springs. I probably should have painted the struts.....that's a job for next time, I really couldn't be bothered after doing all the rear subframe.
20150806_120648.jpg

Weichers strut brace - sorry about the crap quality picture
20150806_135717.jpg

My seat had some play in it and I was horrified to find that on this side there wasn't even a bush, just a load of silicone sealant...all sorted now

and finally all done!

20150806_183705.jpg

I really like the subtle drop, makes my S3 look HUGE!!

20150806_183722.jpg


I took it in for it's MOT, but it failed on an airbag light and emissions. I've booked it in for next wednesday to get these sorted. I can't wait to take it for a proper spin. Just driving it to the garage felt awesome, all the upgrades have made a massive difference. I need to bed everything in, check everything is all still tight, then I can take it for a proper drive!

I'm very excited!!
Now that's one way to occupy one's time during a vacation time out! Looks great and I'm sure the ride will be completely for the better!!! Thanks for the reporting and pics, JIM
 
The car is now in the garage! Fingers crossed it'll pass the emissions. I put some BP ultimate fuel in (on BMBabes recommendation) and some Top Cat Cleaner and took it for a quick blast up the dual carriage way to hopefully clear the cat out. It's never failed on emissions before so I imagine it's because it's been sitting in the garage for a year with the very occasional fire up to move it forwards/backwards.

I've also asked them to do the 4 wheel alignment if they have time as it'll need it after doing the bushes.

Interestingly you can fit a road bike in a Z.....pics to follow!
 
Good luck hope she passes :thumbsup:
 
I had great fun taking the zed up the meeting in shepshed.

Unfortunately, yesterday the roof stopped working and I didn't know what caused the problem. At the show yoday Gaz informed me that it could be the brake light switch, and shockingly it was. I hadn't checked as it'd just passed it's MOT.

Anyway, once home, I temoved the switch, took it apart and found it to be very dirty and pitted. Much like a worn out set of points. A bit of a clean up and minor adjustment to the mechanism and it's all back together and working.

In the pic the worn dirty side of the switch on the right can be seen.

20150816_152107.webp
 
I like to repair rather than replace if possible. With a little grease on there it should last a long time.

Tony.
 
Unfortunately, yesterday the roof stopped working and I didn't know what caused the problem. At the show yoday Gaz informed me that it could be the brake light switch, and shockingly it was
Twas awesome to meet you and your lovely lady today. Glad you got it stripped down and found the fault, although kind of scary that you've been driving without brake lights for a short time!
 
  • Like
Reactions: Lee
It was definitely a good laugh!

I'd like to go on a bit of a cruise somewhere with some other people, I need to keep my eyes peeled on the events section.
 
I need to keep my eyes peeled on the events section.
If you click on "Watch Forum" in the Event section then it will send you an alert when a new thread (event) is posted ;)
upload_2015-8-17_16-59-40.webp
 
Enjoyed meeting you Chazzy and was completely amazed at the way you coped with the traffic on the M1 watching you dive in and out without even touching your brakes once, I commented to my son Lee that it takes some real skilful driving not to be on the brake peddle at all. Now the secret is out I think no less of you=)) great to read about your M rebuild, so talented and can get your Racer in it too. Be careful on your Sunday rides round the lanes though. Hope to see you again and try not to hold me up this time.:cool: :happy:

PS; just found this one on my phone cam.
image.webp
 
Last edited:
...it takes some real skilful driving not to be on the brake peddle at all.
View attachment 19723

Hahahahaha - funny you should say that actually as I've conditioned myself to not use the brakes very much when cruising around. I've found I get an improvement of around 5mpg in my S3 if I lift off early, use engine braking, and maintain momentum. It also forces you to keep your distance from cars in front and plan your next move much earlier. I actually quite enjoy driving like this, it's more interesting and isn't really any slower!

It was great to meet you too, looking forward to seeing you out again!
 
Took the zed out for it's first proper 'spirited' drive this morning. It was awesome, although some decent brakes would be nice! I think they'll be the next thing on the list. I think I'll go down new discs and uprated pads rather than a caliper kit as they tend to be on the expensive side!
 
Took the zed out for it's first proper 'spirited' drive this morning. It was awesome, although some decent brakes would be nice! I think they'll be the next thing on the list. I think I'll go down new discs and uprated pads rather than a caliper kit as they tend to be on the expensive side!

Agree, decent set of pads and discs will transform the braking.
 
Back
Top