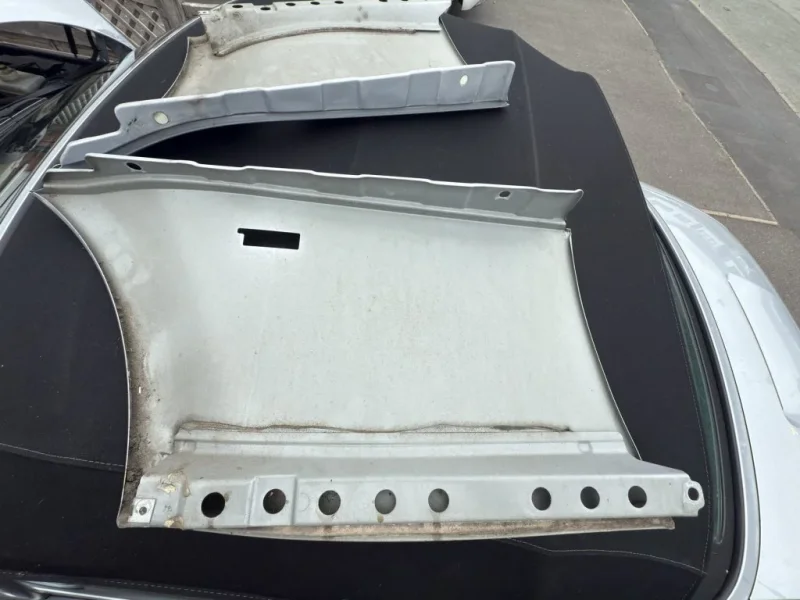
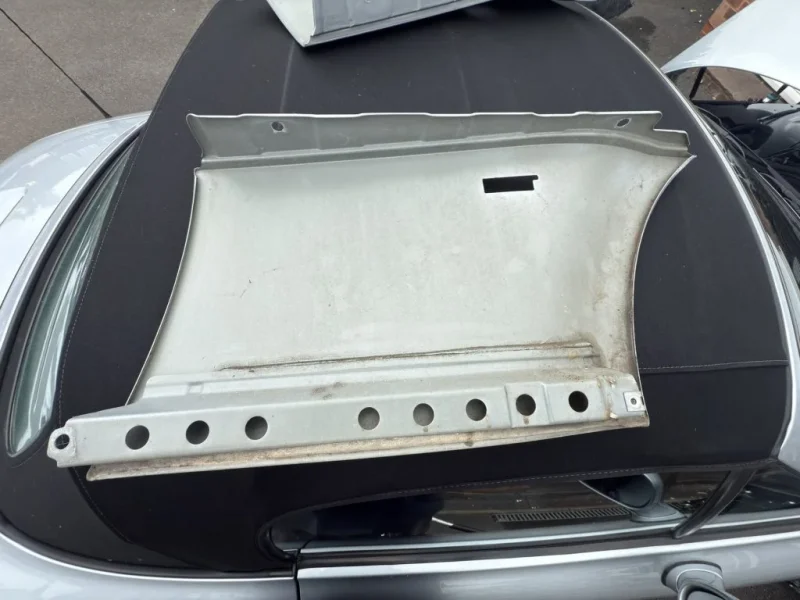
Rustproofing day one

Brian Hill 1958

Dedicated Member
British Zeds
Joined
Oct 18, 2024
Points
44
Location
Stafford uk
Model of Z
2.8
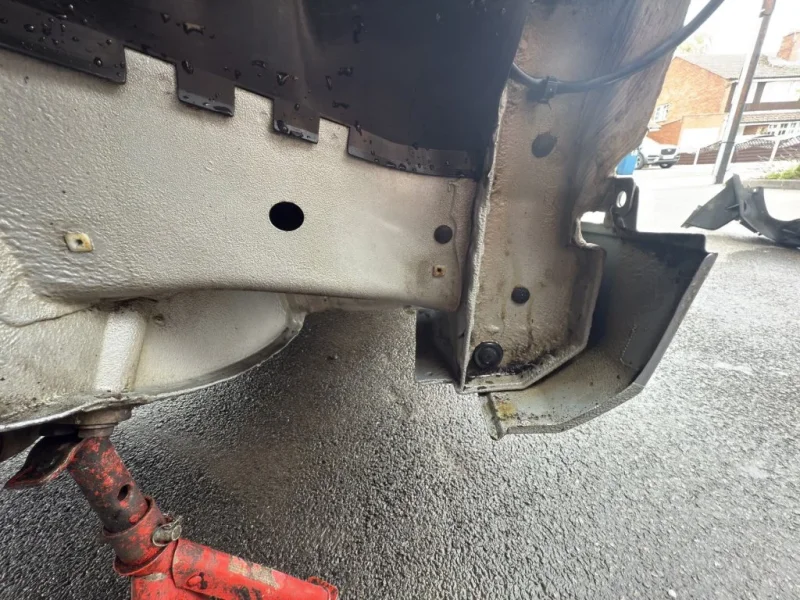
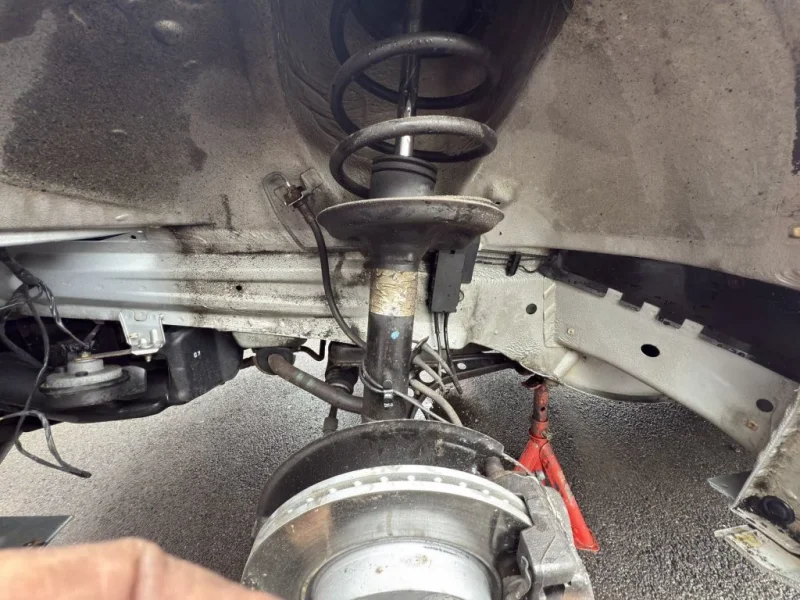
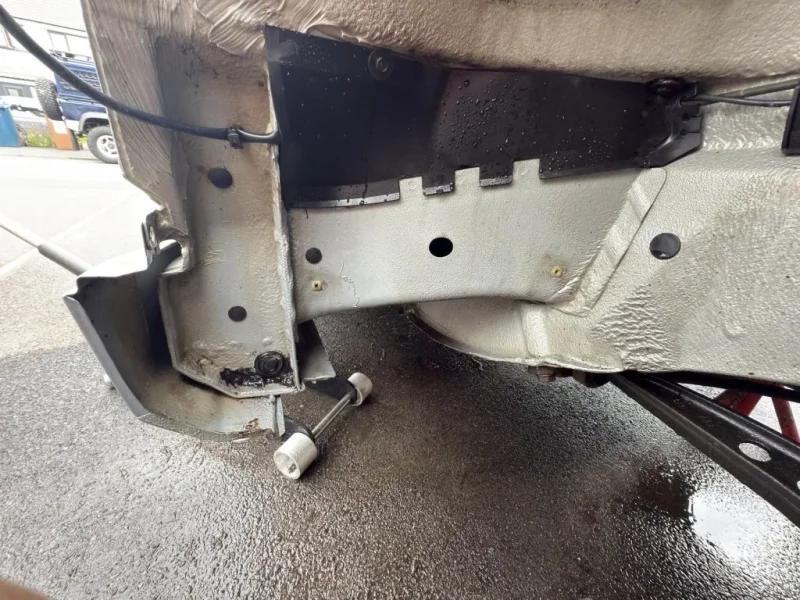
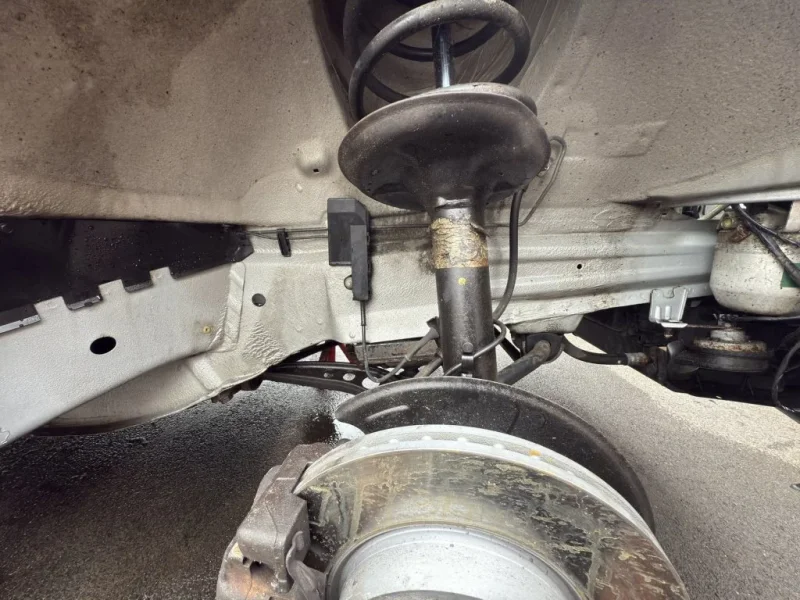
Very pleased after removing front arch liners and front wings to find very little in the way of corrosion so far, next is rear arch liners and sills, then prep and lots of "Bilt Hamber UC"
 

Attachments

  • IMG_0191_resize.webp
    IMG_0191_resize.webp
    215.3 KB · Views: 487
  • IMG_0192_resize.webp
    IMG_0192_resize.webp
    174.6 KB · Views: 468
  • IMG_0193_resize.webp
    IMG_0193_resize.webp
    212.3 KB · Views: 479
  • IMG_0194_resize.webp
    IMG_0194_resize.webp
    182.3 KB · Views: 469
  • IMG_0195_resize.webp
    IMG_0195_resize.webp
    76.3 KB · Views: 465
  • IMG_0196_resize.webp
    IMG_0196_resize.webp
    77 KB · Views: 493
That all looks really good thats a really good sign that inner sill is going to nice as well .
Wings are in first class condition.
Stephen.
 
Must admit I am extremely pleased, it’s proving to be worth every penny, well rather a lot of pounds I paid for it, and it’s so nice having a car that resembles a meccano kit, seems like an 8mm and 10mm socket is pretty much all you need to take it apart
 
Having pulled a number of things apart on a z3 just going on the assumption that everything came apart as supposed and no special tools needed then you'd be surprised how little you tools you actually need.
Stephen.
 
The z3 has been a bit of a revelation for me as an ex mx5 owner when you were quite often lucky if anything came undone without major aggravation and now to be able to remove panels as you see fit, wish I’d taken the plunge years ago
 
If you want to do full rust removal and then prevention treatment, what is involved?

Below is what Redish Motorsport do for an inner sill restoration.

"Then treating all bare metal with POR-15 Metal Prep, then applying a Graphene Etch Primer, then a High Build Primer.
Then it's on to a brushable seam sealer to bulk up and replace any factory removed seam sealer.
Then we apply our OEM style sprayable seam sealer which recreates that factory textured appearance.
This is followed up by E-coat and also body-coloured base paints to further enhance the finished appearance and make it appear as original as possible.
An extensive Cavity Waxing process is carried out in all the internal sills and cavities and box sections to ensure the best chance of a corrosion free future."
 
I was very lucky mainly due to spending 21 yrs in a garage and only doing a few hundred miles a year. And as such had minimal very light corrosion on the ends of the outer sills with nothing at all on the inners or any where else of note. Any that needed treating was taken back to bare metal then treated with bilt hamber hydrate 80, followed by several coats of bilt hamber Electrox (zinc rich) followed by either dynax UC or dynax S50 depending on whether internal or external. All told a total cost of just under £200. But a lot of time as removing liners, sills, and front wings plus cleaning and prepping the rest of the underside is very time consuming, ultimately though I feel that I’ve done a more thorough job than paying someone else to do it. As they certainly wouldn’t have been cleaning and repainting fasteners, spare wheel etc. hard work but satisfying
 
That's a brilliant job, well done Brian :thumbsup:
 
awesome job... i do like Bilt Hamber UC

mine has had full underside done in bilt hamber, but im in the mood before winter to do another coat of something like a black stone chip, just need to find the right stuff.
 
Back
Top