Project EVGT

Very true Iain.

Tony.

ps. Wish I had a quid for every one.

 
My mate has finally (!) given me the dimensions for the box he wants folded, so hopefully have the folder on its way next Monday.
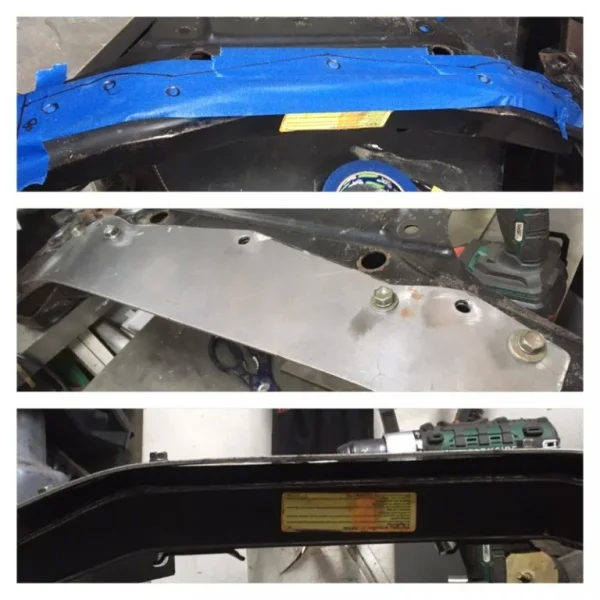
Bent up some 3mm steel to the crossmember, there’s an extra hole added for a 10mm rivnut I’m adding to mine. Even found some box, I’ll profile that to the cross tube and drill one end of that. I use 10mm id tube in the cross tube that bolts to the chassis so it doesn’t crush. Means you’ll need to drill and weld one side to match your car as there’s no side to side clearance, unlike the standard ‘x’ brace which has loads.
It’s not a chassis modification as it unbolts, but it is significantly stronger then the ‘x ‘ brace. You can adjust the two box section tubes to whatever width spacing/angle you like.
I’ll send with the folder in one parcel, I shouldn’t need that back for 4-5 months.

907D954C-F002-44A5-9C56-702D435945F0.webp
 
My mate has finally (!) given me the dimensions for the box he wants folded, so hopefully have the folder on its way next Monday.
Bent up some 3mm steel to the crossmember, there’s an extra hole added for a 10mm rivnut I’m adding to mine. Even found some box, I’ll profile that to the cross tube and drill one end of that. I use 10mm id tube in the cross tube that bolts to the chassis so it doesn’t crush. Means you’ll need to drill and weld one side to match your car as there’s no side to side clearance, unlike the standard ‘x’ brace which has loads.
It’s not a chassis modification as it unbolts, but it is significantly stronger then the ‘x ‘ brace. You can adjust the two box section tubes to whatever width spacing/angle you like.
I’ll send with the folder in one parcel, I shouldn’t need that back for 4-5 months.

View attachment 213523
Amazing! Remind me how big the folder is? I have a 30cm-ish one but bigger would be great. Need to make a gearbox/motor mount as well and thinking I'll fold that up.

Full video to come but some updates:

- I've bought a 3D scanner. Only a cheap one but gets well reviewed (if any of you watch the Making for Motorsport channel, it's the one reviewed on there recently)
- Done loads of sorting in the workshop. Looking properly tidy now.
- and the big news: engine is out of the GT!
Screenshot_20220217-140109_Instagram.webp
 
Sorry, didn’t make it home until late.

I’m sure it’s 30 inch, only supposed to take up to 1.2mm sheet but I’ve reinforced the bed with angle so it’ll likely do a bit more than that. Never tried really, I’ve only used it for flanges on repair panels, and a few boxes. Supposed to be mounted to a bench, I bolted it to a bit of box section, chuck it in my big vice when I need it.

For boxes, I’ve found using angle to mount the end of the box makes something significantly stiff. At the same time much lighter, cheaper and less bulky than a square tube frame with a box inside.
Just spot/rosette weld it, fast, secure and easy. Or big rivets. If it needs to be waterproof, seam sealer, or silicone, though seam sealer over paints.
I’ve experimented with bead rolling stiffening ribs, works well but takes lots of practice and planning. Needs a helper as mine isn’t motorised (yet). Not a route I’d recommend you go down, it would significantly slow progress.

I’ll include some temporary rivet pin things I can’t remember the name of at the moment, went over completely to Cleco pins/clamps, faster, and they don’t melt if I forget to remove them 😅.
 
Sorry, didn’t make it home until late.

I’m sure it’s 30 inch, only supposed to take up to 1.2mm sheet but I’ve reinforced the bed with angle so it’ll likely do a bit more than that. Never tried really, I’ve only used it for flanges on repair panels, and a few boxes. Supposed to be mounted to a bench, I bolted it to a bit of box section, chuck it in my big vice when I need it.

For boxes, I’ve found using angle to mount the end of the box makes something significantly stiff. At the same time much lighter, cheaper and less bulky than a square tube frame with a box inside.
Just spot/rosette weld it, fast, secure and easy. Or big rivets. If it needs to be waterproof, seam sealer, or silicone, though seam sealer over paints.
I’ve experimented with bead rolling stiffening ribs, works well but takes lots of practice and planning. Needs a helper as mine isn’t motorised (yet). Not a route I’d recommend you go down, it would significantly slow progress.

I’ll include some temporary rivet pin things I can’t remember the name of at the moment, went over completely to Cleco pins/clamps, faster, and they don’t melt if I forget to remove them 😅.

Are you thinking about "Rivnuts" by any chance?

Tony.
 
Not rivnuts Tony, it’s like a Cleco pin, sort of, for holding panels you want to rivet, or screw together. Stepped end, plastic spacer, knurled top you screw down to lock the end. They have a Name, and I can’t remember it as I haven’t used them in a decade. Tried Google and it just shows Cleco. It’s annoying me now!
I’ll take pics when I eventually make it home.

OOoh, Tom.
I like that scanner, I may order one of those, I have lots of uses at that price.
 
Not rivnuts Tony, it’s like a Cleco pin, sort of, for holding panels you want to rivet, or screw together. Stepped end, plastic spacer, knurled top you screw down to lock the end. They have a Name, and I can’t remember it as I haven’t used them in a decade. Tried Google and it just shows Cleco. It’s annoying me now!
I’ll take pics when I eventually make it home.

OOoh, Tom.
I like that scanner, I may order one of those, I have lots of uses at that price.
I hope it's as good as it looks. Likewise loads of uses, from making up unobtainable connectors, to laying out the engine bay, to designing motor mounts, to planning out rear lights. Should be here middle/end of March.
 
Wow it's been a while since I've posted on this project. Finally getting moving on it again, after a lot of focus on the 300, my first EV swap. Check that thread for updates there.

So, big update is that I have decided not to try to save the first Z I bought for this project. It's technically doable but I can't find repair panels that cover the full sill, making them up would be a ballache, and I think I would always have concerns about strength and safety. For the amount it would cost to have it professionally repaired, it's just not worth it.

I was still undecided about this when a friend made the decision for me by putting up for sale his low mileage, Japanese import, garaged-most-of-its-life Z. A 97 1.9 auto in Montreal Blue. It appears to be clean as hell with not a spot of rust anywhere. Even has some MOT left and a fresh set of tyres.

So, plan is to get this into the garage and scrap the old one. Its doors will solve the problem with my knackered doors on the 300, and I will strip it for useful parts and repair panels before scrapping the rest. Not sure of the legalities on that so might need to find a friendly local scrappy - one that will pick up the remains. That or I'll take the plasma cutter/sawzall to it and take it to the scrappy in the boot of my wife's car.

Sad but necessary and it will ensure the long and happy life of the other two cars.

In the meantime, EV-swap god Damien Maguire has started playing with the drivetrain I intend to use, so hoping that will save me some work.
 
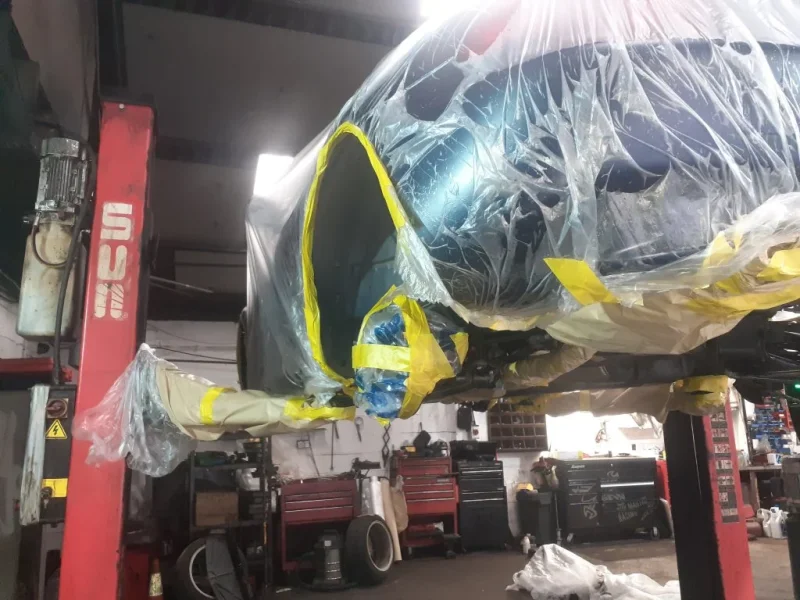
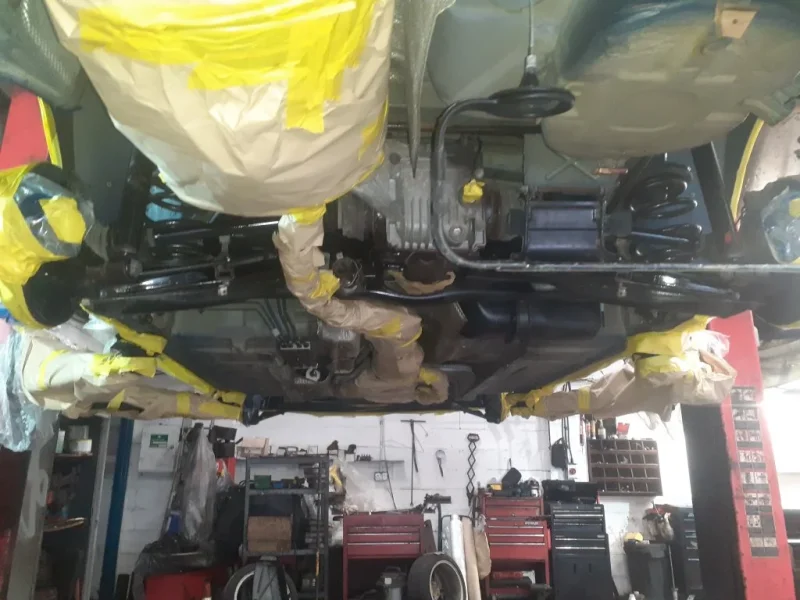
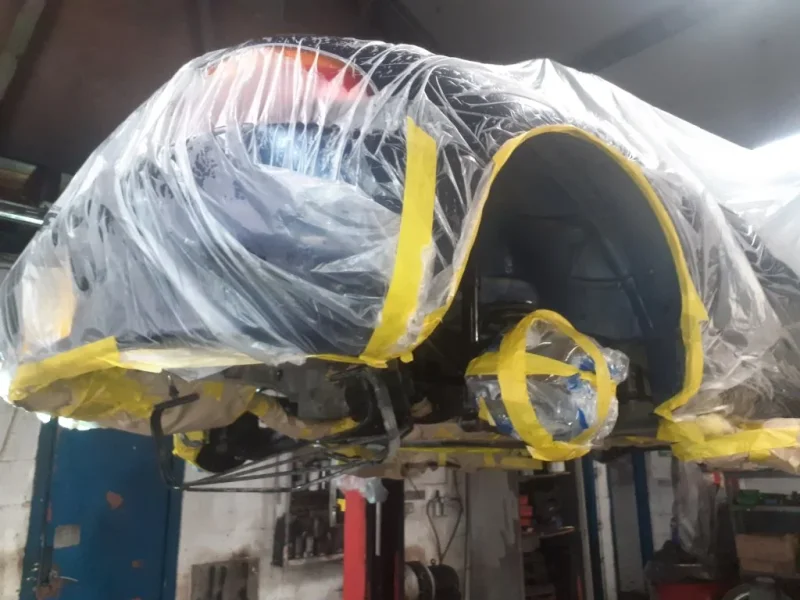
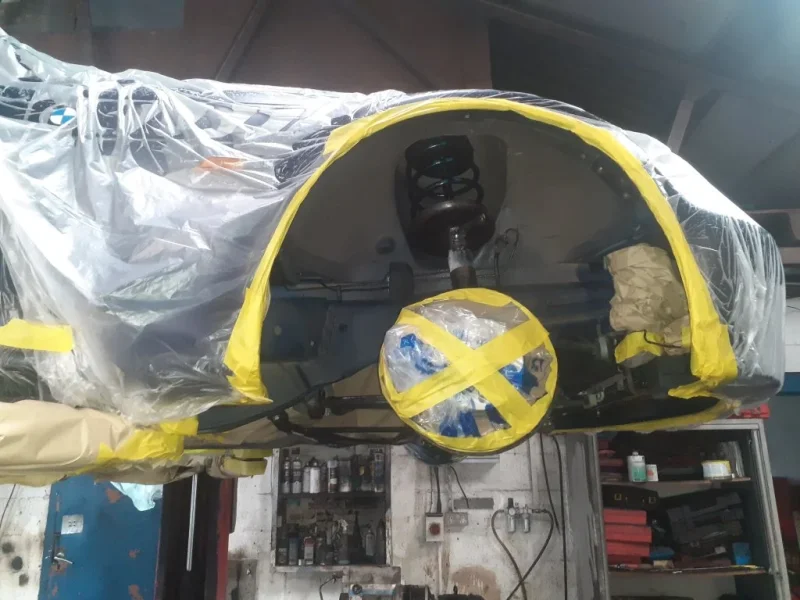
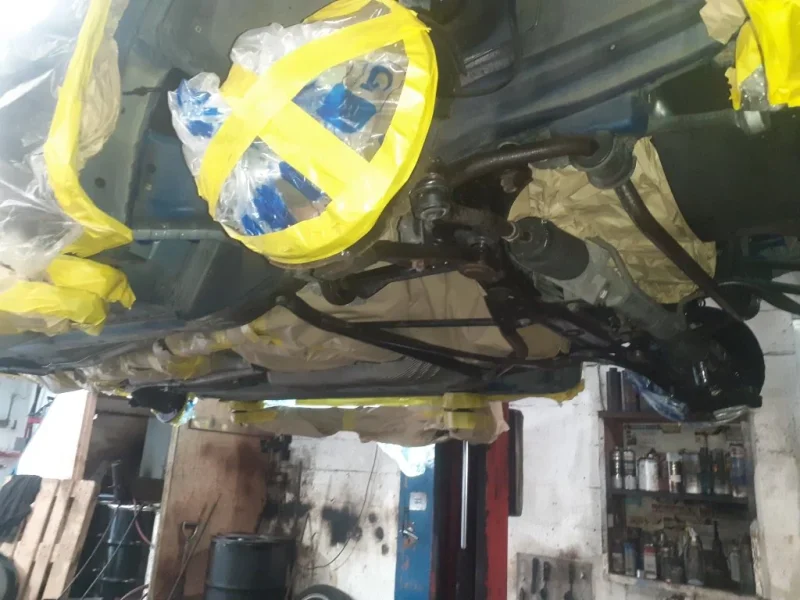
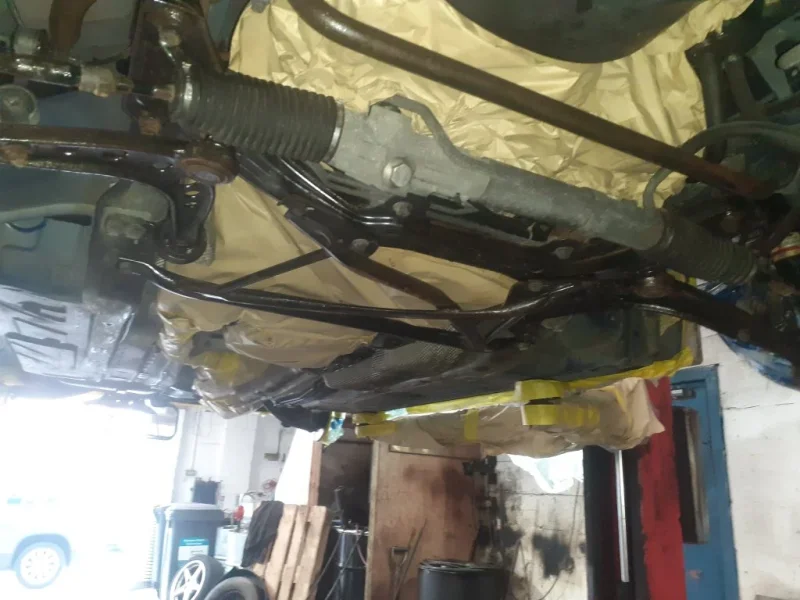
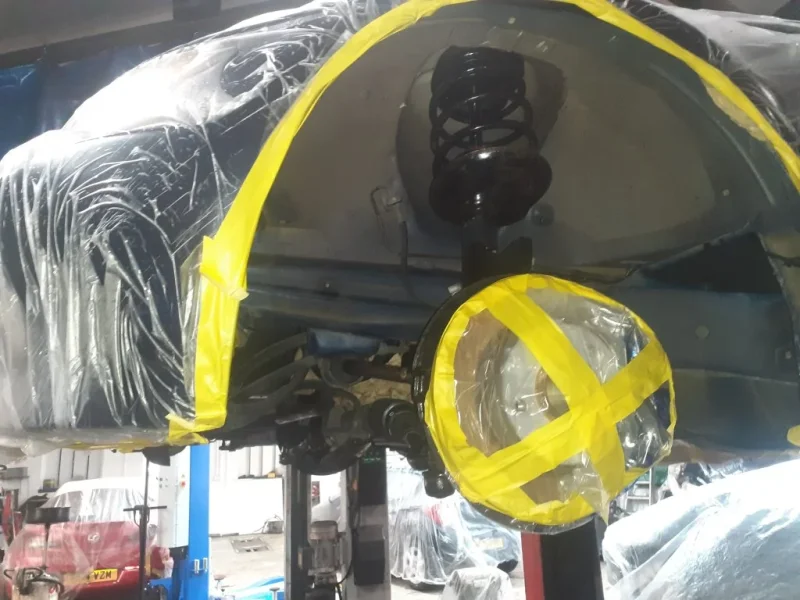
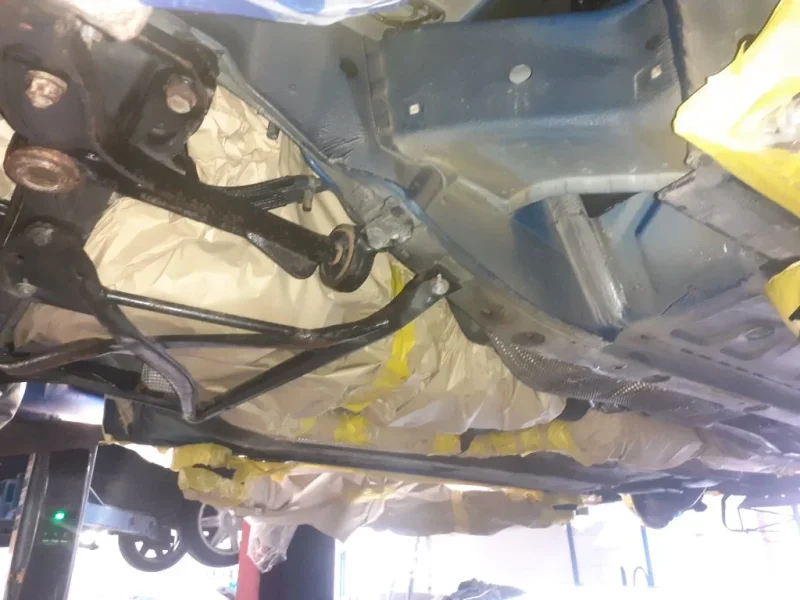
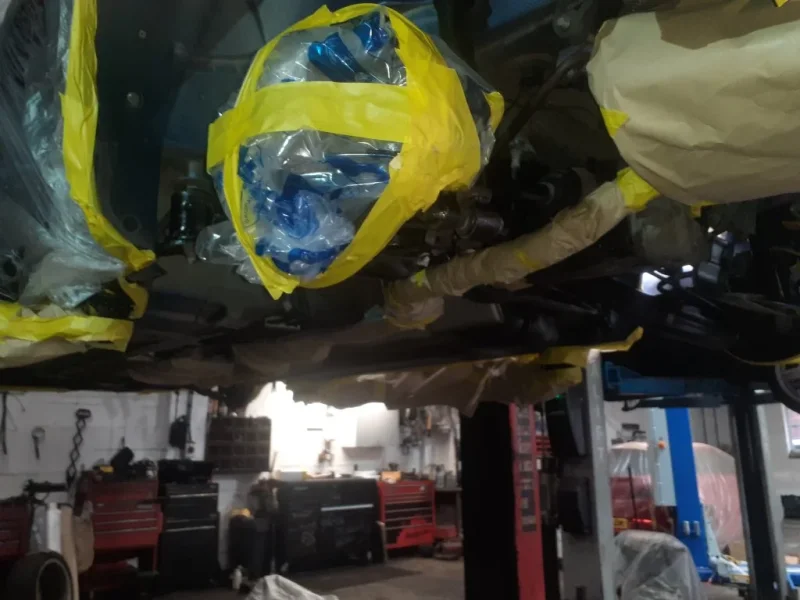
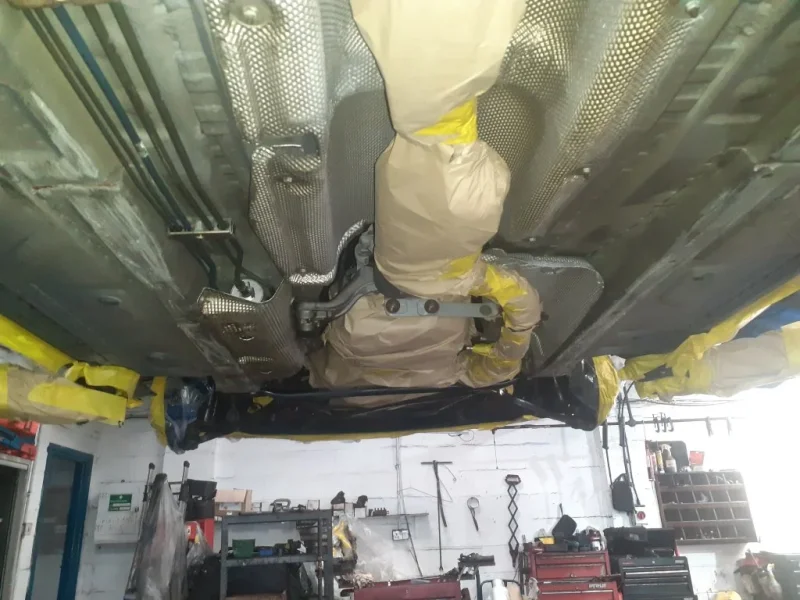
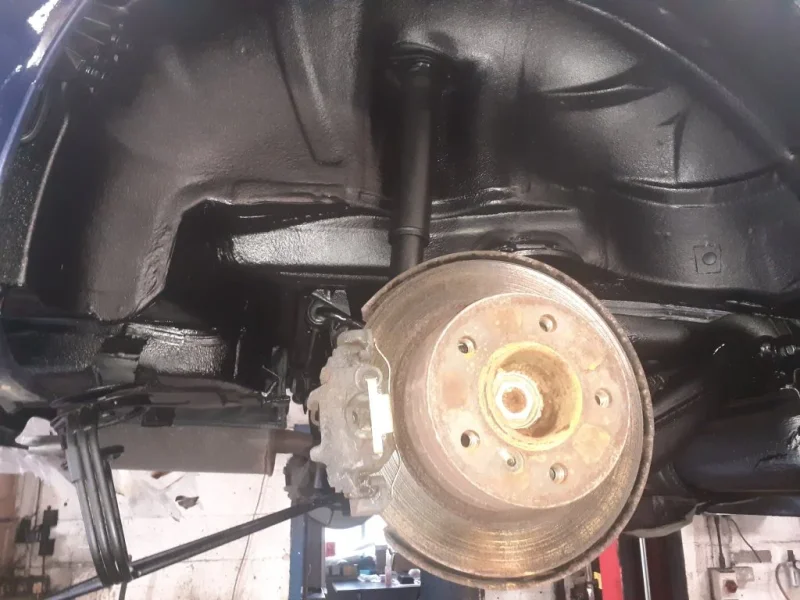
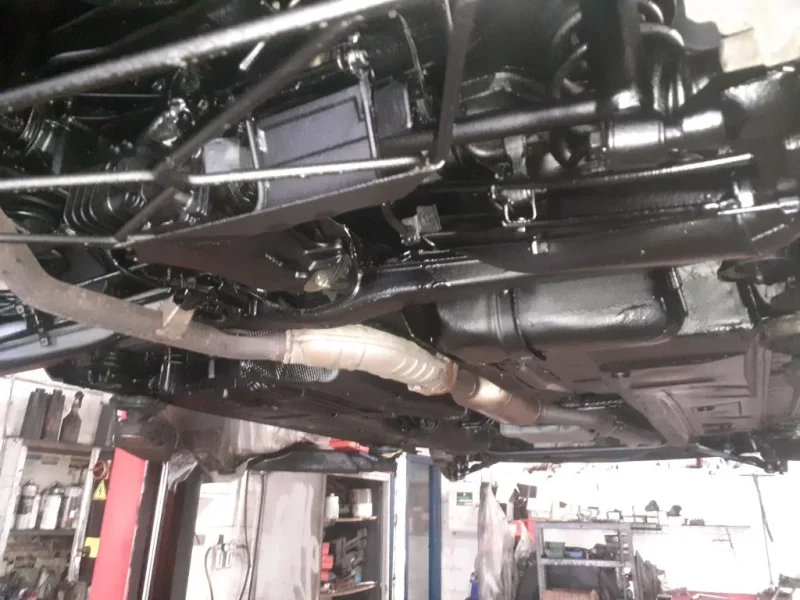
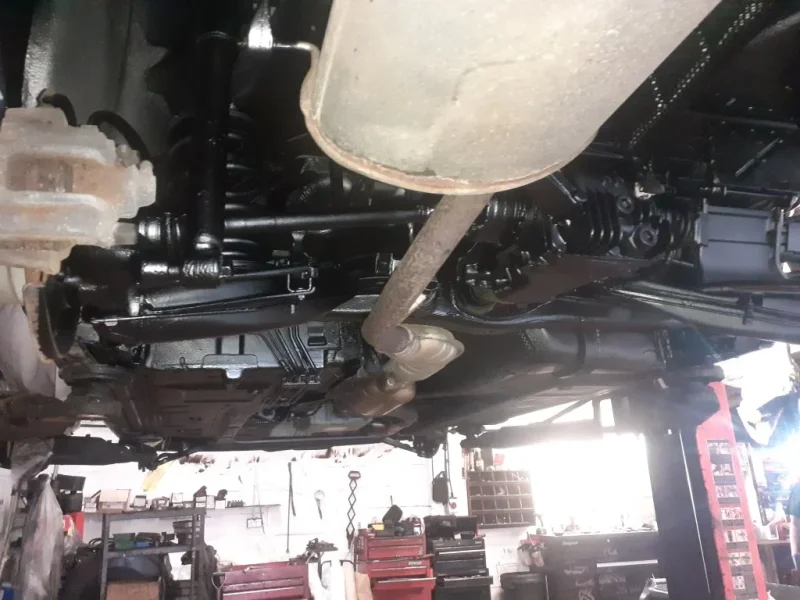
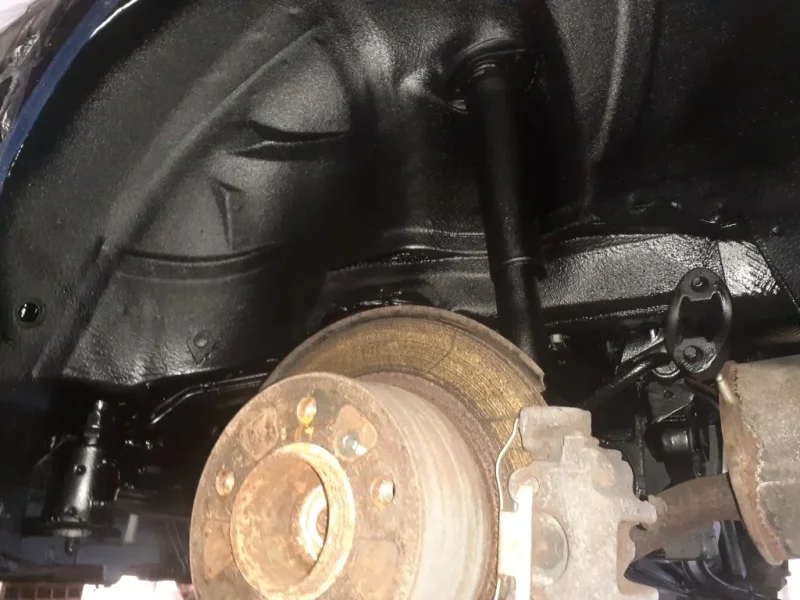
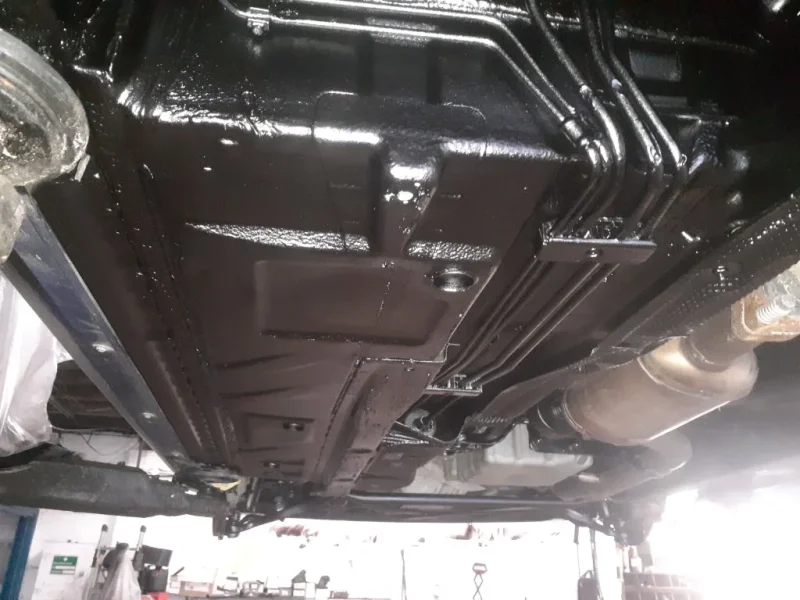
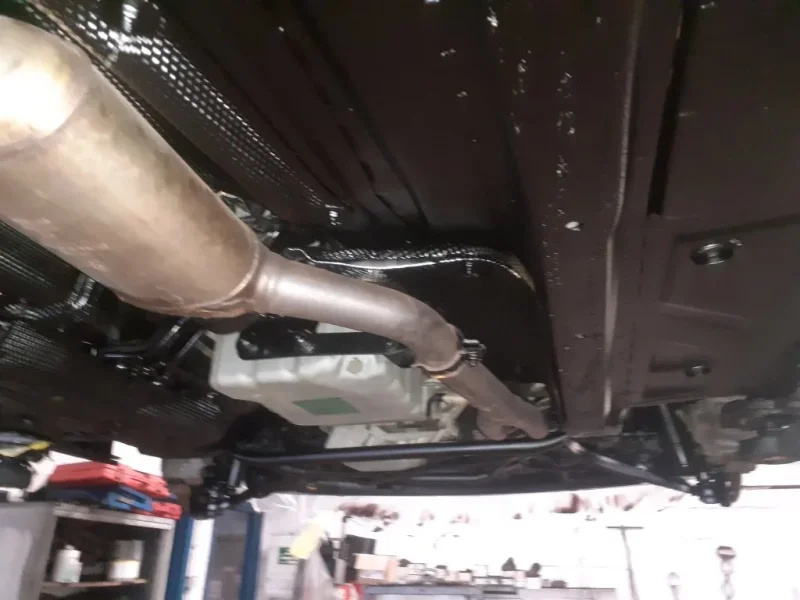
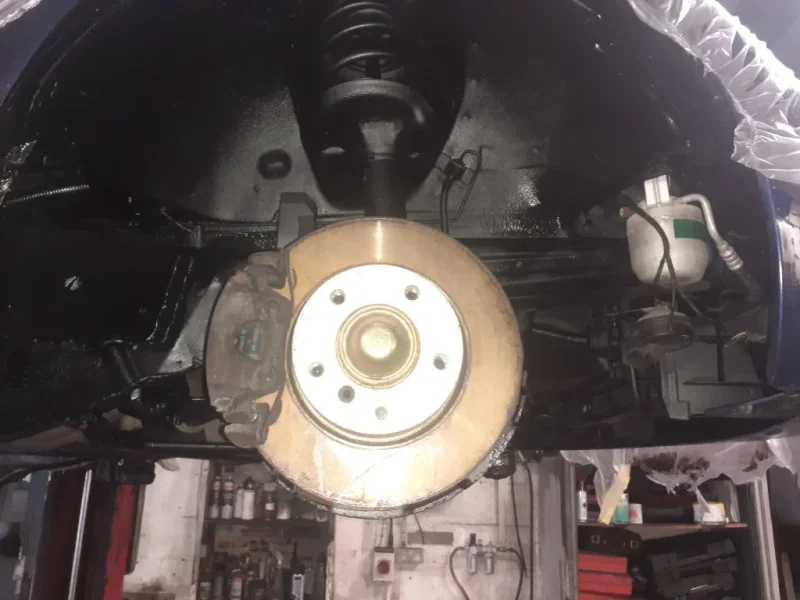
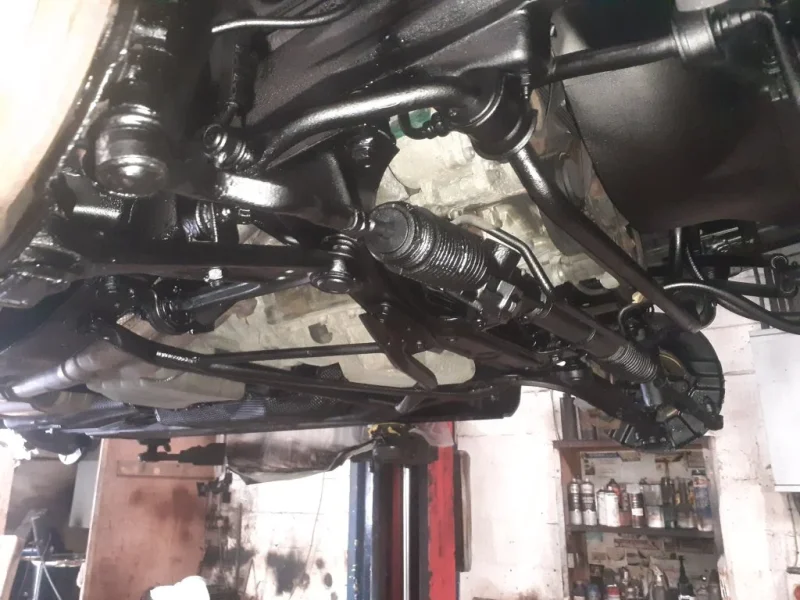
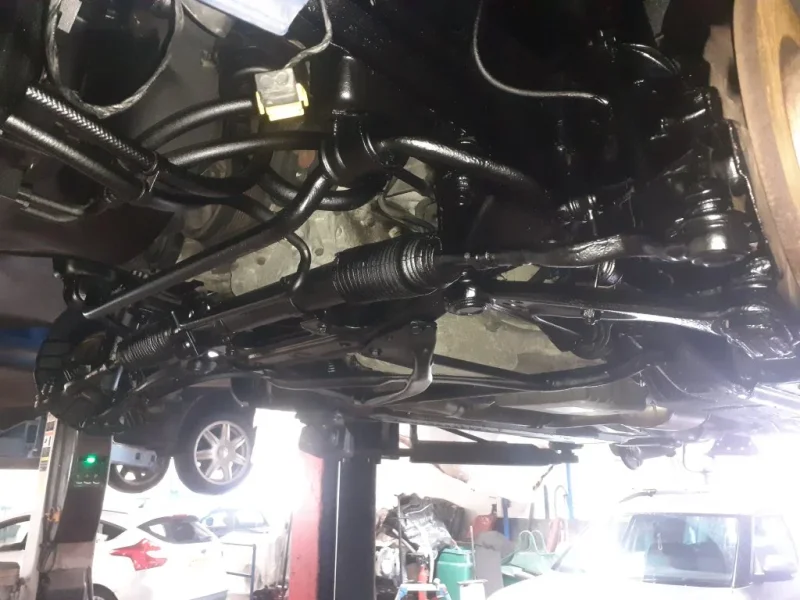
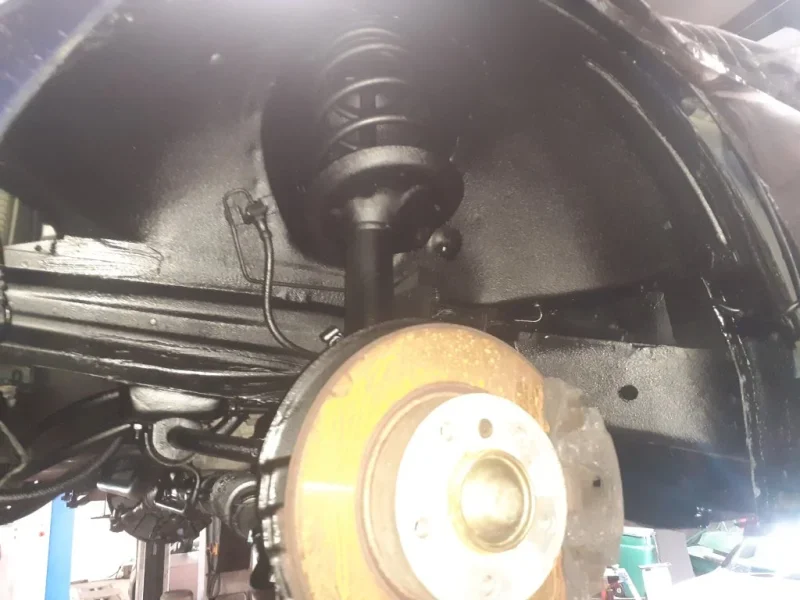
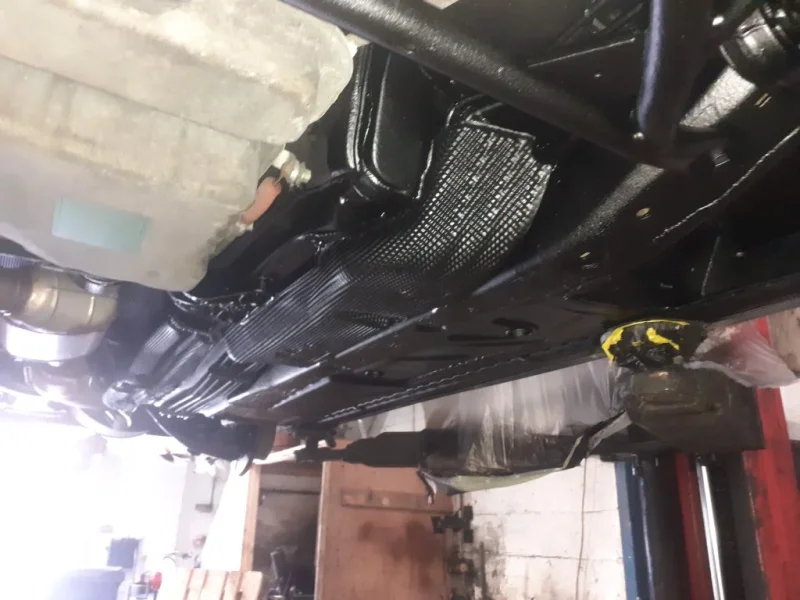
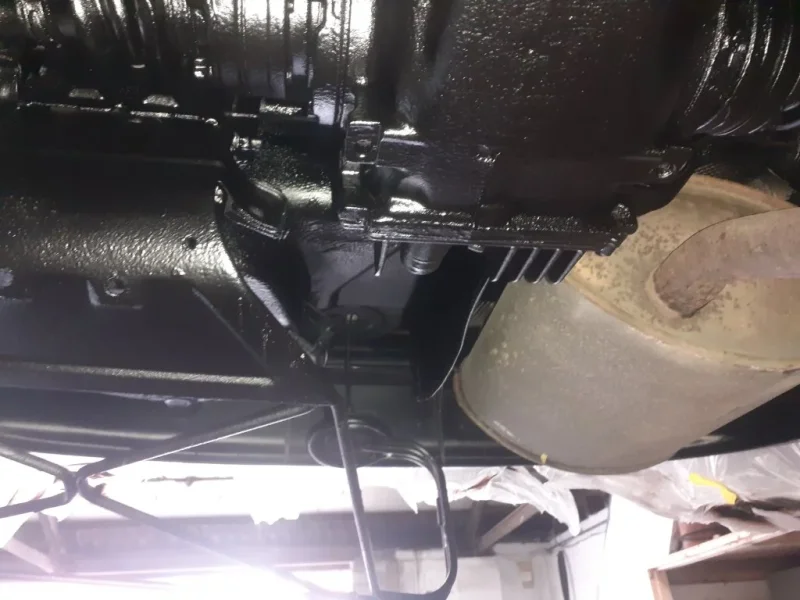
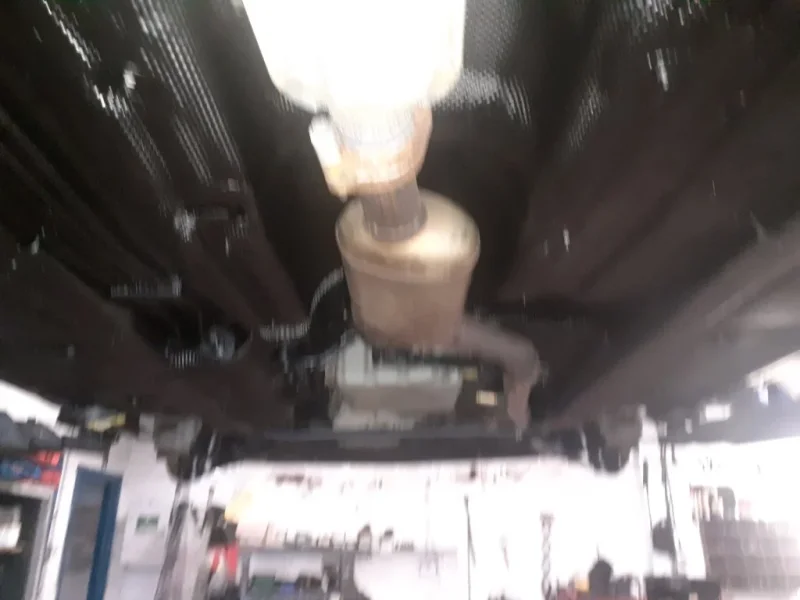
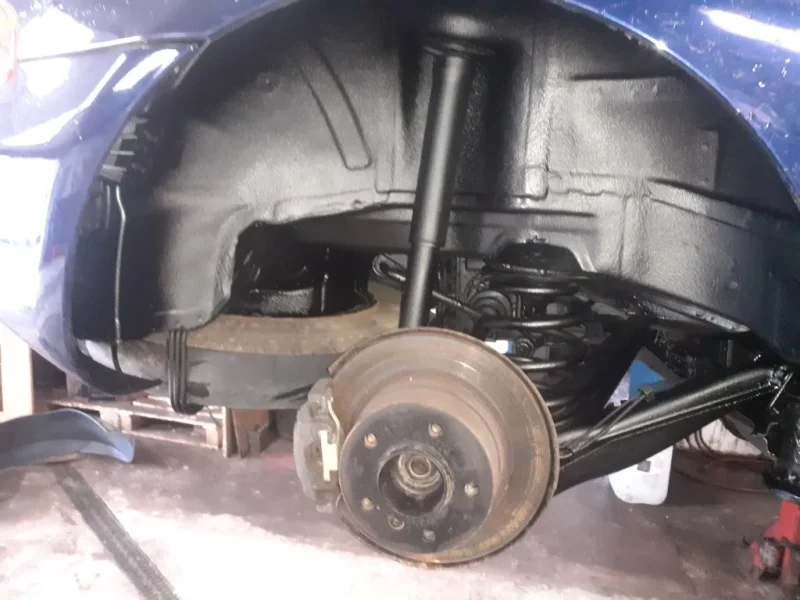
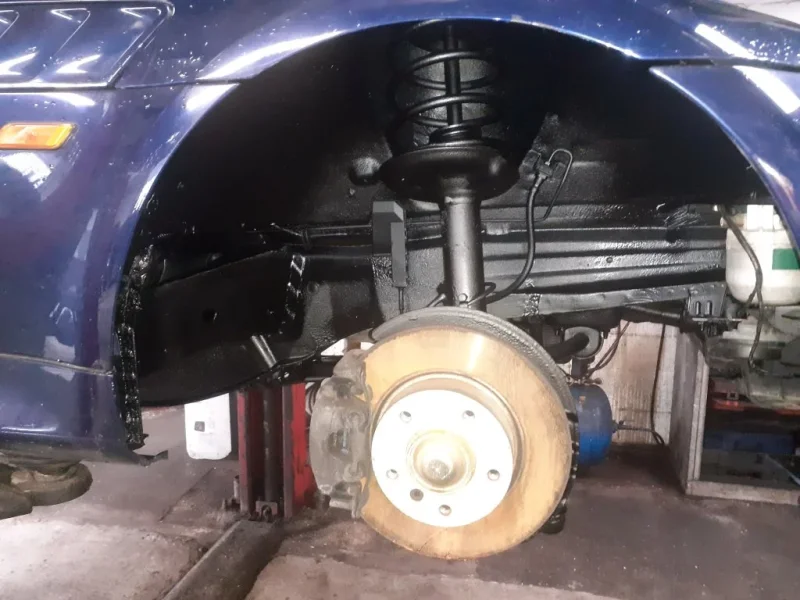
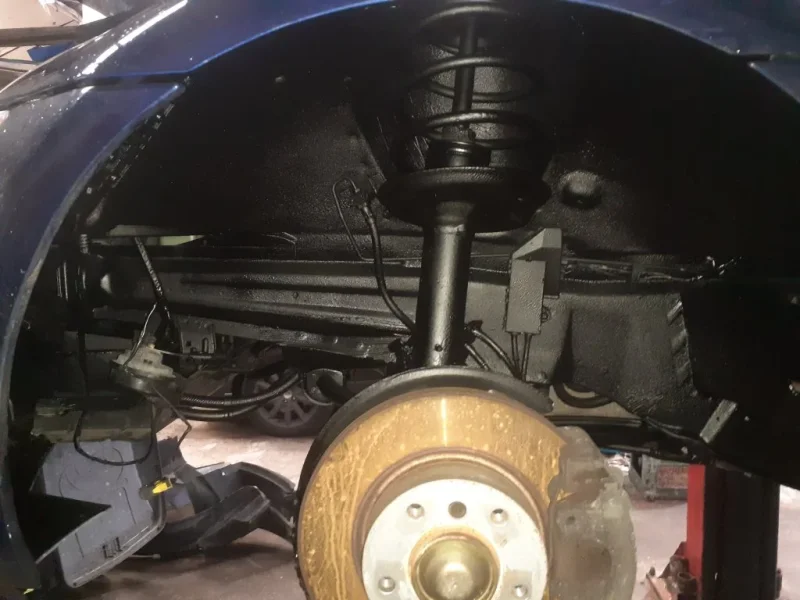
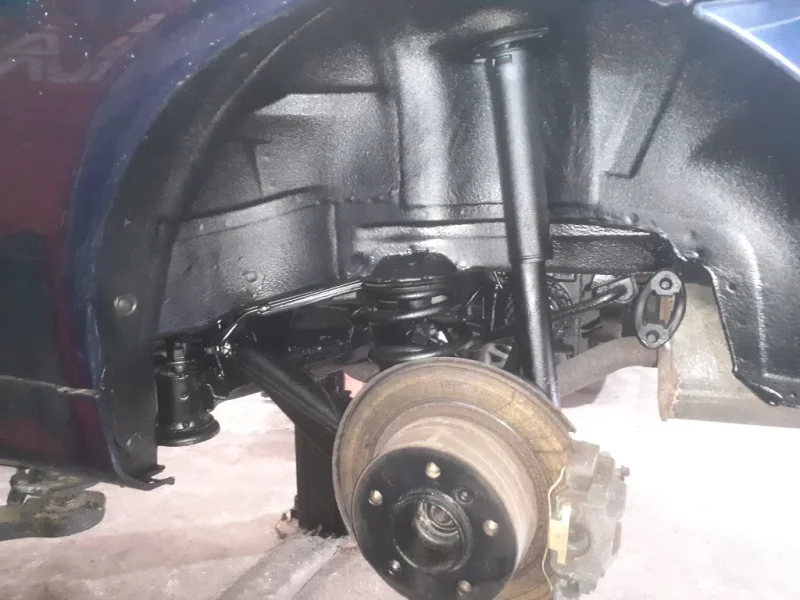
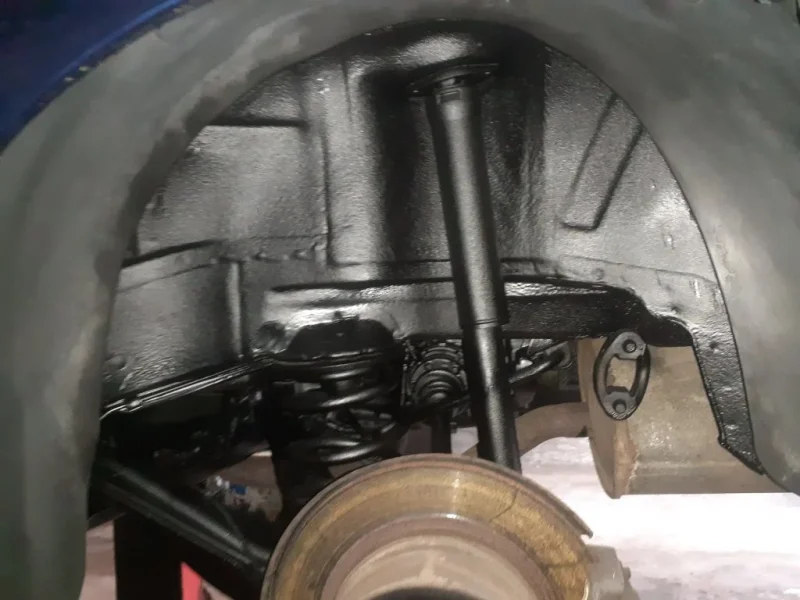
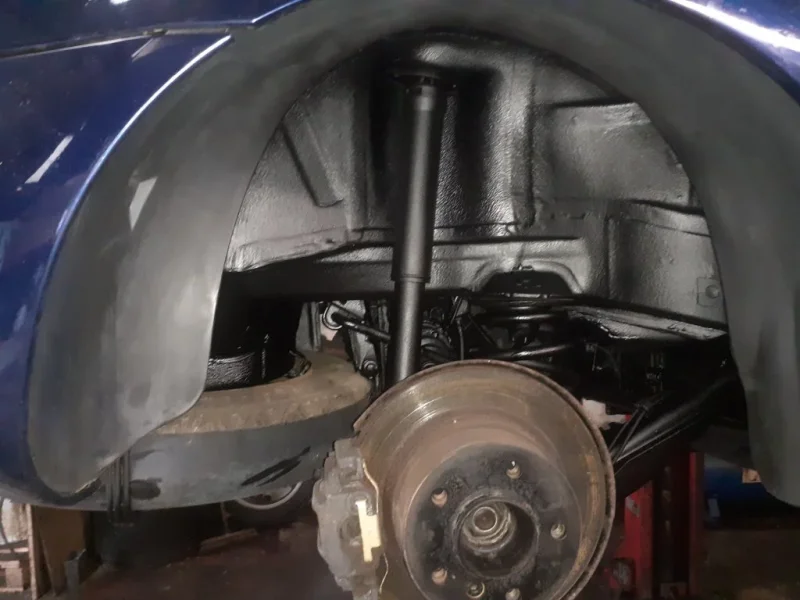
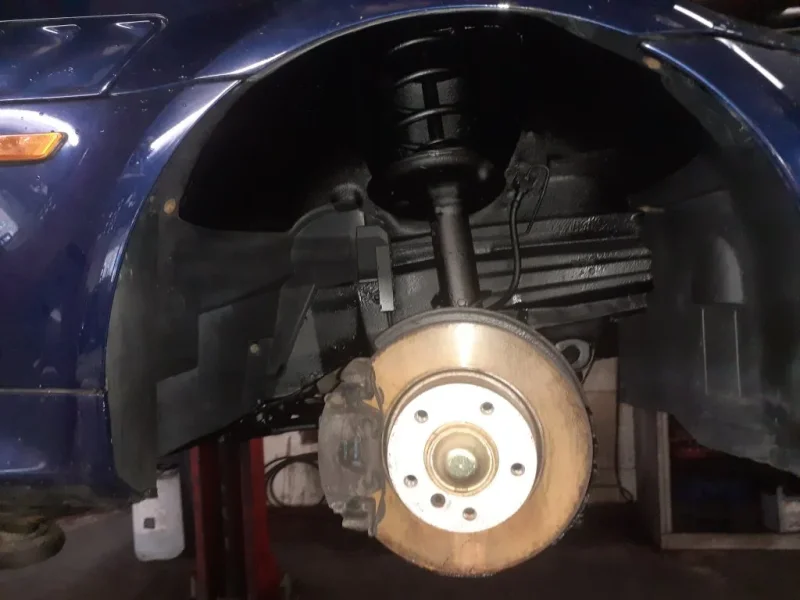
The new project car is so nice I decided to treat it to the full Dinitrol job - done professionally at Duke Street Garage in Rochdale. And bloody hell it looks good under there. Really impressed. See attachments.

Reminder: this is a 35k mile car, Japanese import, garaged most of its life.
 

Attachments

  • 20221005_114639.webp
    20221005_114639.webp
    114.4 KB · Views: 213
  • 20221005_114645.webp
    20221005_114645.webp
    86.8 KB · Views: 219
  • 20221005_114652.webp
    20221005_114652.webp
    72.1 KB · Views: 220
  • 20221005_114659.webp
    20221005_114659.webp
    89.1 KB · Views: 216
  • 20221005_114704.webp
    20221005_114704.webp
    83.2 KB · Views: 198
  • 20221005_114712.webp
    20221005_114712.webp
    76.4 KB · Views: 204
  • 20221005_114718.webp
    20221005_114718.webp
    91.1 KB · Views: 224
  • 20221005_114723.webp
    20221005_114723.webp
    68.2 KB · Views: 214
  • 20221005_114734.webp
    20221005_114734.webp
    61.8 KB · Views: 214
  • 20221005_114743.webp
    20221005_114743.webp
    103.4 KB · Views: 222
  • 20221006_102558.webp
    20221006_102558.webp
    101.6 KB · Views: 221
  • 20221006_102602.webp
    20221006_102602.webp
    95.6 KB · Views: 214
  • 20221006_102608.webp
    20221006_102608.webp
    90.8 KB · Views: 203
  • 20221006_102614.webp
    20221006_102614.webp
    113.4 KB · Views: 207
  • 20221006_102620.webp
    20221006_102620.webp
    90.7 KB · Views: 210
  • 20221006_102628.webp
    20221006_102628.webp
    53.5 KB · Views: 215
  • 20221006_102636.webp
    20221006_102636.webp
    64.6 KB · Views: 211
  • 20221006_102641.webp
    20221006_102641.webp
    102.2 KB · Views: 207
  • 20221006_102647.webp
    20221006_102647.webp
    89.5 KB · Views: 209
  • 20221006_102654.webp
    20221006_102654.webp
    74.2 KB · Views: 214
  • 20221006_102704.webp
    20221006_102704.webp
    77.5 KB · Views: 211
  • 20221006_102713.webp
    20221006_102713.webp
    77.8 KB · Views: 215
  • 20221006_102719.webp
    20221006_102719.webp
    41.1 KB · Views: 208
  • 20221006_131315.webp
    20221006_131315.webp
    76 KB · Views: 202
  • 20221006_131322.webp
    20221006_131322.webp
    96.8 KB · Views: 185
  • 20221006_131332.webp
    20221006_131332.webp
    78.1 KB · Views: 213
  • 20221006_131340.webp
    20221006_131340.webp
    92.5 KB · Views: 200
  • 20221006_134508.webp
    20221006_134508.webp
    76.8 KB · Views: 187
  • 20221006_134524.webp
    20221006_134524.webp
    70.9 KB · Views: 199
  • 20221006_134532.webp
    20221006_134532.webp
    57.6 KB · Views: 197
Back
Top