Mor61e's Topaz 2.8 Z3

Mor61e

Zorg Guru (I)
British Zeds
Joined
Dec 20, 2016
Points
94
I bought my Z3 three years ago as a daily driver to replace my Integra Type-R, and to accompany my long term MK1 Golf GTi project. It has since had a good old tidy up and is no longer my daily driver, just a weekend car to enjoy in the nice weather :cool:

Here are some progress pictures from along the way, hope you enjoy!

This is how I bought it, the pictures do it some justice as the paintwork wasn't great but I loved the interior so couldn't turn it down :happy:

DSC_0566.webp


DSC_0556.webp


DSC_0546.webp
 
I'll just mention now that I used to work in a body repair shop and still fortunately am able to use their facilities so all the work was done by myself unless otherwise stated ;)

First order of business was to correct the wonky steering wheel, and this is why:

DSC_0001.webp


DSC_0002.webp


Predictably the tie rods were seized:

DSC_0010.webp


So I fitted a new pair and hey presto, the car drove straight again!

Also a quick clean up under the bonnet, clearly hadn't been done for quite a while:

DSC_0011.webp


DSC_0016.webp


Found a fellow Z:

DSC_0015.webp
 
Hi and welcome aboard. Nice looking Zed you have there. :thumbsup:
 
Love the paint work has it has a wonderful shine.
 
Fitted a new gear knob:

IMG_2445.webp


IMG_2454.webp


I wasn't a fan of how high the car sat so on went some coilovers:

DSC_0051.webp


The wheels needed a refurb anyway so I tried them black:

DSC_0068.webp
 
Looks awesome on the coil overs however I much prefer the silver wheels
 
The black wheels were only a temporary experiment while I was on the hunt for some new ones. I actually still have them awaiting being painted silver again! :thumbsup: I test fitted some MV1s but I thought they were a bit too big and sat too far in so left them:

IMG_6073.webp


Pretty soon these Style 32s popped up locally for sale:

DSC_0835.webp


Perfect :D

DSC_0400.webp


DSC_0404small.webp


They needed a refurb as well but I couldn't wait :whistle:
 
As the car was sitting much lower now and the front bumper was getting worryingly close to speed bumps/kerbs I figured some protection in the form of a lower splitter was on the cards. It is made of a very stiff rubbery plastic so is enough to protect the bumper but also bend backwards if it needs to, which it does, regularly :p

Didn't need much fettling :confused::

190.webp


But soon:

194.webp


Aaaaaand:

DSC_0441.webp


Taadaa:

215.webp


DSC_0460small.webp


Also refurbed the wheels in a darker grey:

731.webp


729.webp


741.webp


753.webp
 
As the car was sitting much lower now and the front bumper was getting worryingly close to speed bumps/kerbs I figured some protection in the form of a lower splitter was on the cards. It is made of a very stiff rubbery plastic so is enough to protect the bumper but also bend backwards if it needs to, which it does, regularly :p

Didn't need much fettling :confused::

View attachment 47772

But soon:

View attachment 47773

Aaaaaand:

View attachment 47779

Taadaa:

View attachment 47774

View attachment 47780

Also refurbed the wheels in a darker grey:

View attachment 47776

View attachment 47775

View attachment 47777

View attachment 47778
That front end shot looks the dogs!
 
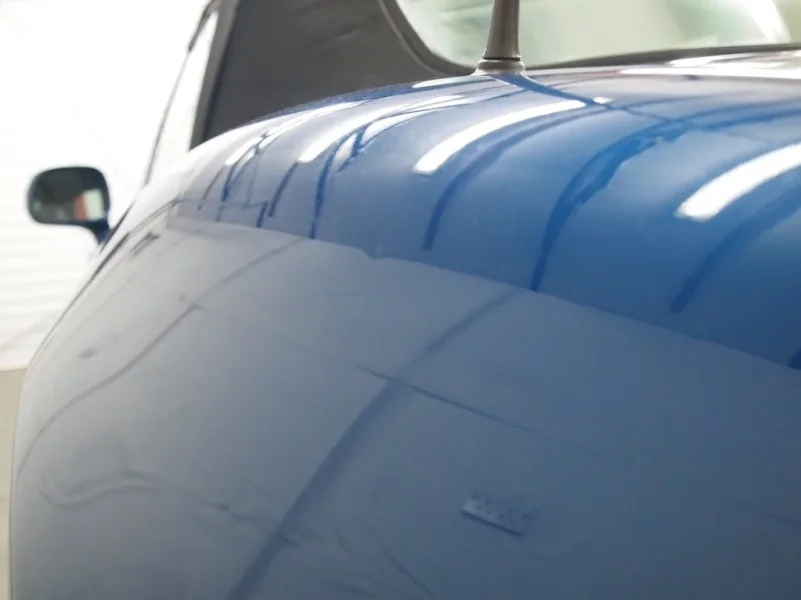
As I mentioned earlier, the photos made the paintwork look better than it was. Every panel had a scratch, chip, rust, or damage so I decided to go for a full respray

Here are some pictures of the panels before the work so you don't think I'm mad:

P7130949.webp


P7130935.webp


P7130934.webp


P7130938.webp


P7130937.webp


P7130948.webp


P7130947.webp


P7130939.webp


P7130941.webp


P7130940.webp


P7130942.webp


P7130944.webp


P7130946.webp


P7130943.webp
 

Attachments

  • P7130945.webp
    P7130945.webp
    29.6 KB · Views: 252
Last edited:
I spent a week of evenings and a weekend stripping and prepping what I could at home, before driving it to my old work to spend another week on it doing the rest of the prep for painting:

DSC_0087.webp


DSC_0053.webp


DSC_0050.webp


Pre bodged rear exhaust hanger:

DSC_0058.webp


The sills were much worse than I expected! If yours look anywhere close to how mine were I'd suggest removing them and treating the inner sills. Luckily mine were ok and I was able to grind the surface rust out and underseal them:

DSC_0064.webp


DSC_0065.webp


DSC_0073 (2).webp


DSC_0068 (2).webp


DSC_0067 (2).webp


DSC_0076 (2).webp


The outer sills were well past it so I bought new:

DSC_0105.webp


DSC_0106.webp


Ready for the drive to the body shop:

DSC_0089.webp
 
New exhaust hanger which I plug welded to the back panel for extra strength:

DSC_0101.webp


DSC_0098.webp


Undersealed the inside of the front wings and quarter panels and the inside and underside of the new sills:

DSC_0049.webp


DSC_0102.webp


DSC_0103 (2).webp


DSC_0181.webp


Few more pictures:

DSC_0111.webp


DSC_0119 (2).webp


DSC_0110.webp


DSC_0121 (2).webp


DSC_0122 (2).webp


DSC_0125 (2).webp


DSC_0123 (2).webp


Aaaaaand primed! I left the gun work to my friend Craig as I'm not a painter and he is brilliant at what he does:

DSC_0138.webp


DSC_0141.webp


DSC_0142.webp
 
Wow! Interesting read. Always good to see a zed getting it's second lease of life. :thumbsup:
 
Top skills, looking forward to seeing the finished result. :thumbsup:
 
:scorecard:All I can say is WOW . :scorecard:
What a great write up , this was a joy to read , and I can't wait to see the finished Z :party:
What great work you have done to your Z :coolsteer)
Well done to you :racecar:
 
Back
Top