

- Joined
- Apr 22, 2019
- Points
- 85
This is going to take a while to read...never mind type! LOL
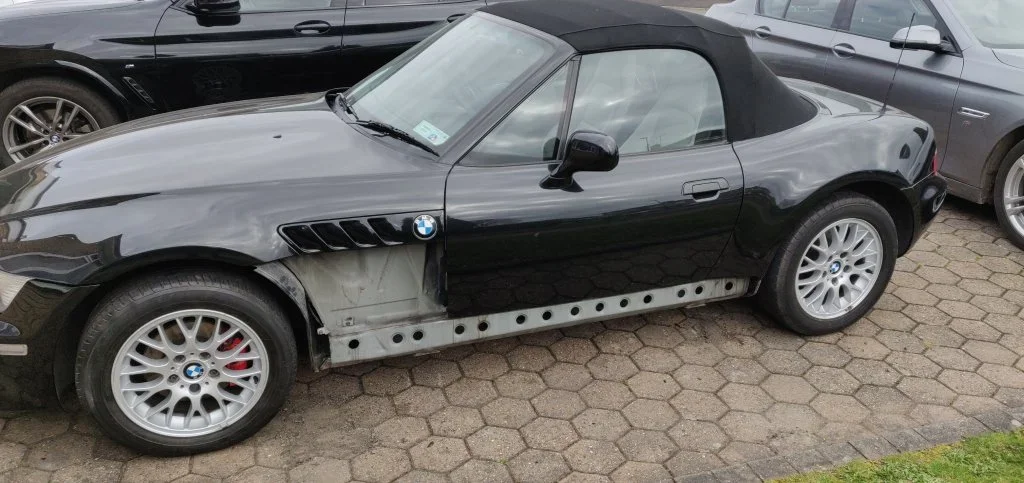
Ever since the lock down started, I've been using the down time to work my way around Zed and fix / repair all the little cosmetic issues that I've picked up in the last 12 moths of ownership. The most important to be sorted was the corrosion on the 2 Outer sills and 2 front wings. These had corrosion bubbling underneath the paint and I had previously been quoted £500 to sort. Being too tight to pay £500, I started looking on Youtube on how to use rattle cans to apply paint. I completely know that the finish won't be as good as a professional, but in the times we live at the moment, £500 is too much to splash out on a 3rd car.
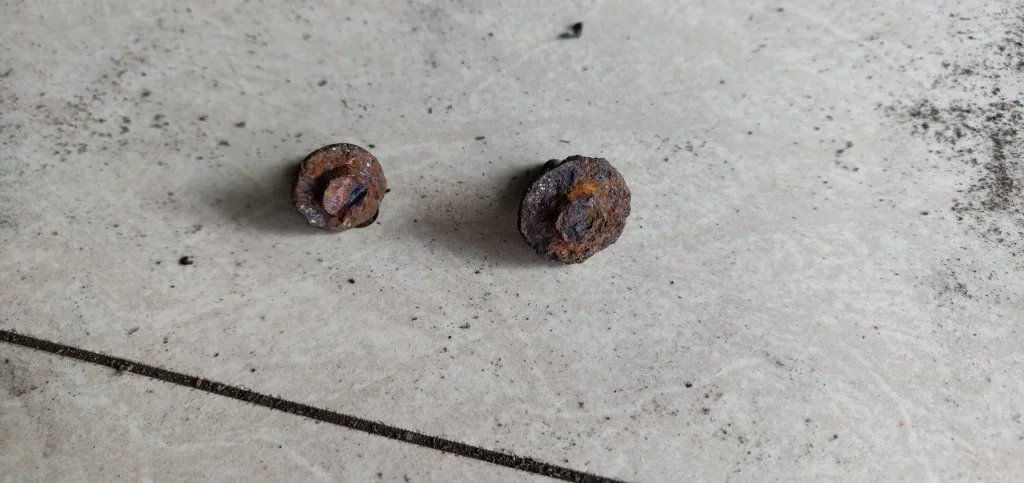
Outer Sills - After struggling to get the self tapper screws out of the outer sills due to heavy corrosion, Tony-t advised cutting down an 8mm socket, remove the paint around the screw to allow more purchase onto the screw head. In the majority of the cases that worked, but as with all these things, there was one or two screws that just wouldn't come out. In these cases, I simply cut a slot on the screw head using a Dremel and unscrewed it using a flat blade screw driver. Result.
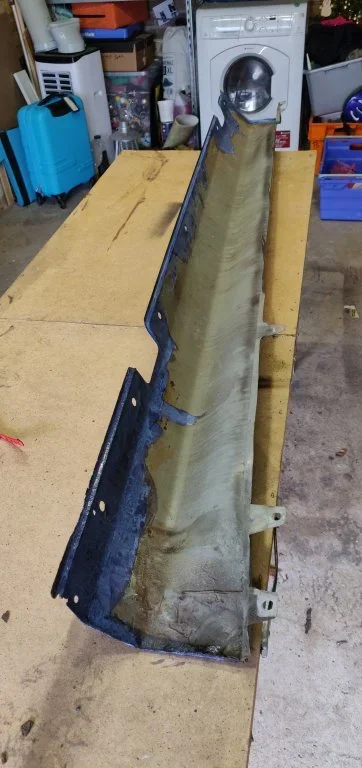
Outer sill removed, corrosion ground off on the inside face, rust treatment applied and underseal applied.
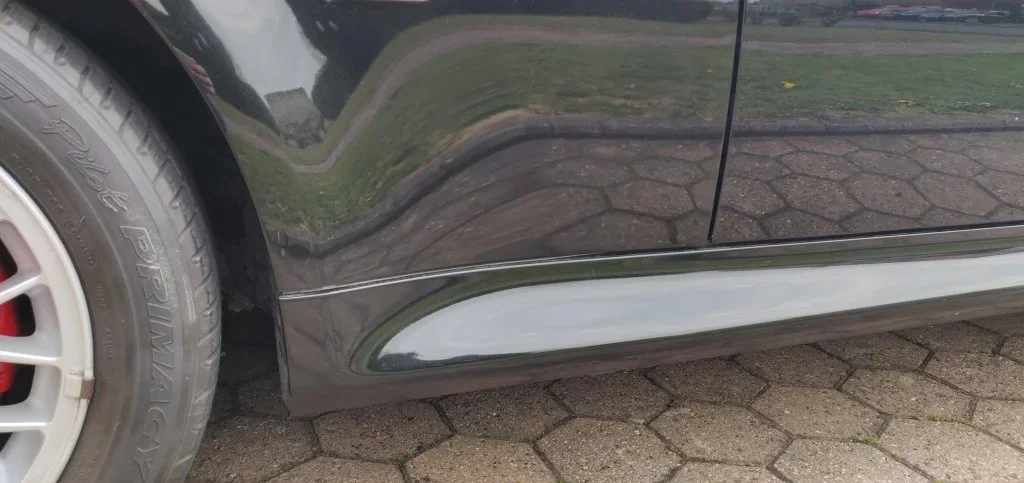
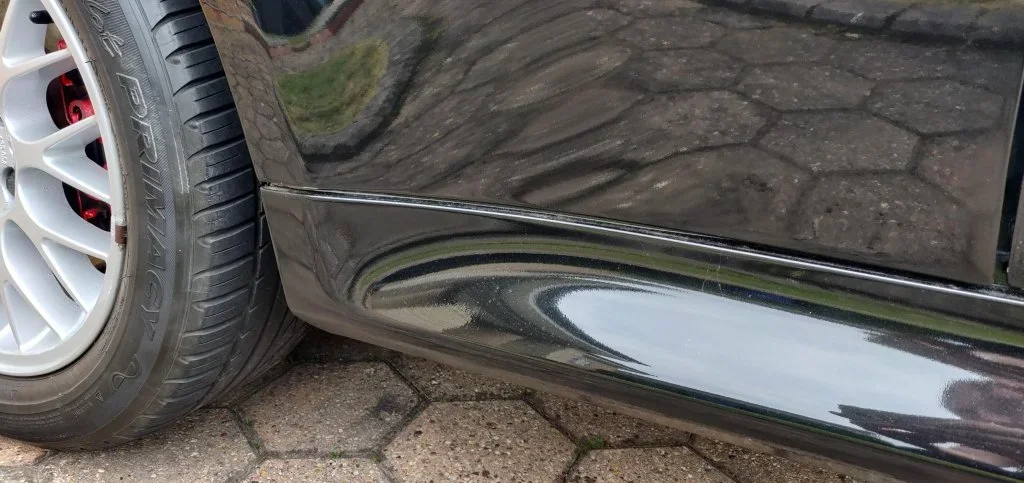
On the outside of the sills, same principle, but primer, base coat and lacquer applied to the entire sill as I could still see a slight colour mismatch which would drive me nuts!
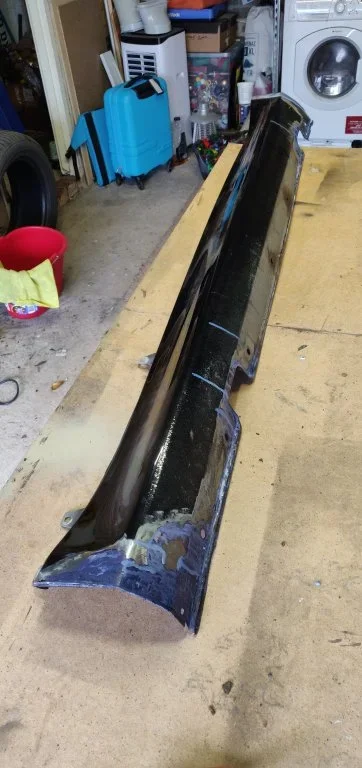
Front wings - These came off reasonably easily and the corrosion was ground off, treated, base and lacquer applied to the entire panel, again due to the colour mismatch.
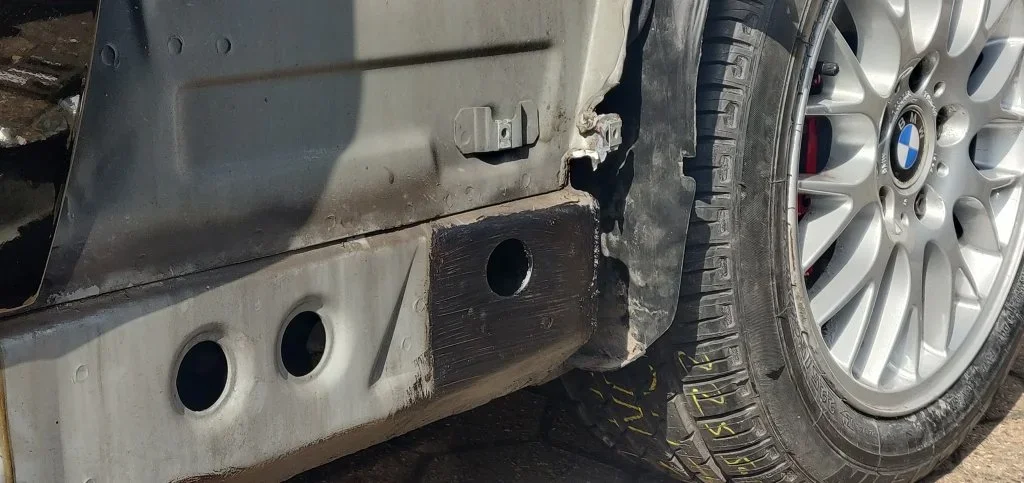
Whilst the sills and front wings were off, I also took the opportunity to grind off any corrosion on the chassis rails, treat and cover with underseal. I was really surprised with the lack of corrosion on the chassis rails considering how much cr&p and debris came out of the void behind the wheel arch liner and chassis rails. Another Result.
Armrest - I then moved onto an armrest, which has been on my wish list for quite some time. When driving along, I really miss having somewhere to rest my arm.....but no more!
Armrest ordered from ebay which was black leather (I think most are) which was the princely sum of £13 inc DHL next day delivery.
I made a cardboard template up from one of the many cardboard boxes we now have due to lockdown deliveries to ensure it was at the correct height for what I wanted.
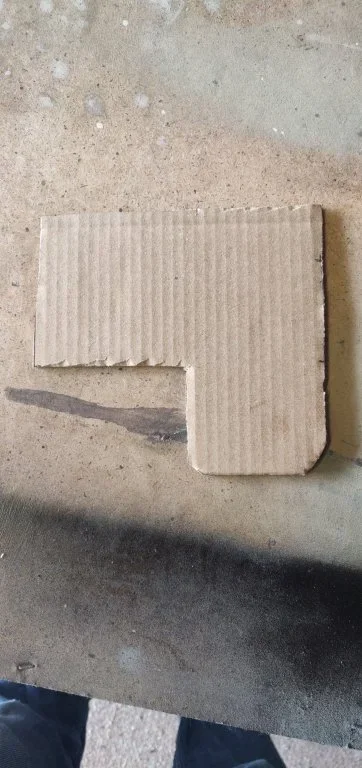
Template made, now time to cut down the armrest!
The biggest issue was how much needed to be cut off and how bulky it is until you get it near the final shape. Once it was something resembling an armrest, I tried a test fit before removing the centre console.
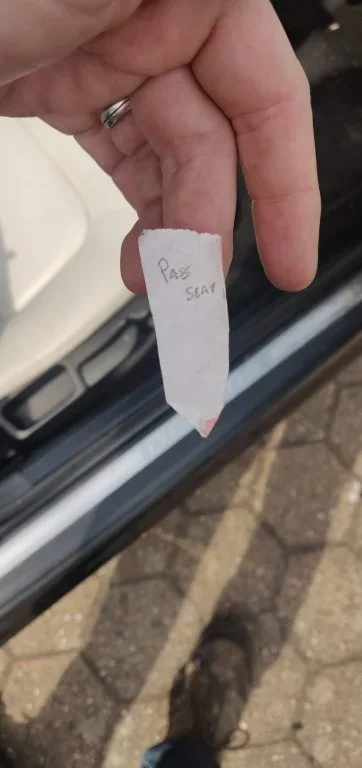
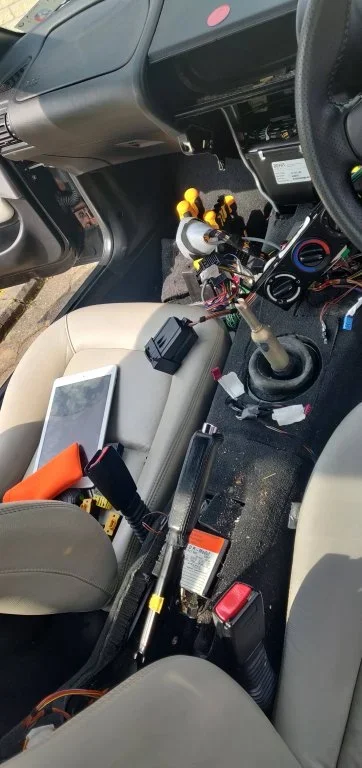
Removing the centre console was like wrestling with an octopus as I didn't think to lower the roof until afterwards! D'Oh. However after finding all the various screws, including the hidden ones, the console came out with a little persuasion over the handbrake. If anyone else is thinking of doing this, then do as I did, and mark up each connector with a label to show where it goes. It would be easy to think you can remember, but trust me, mark up the cables as you go.
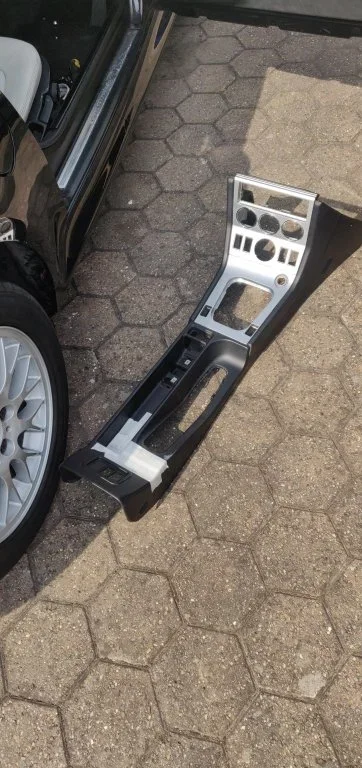
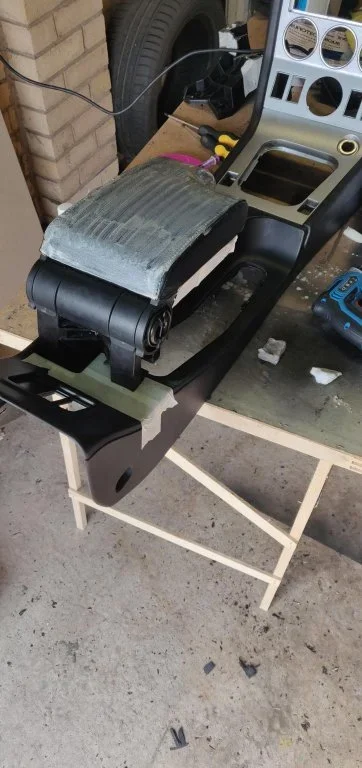
I fixed the armrest by screwing up from under the centre console and into the arm rest supports in a few positions. I also used a screw coming in from the back to provide some lateral support as well. All feels very secure and stable. I wouldn't suggest climbing on it, but it'll hold by arm in just the right position.
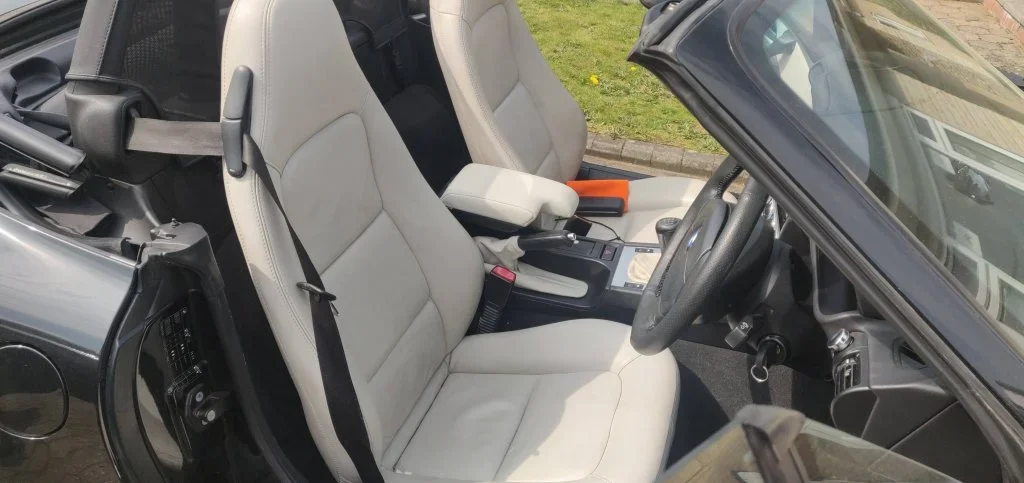
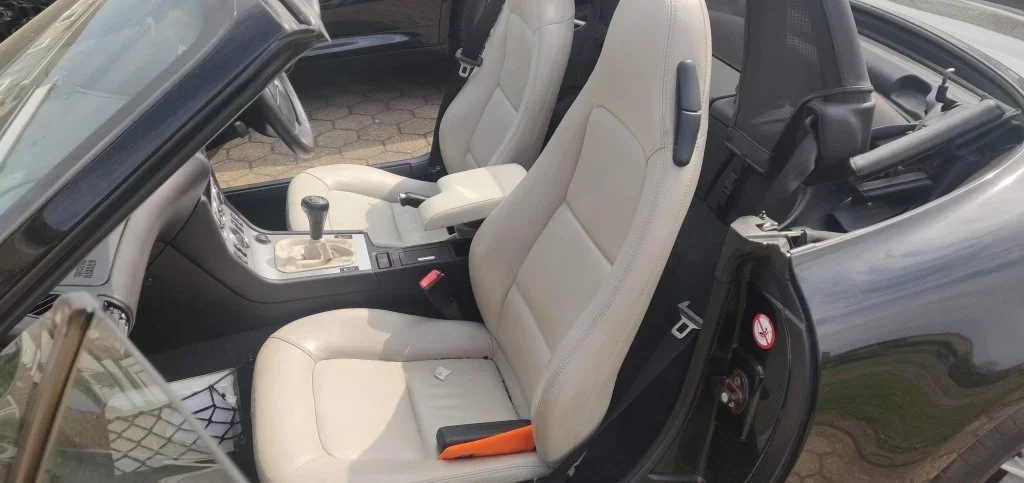
Before refitting the centre console into the car, I then recoloured the black leather to "Lotus White," the colour of my interior. After around 5 coats of colour, the armrest was done! A very pretty Lotus White!
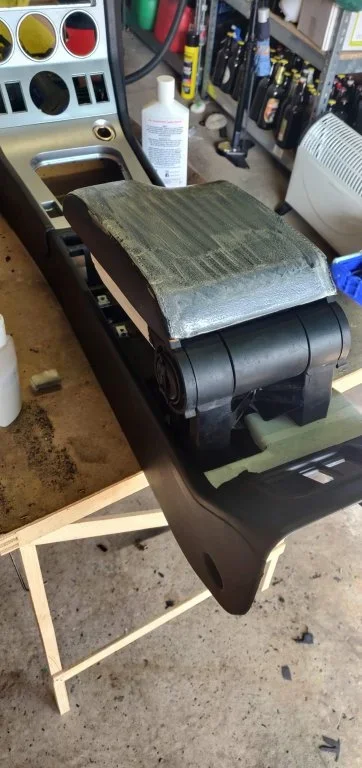
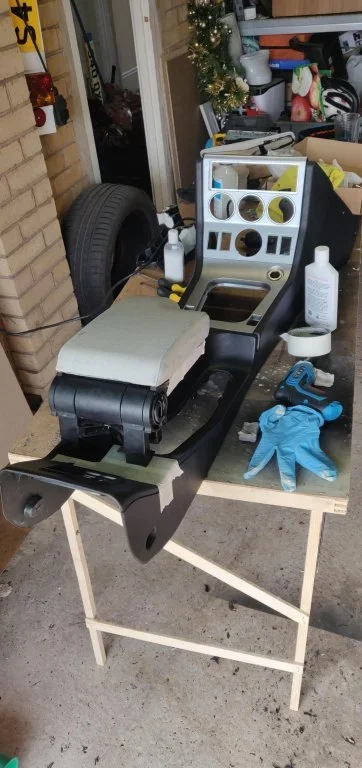
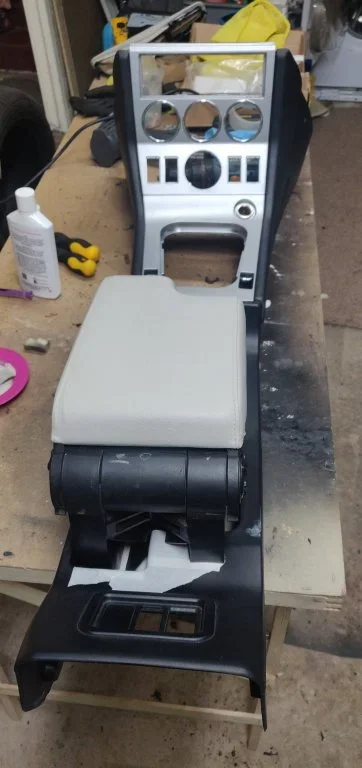
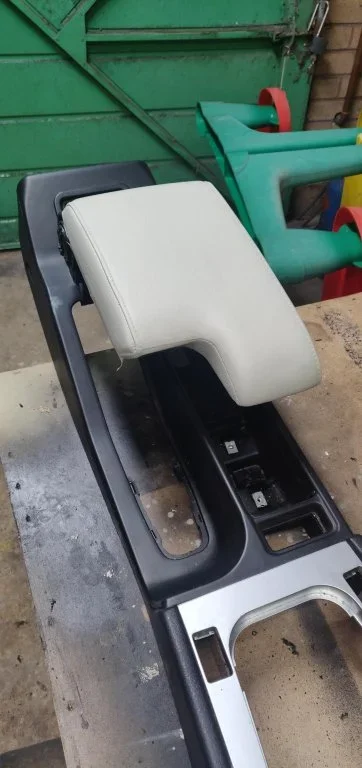
And now, the big reveal!!!
Now, I have a small bubbling spot on the bonnet, which my wife is saying is getting worse.....Next Job!
Hope you enjoyed reading this as much as I have in undertaking the works.
P
Ever since the lock down started, I've been using the down time to work my way around Zed and fix / repair all the little cosmetic issues that I've picked up in the last 12 moths of ownership. The most important to be sorted was the corrosion on the 2 Outer sills and 2 front wings. These had corrosion bubbling underneath the paint and I had previously been quoted £500 to sort. Being too tight to pay £500, I started looking on Youtube on how to use rattle cans to apply paint. I completely know that the finish won't be as good as a professional, but in the times we live at the moment, £500 is too much to splash out on a 3rd car.
Outer Sills - After struggling to get the self tapper screws out of the outer sills due to heavy corrosion, Tony-t advised cutting down an 8mm socket, remove the paint around the screw to allow more purchase onto the screw head. In the majority of the cases that worked, but as with all these things, there was one or two screws that just wouldn't come out. In these cases, I simply cut a slot on the screw head using a Dremel and unscrewed it using a flat blade screw driver. Result.
Outer sill removed, corrosion ground off on the inside face, rust treatment applied and underseal applied.
On the outside of the sills, same principle, but primer, base coat and lacquer applied to the entire sill as I could still see a slight colour mismatch which would drive me nuts!
Front wings - These came off reasonably easily and the corrosion was ground off, treated, base and lacquer applied to the entire panel, again due to the colour mismatch.
Whilst the sills and front wings were off, I also took the opportunity to grind off any corrosion on the chassis rails, treat and cover with underseal. I was really surprised with the lack of corrosion on the chassis rails considering how much cr&p and debris came out of the void behind the wheel arch liner and chassis rails. Another Result.
Armrest - I then moved onto an armrest, which has been on my wish list for quite some time. When driving along, I really miss having somewhere to rest my arm.....but no more!
Armrest ordered from ebay which was black leather (I think most are) which was the princely sum of £13 inc DHL next day delivery.
I made a cardboard template up from one of the many cardboard boxes we now have due to lockdown deliveries to ensure it was at the correct height for what I wanted.
Template made, now time to cut down the armrest!
The biggest issue was how much needed to be cut off and how bulky it is until you get it near the final shape. Once it was something resembling an armrest, I tried a test fit before removing the centre console.
Removing the centre console was like wrestling with an octopus as I didn't think to lower the roof until afterwards! D'Oh. However after finding all the various screws, including the hidden ones, the console came out with a little persuasion over the handbrake. If anyone else is thinking of doing this, then do as I did, and mark up each connector with a label to show where it goes. It would be easy to think you can remember, but trust me, mark up the cables as you go.
I fixed the armrest by screwing up from under the centre console and into the arm rest supports in a few positions. I also used a screw coming in from the back to provide some lateral support as well. All feels very secure and stable. I wouldn't suggest climbing on it, but it'll hold by arm in just the right position.
Before refitting the centre console into the car, I then recoloured the black leather to "Lotus White," the colour of my interior. After around 5 coats of colour, the armrest was done! A very pretty Lotus White!
And now, the big reveal!!!
Now, I have a small bubbling spot on the bonnet, which my wife is saying is getting worse.....Next Job!
Hope you enjoyed reading this as much as I have in undertaking the works.
P


