Jim's Z3 Journey

Nice :thumbsup:
 
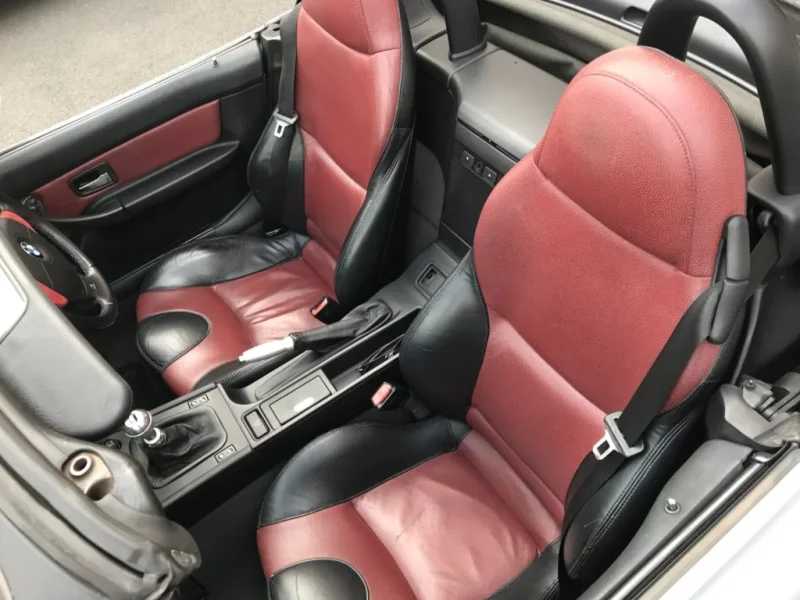
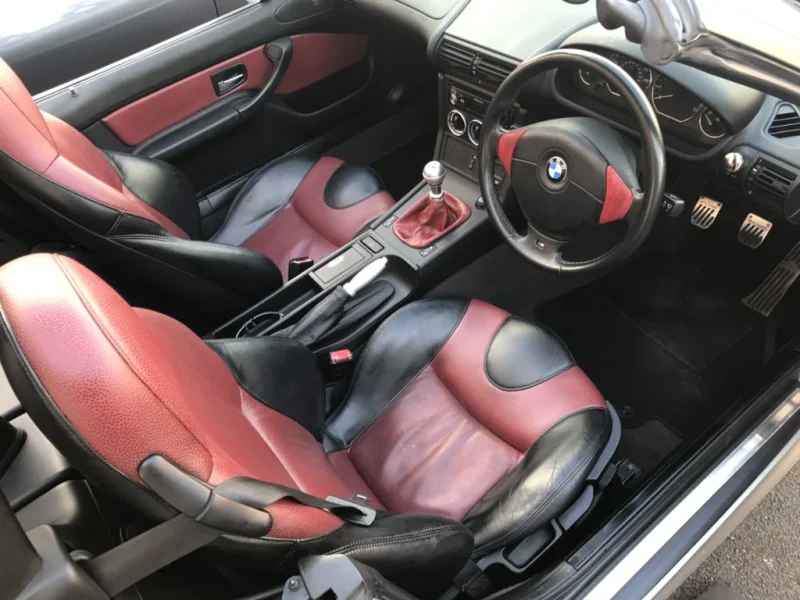
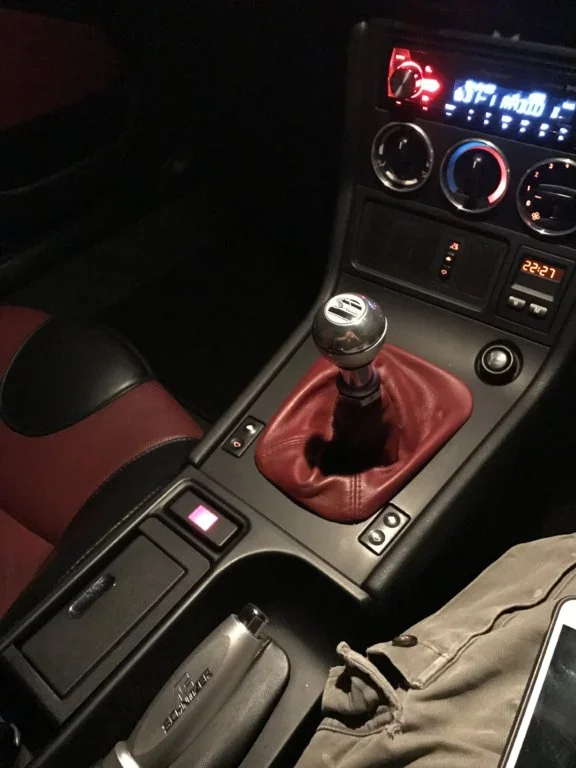
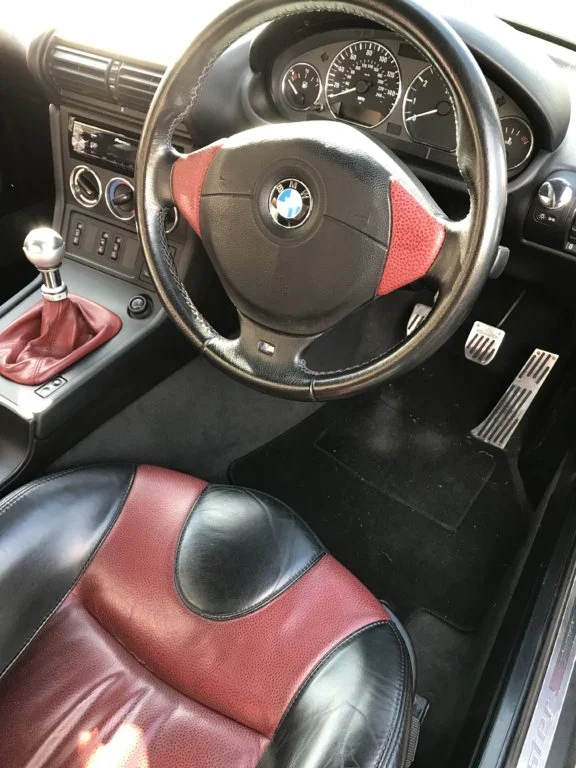
Well managed to get the sports seats in. Gave them a good clean, scuff repaired a couple edges and the a good condition with Gliptone's Iiquid leather.

IMG_9730.webp
IMG_9731.webp

Scrubbed up nice :thumbsup:

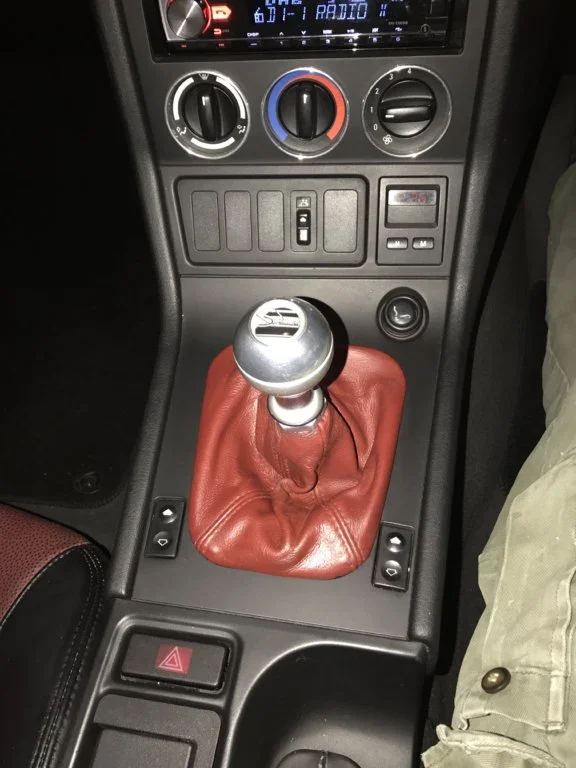
Also fitted the Tanin red gear gaitor I got from @Uncle_Clanger at ZedFest - many thanks. Came out nice after a clean and condition.

IMG_9733.webp IMG_9735.webp
 
Last edited:
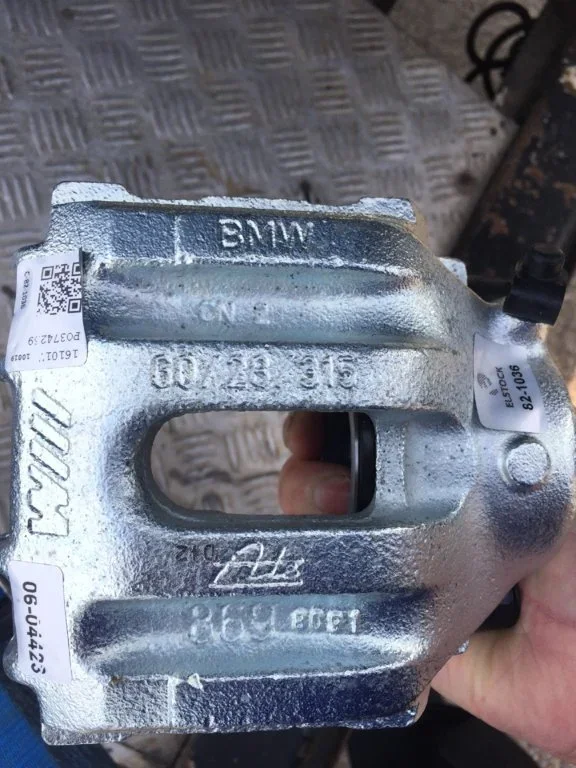
Right, my local scrappy has made me aware that they have just got a set of Z3M / M3 Evo front calipers (brand new), with rebuilt hubs (new bearings), brake servo, discs and pads. Should I go for it???

IMG_0879.webp
 
Buy any mods that are selling at a reasonable price - can't go wrong! Your car interior is looking just fine!
 
Got the heated seats wired up. Thought it would be a 10min job. How wrong was I!

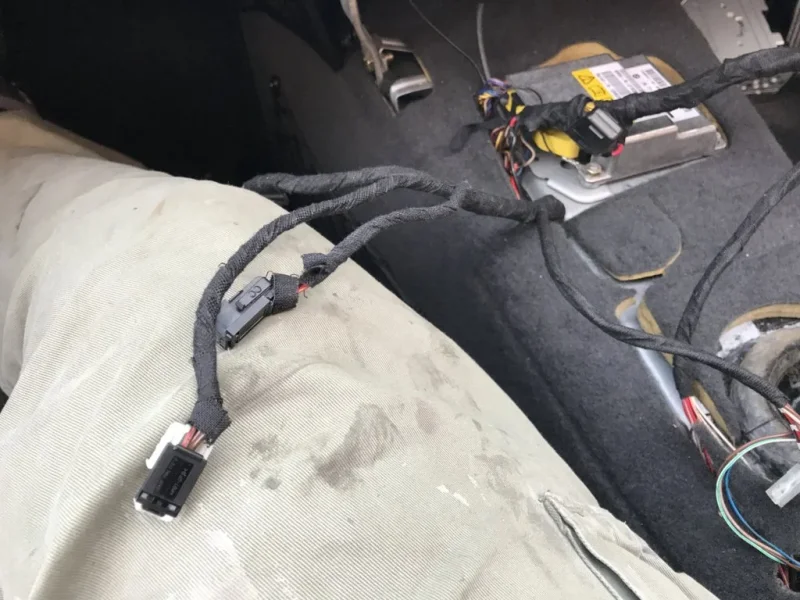
Had to take out the centre console to find the connectors. These were taped up with the rear heated screen connector and taped under the rear switch button area (behind the handbrake).

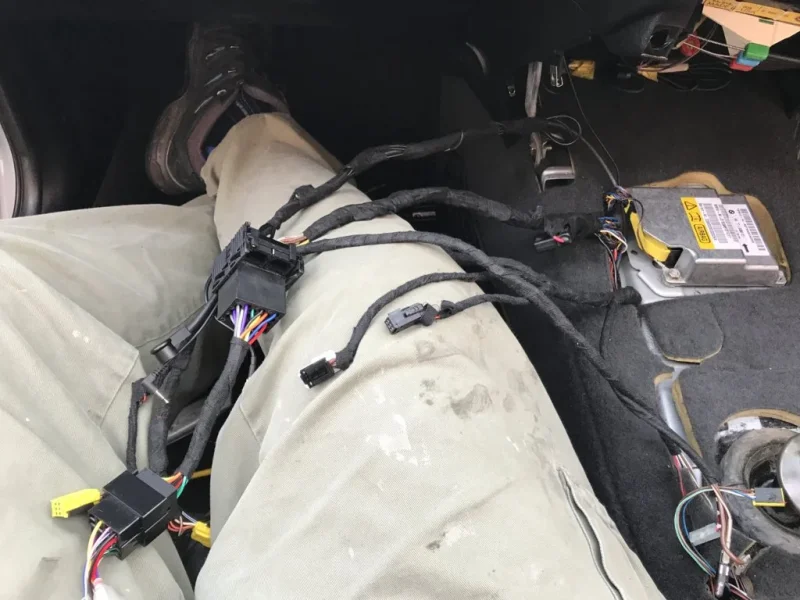
So after some time spend half unwrapping the main wiring loom to free the heated seat connectors, then feeding them back under the carpet under the centre console area. I finally had everything in place.

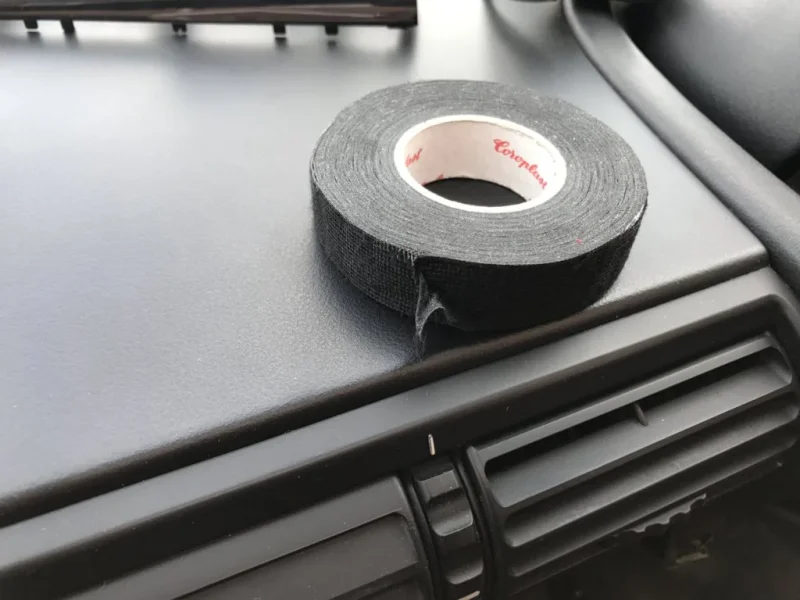
Whist all the wires were out my OCD took over and I had to tidy the wiring loom up. I know the wires aren't ever going to be seen by anyone, but I would know that they were in a right mess. So, out came the fabric tape.

IMG_9736.webp IMG_9737.webp IMG_9738.webp

All nice and tidy and happy with the job. :thumbsup:
 
Nice work...you made me remember my wiring..25m of fabric tape just ordered...strangely looking forward to it!
 
Got the heated seats wired up. Thought it would be a 10min job. How wrong was I!

Had to take out the centre console to find the connectors. These were taped up with the rear heated screen connector and taped under the rear switch button area (behind the handbrake).

So after some time spend half unwrapping the main wiring loom to free the heated seat connectors, then feeding them back under the carpet under the centre console area. I finally had everything in place.

Whist all the wires were out my OCD took over and I had to tidy the wiring loom up. I know the wires aren't ever going to be seen by anyone, but I would know that they were in a right mess. So, out came the fabric tape.

View attachment 64121 View attachment 64122 View attachment 64123

All nice and tidy and happy with the job. :thumbsup:

The difference between an enthusiast and an "it'll do" repairer.:)

Tony.
 
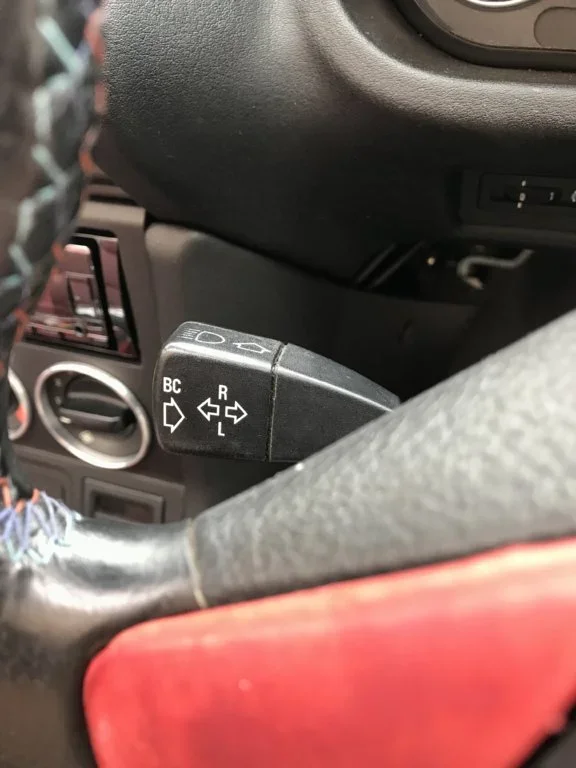
Got hold of an onboard computer, temperature sensor and OBC indicator stalk. So now to fit it :)

First up was to fit the temperature sensor.
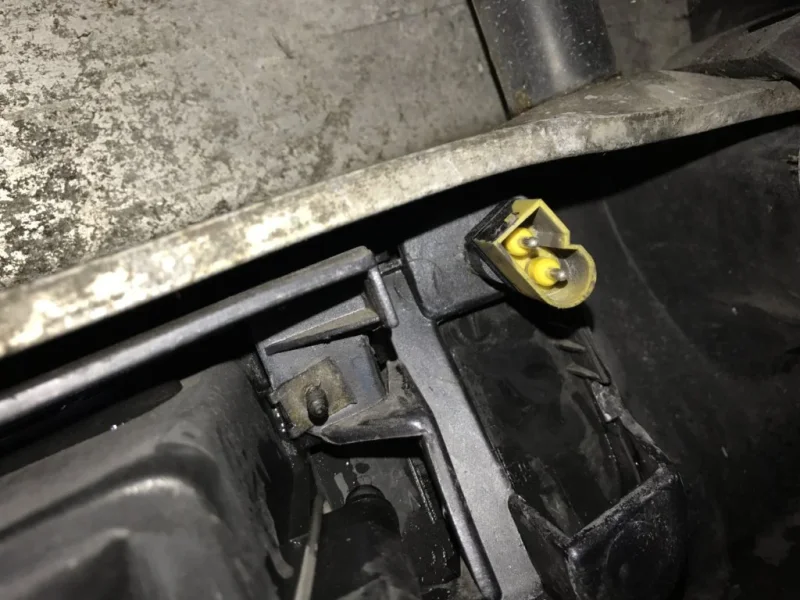
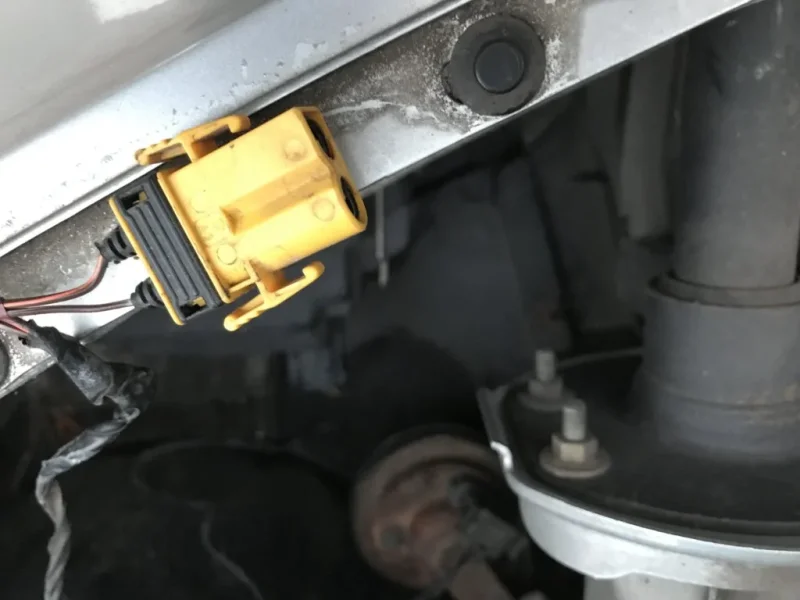
Removed the offside front headlight, and behind it was a capped off yellow connector block:
IMG_0055.webp

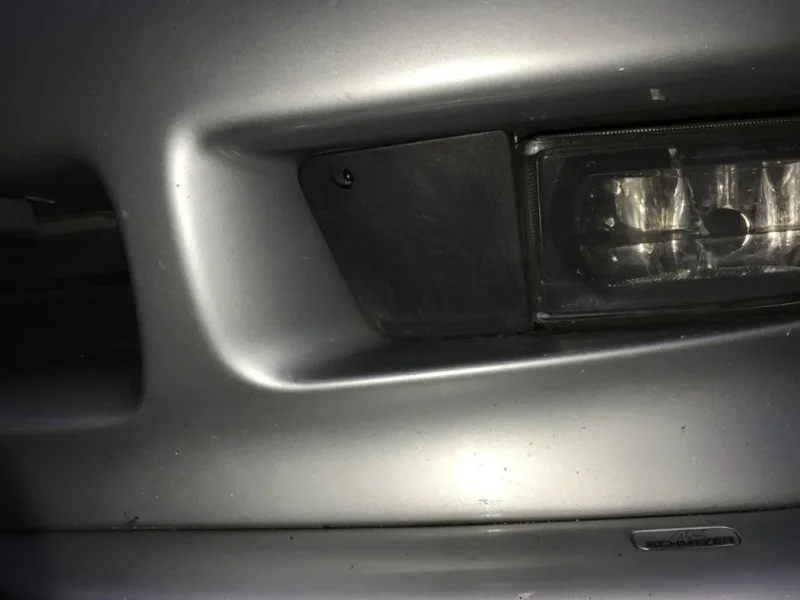
Then removed the trim panel next to the foglight. This was simple case off pushing in a retaining plastic clip and it popped straight off:
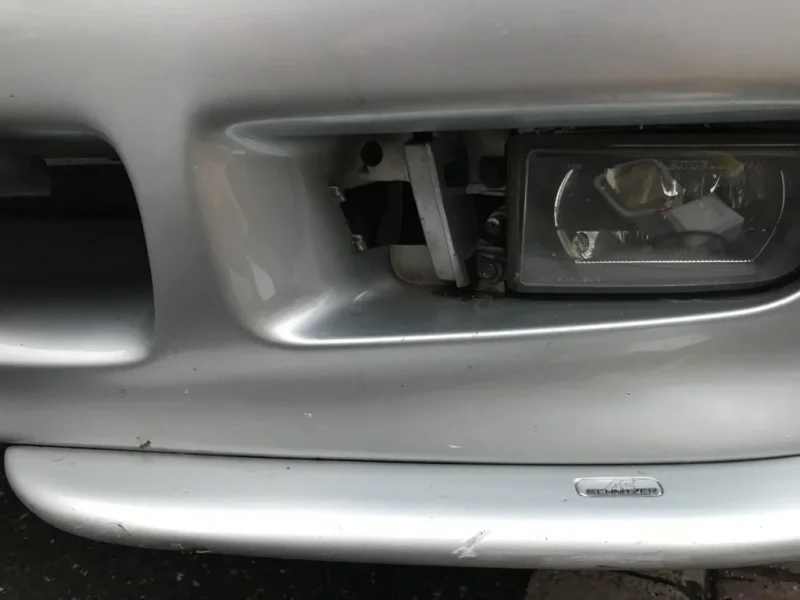
IMG_0054.webp

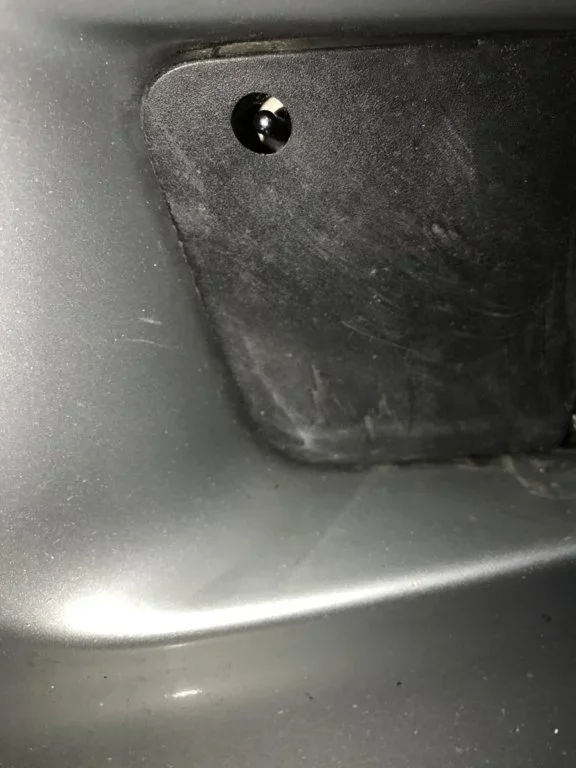
I could now easily see where the temperature probe clipped in. IMG_0053.webp IMG_0052.webp
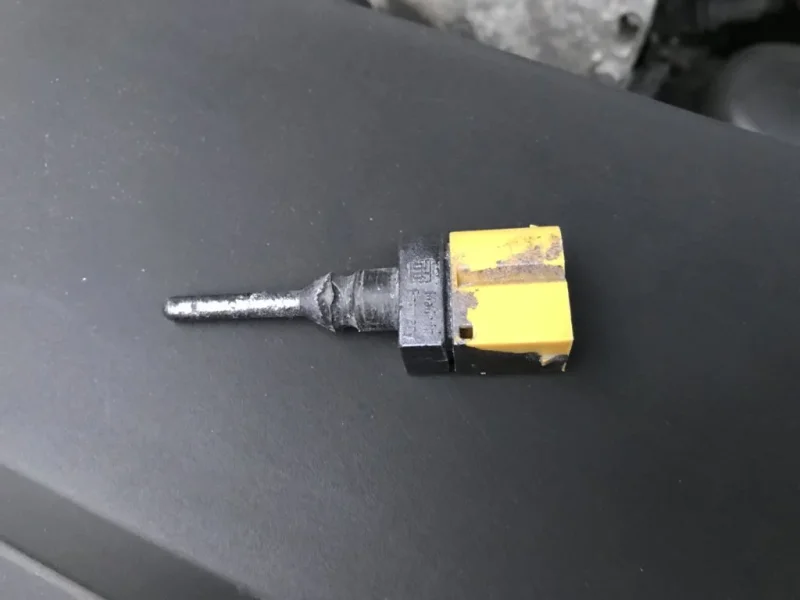
Picture from behind the bumper.

The probe needed quite a bit of force to push click in. Once in just connect up the cable.

The the trim panel went back on:IMG_0056.webp IMG_0057.webp

That was nice and easy. :thumbsup:

Next was the OBC indicator stalk.

I needed to loosen the side trim of the centre console (2 screws) and remove 3 bits of trim:
  • Underside of the steering wheel column cover (the part with the ignition barrel)
  • The large trim panel covering the main steering column
  • The small trim panel over the pedals
To remove the the lower ignition barrel trim, there is just 1 plastic screw and then the trim can be pulled down and away.

The large trim panel has 4 screws that need to be removed - numbers 3,4,5 and 6. All of these are Philips heads. You will need a stubby screwdriver to remove number 6 as it's next to the door.
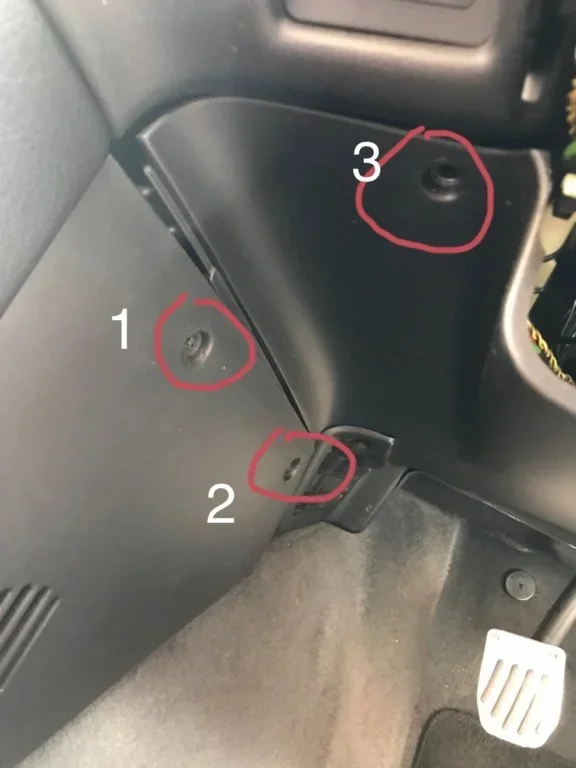
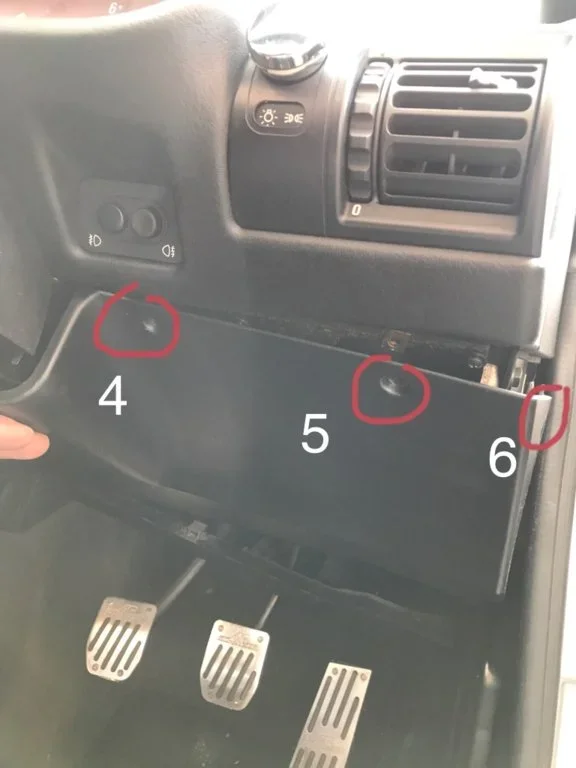
IMG_0078.webp IMG_0079.webp

Remove screws 1 and 2 to loosen the console side panel trim. As this will aid the removal of the trim panels and allow you access to the rear of the clock which is needed later.

To remove the trim over the pedals there are 2 plastic screws. These are flat headed screws which only need a quarter turn to remove.

Once all the screws have been taken out the trim panels can be pulled away.
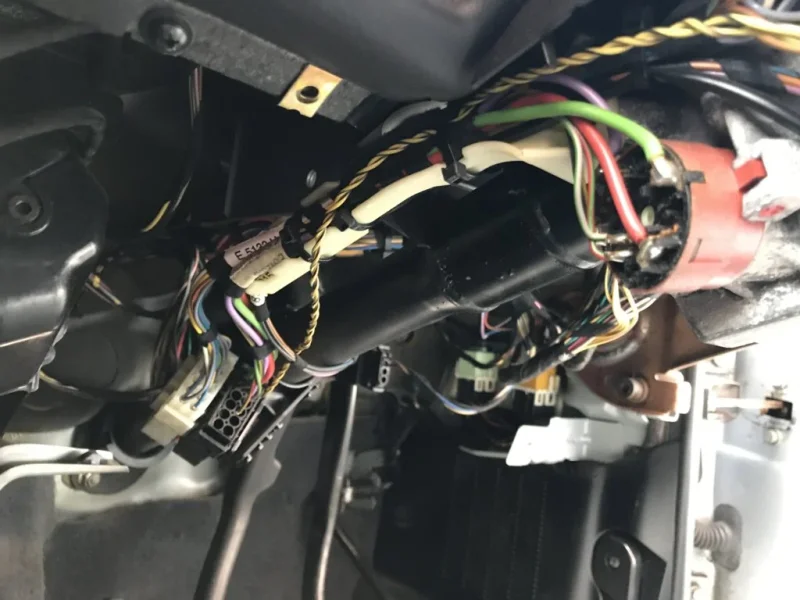
IMG_0069.webp

Now to remove the original indicator stalk and replace it with the OBC one :)

I have to remove the indicator stalk along with its wiring loom and connector.
This is what it looks like removed:
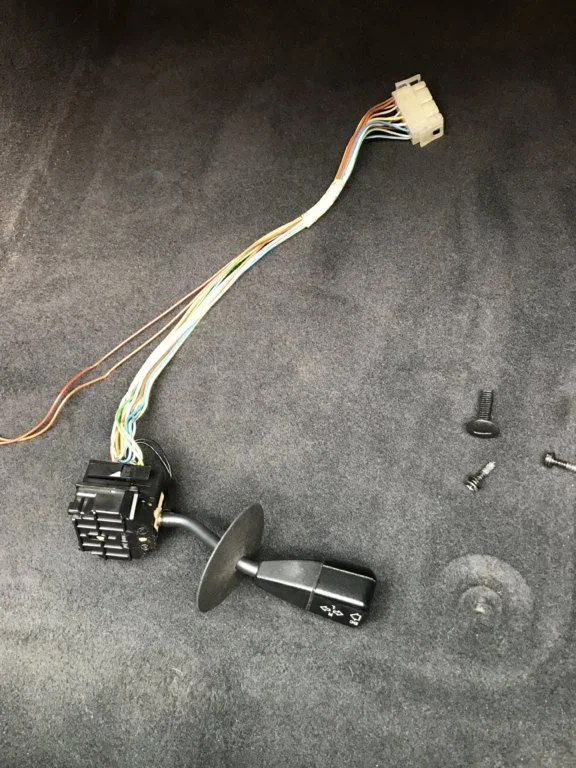
IMG_0063.webp

The unit consists of the stalk and a small white connector (with 2 wires) at one end and then about a 30cm of wire loom and a white connector block at the other end.

To remove the small 2 wire connection it just pulls apart. The indicator stalk is held in by 2 plastic clips attached to the stalk. One on the top and one at the bottom. Push these in and the stalk then just pulls out.
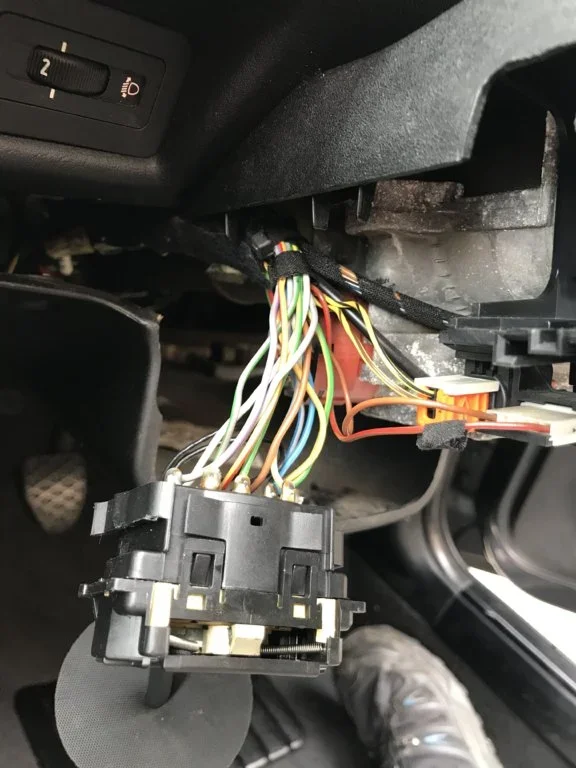
IMG_0062.webp

The wiring loom is held in by 4 cable tie clips. Cut these off and the wiring loom comes free. The large white connector then just needs to be unclipped to remove the unit.
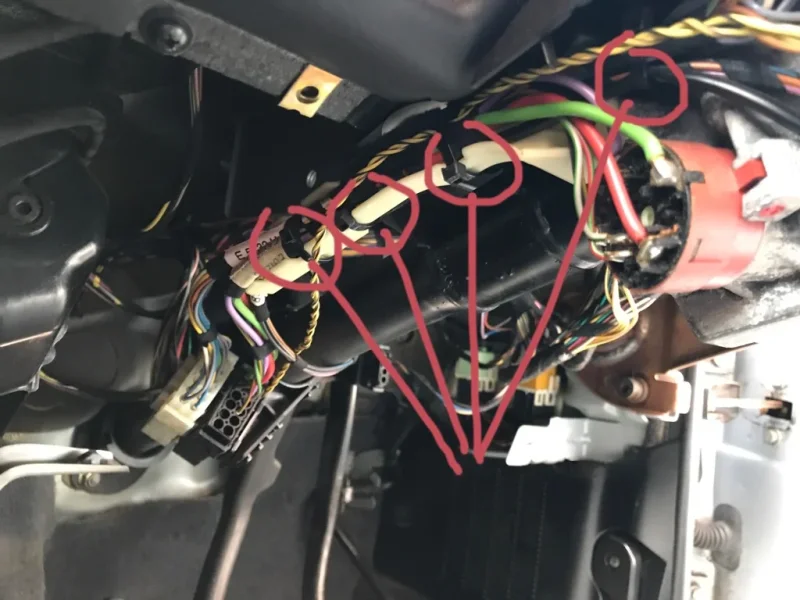
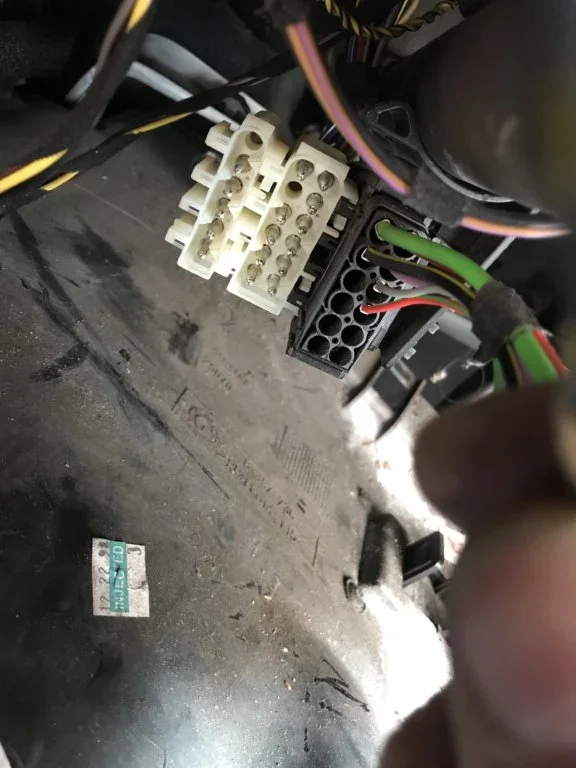
IMG_0080.webp

IMG_0064.webp

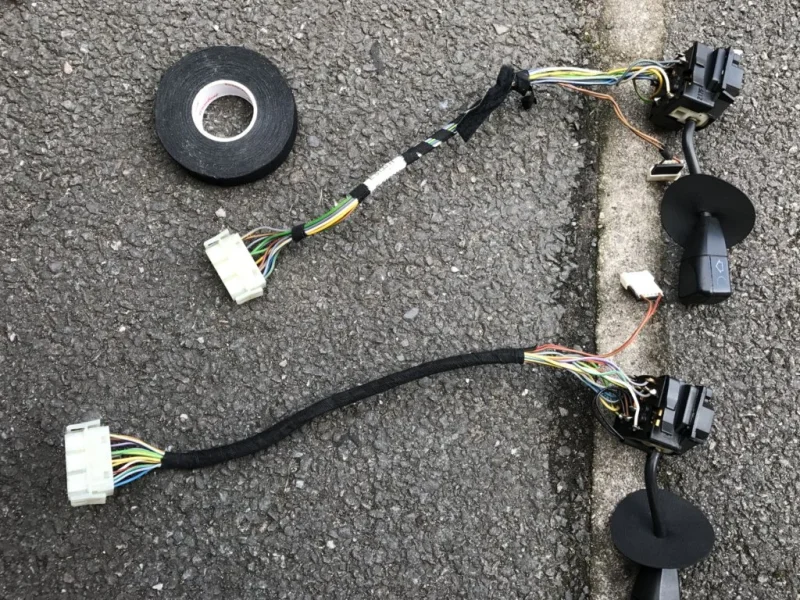
Once the unit was out my OCD came into play and I had to fabric tape the loom for my own sanity :whistle:
IMG_0071.webp
Top one is the original. Bottom one is the OBC one that I attacked with the fabric tape.

Then it was just a case of refitting the new unit and zip tying it back in.
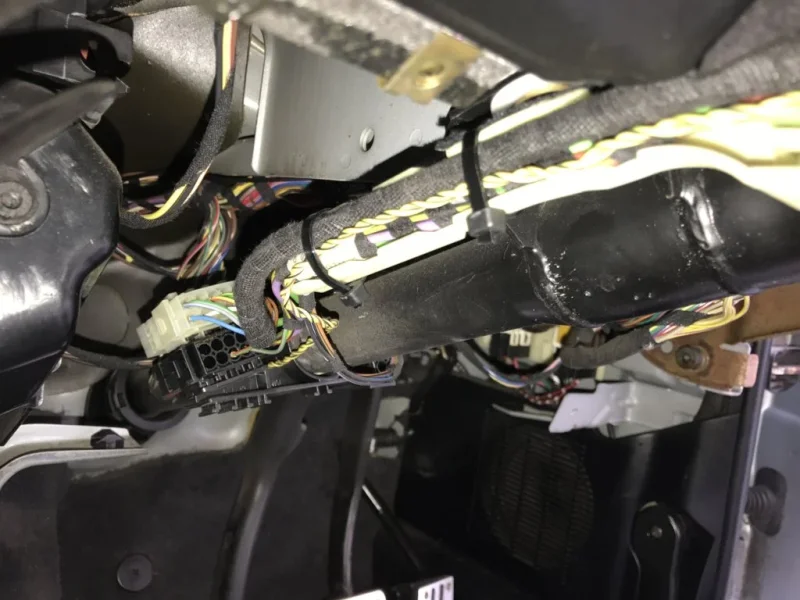
IMG_0072.webp IMG_0074.webp

The last stage was to fit the new unit.

As the side trim was loosened I was able to get my hand in the side and push the unit out from behind.
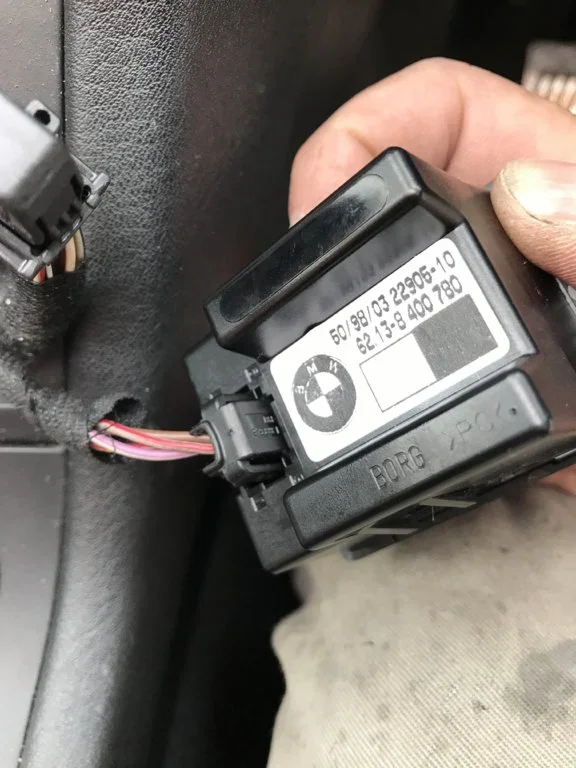
IMG_0076.webp

This is the back of the standard clock. The connector just pulls out. On the left of the photo is the (very poor shot) OBC connector. This is a smaller version of the types of connectors at the back of the main instrument cluster. The type that have a leaver.

Once I connected it up and pushed it in, job done :thumbsup:
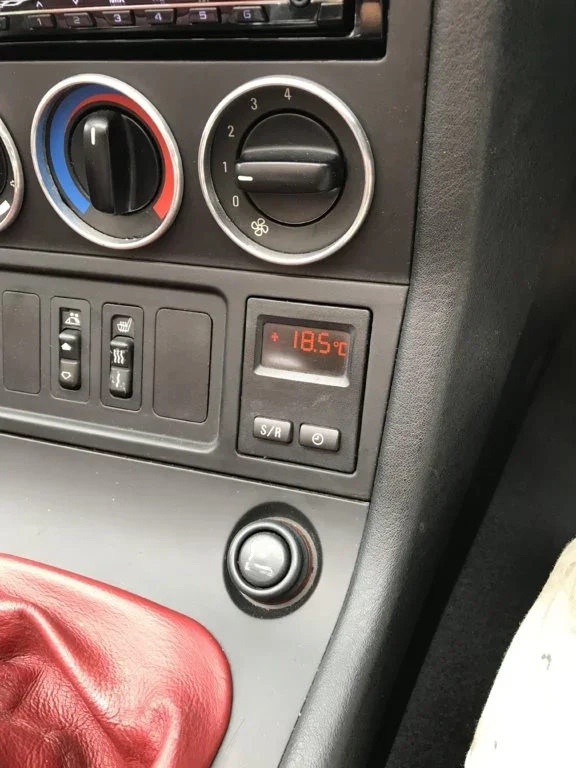
IMG_0077.webp

All set up and working.

As the unit came out of a 1.9 4 cylinder I didn't need to reset it or re-code it.
If it was going into a car with a 6 cylinder engine the unit would need to have been re-coded.

Hope this thread is of some use to anyone wishing to do a similar retrofit.
 
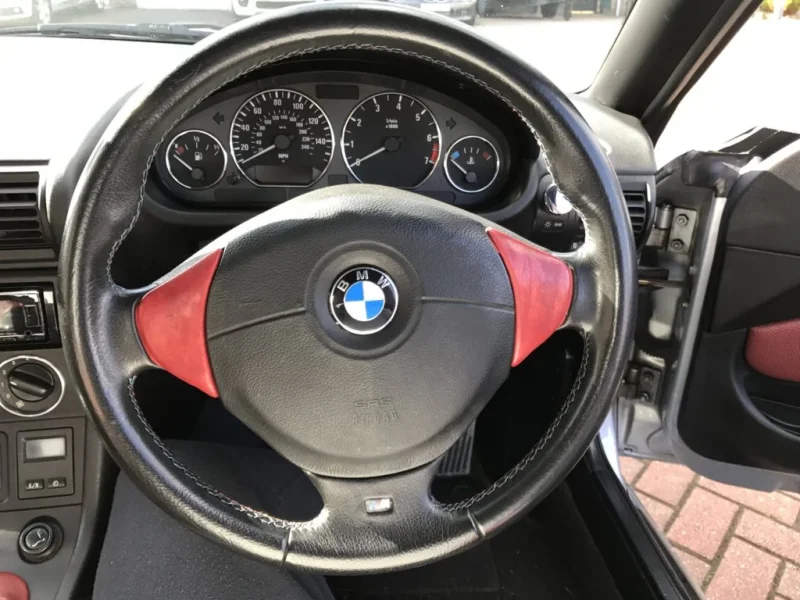
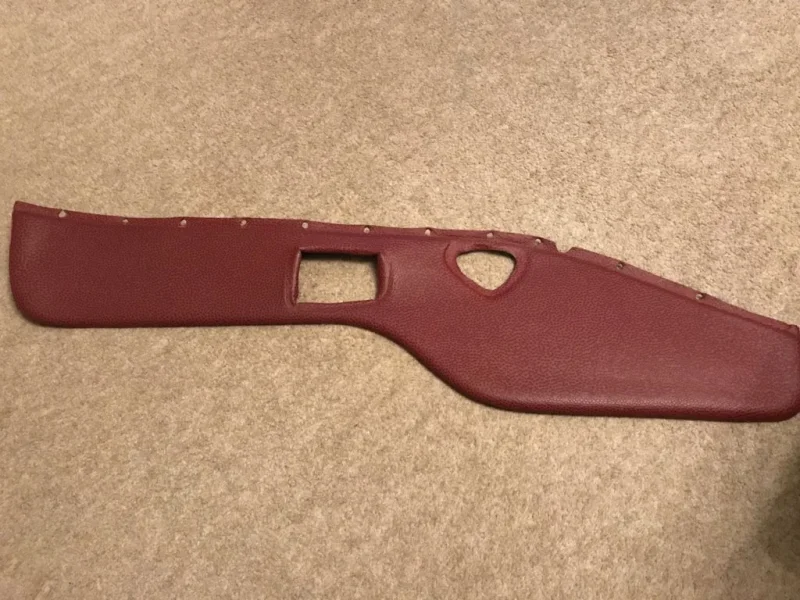
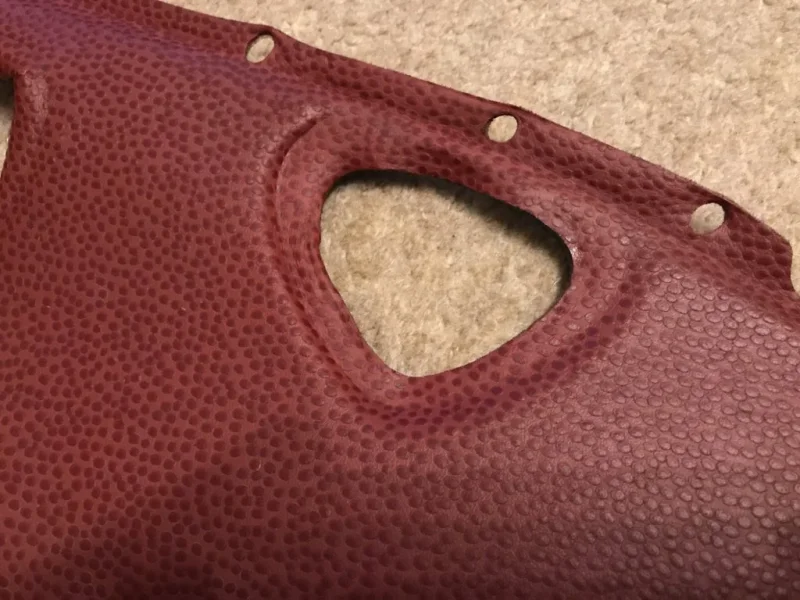
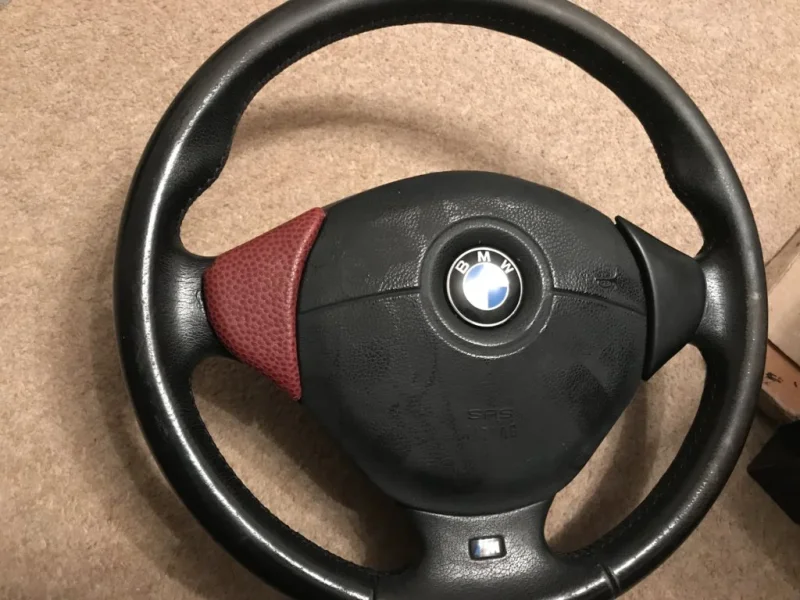
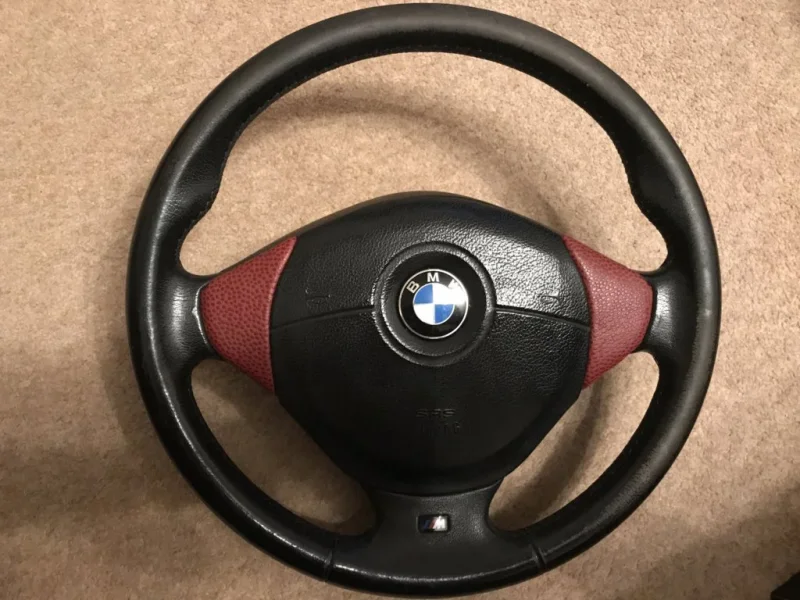
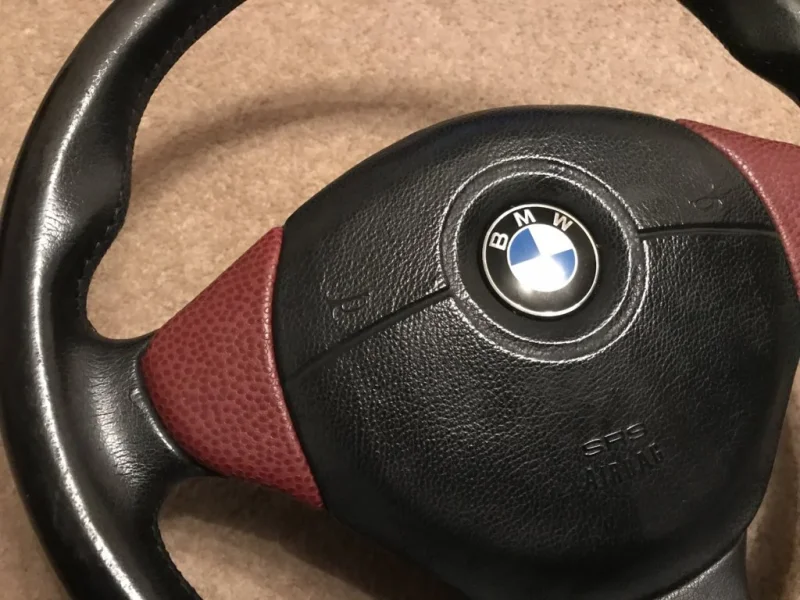
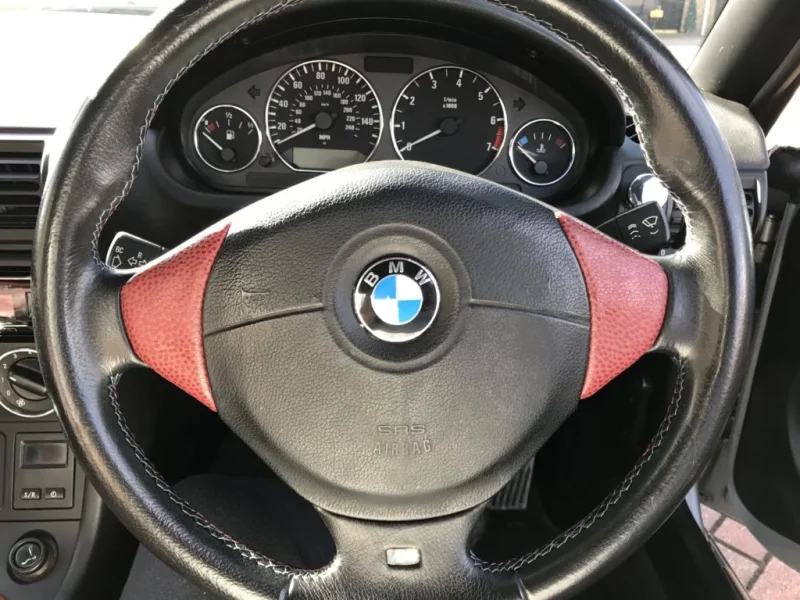
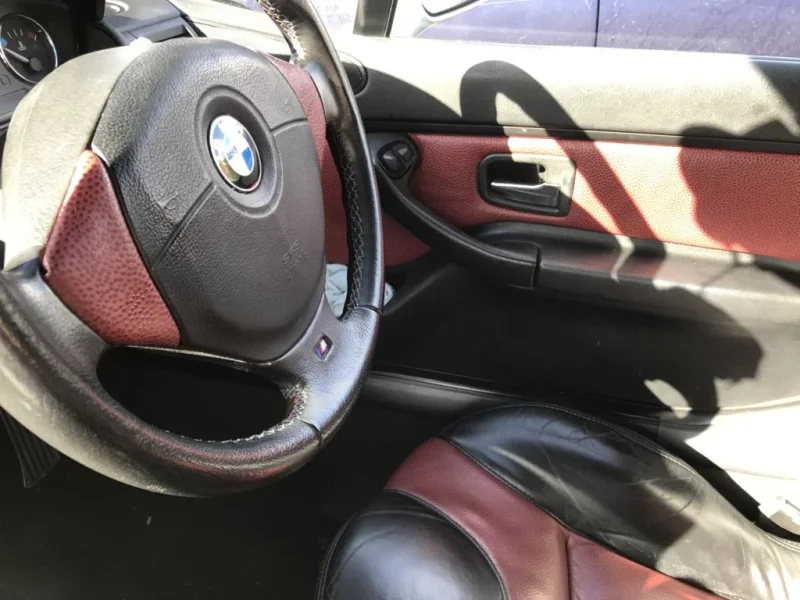
Managed to get some Oregon Red Leather from @spurs fan in a coupe, many thanks, so that I was able to re-cover the steering wheel tabs to match the rest of the interior.

I had previously covered my steering wheel tabs in some smooth red leather but wasn't to happy with the match.
IMG_0144.webp

So first up was to clean and condition the leather and the remove it from the plastic backing
IMG_0132.webp
IMG_0133.webp
IMG_0134.webp
IMG_0135.webp

Once I had removed it I the used a Stanley knife blade to carefully remove the foam that was still attached the back of the leather.

I then sanded down the steering wheel tabs with some sandpaper so that the glue had a good surface to take to.
IMG_0136.webp

I then sprayed carpet glue onto the tabs and leather backing, after left for a couple of minutes to go tacky.

I then attached the leather and stretched it across the tabs. Trimming the edges and holding in place until it set.

One finished tab compared to the original:
IMG_0137.webp

The finished tabs ready to be fitted to the car.
IMG_0138.webp
IMG_0139.webp


Left the tabs to fully dry, about 6hrs, then fitted them to the cars steering wheel when I got home from work today:
IMG_0145.webp
IMG_0147.webp IMG_0146.webp

Happy with the final outcome and look of them. They match the seats and door cards now :cool:
 
Perfectionist at work. Top job Jim.:thumbsup:

Tony.
 
Great job Jim, they look great:thumbsup:
 
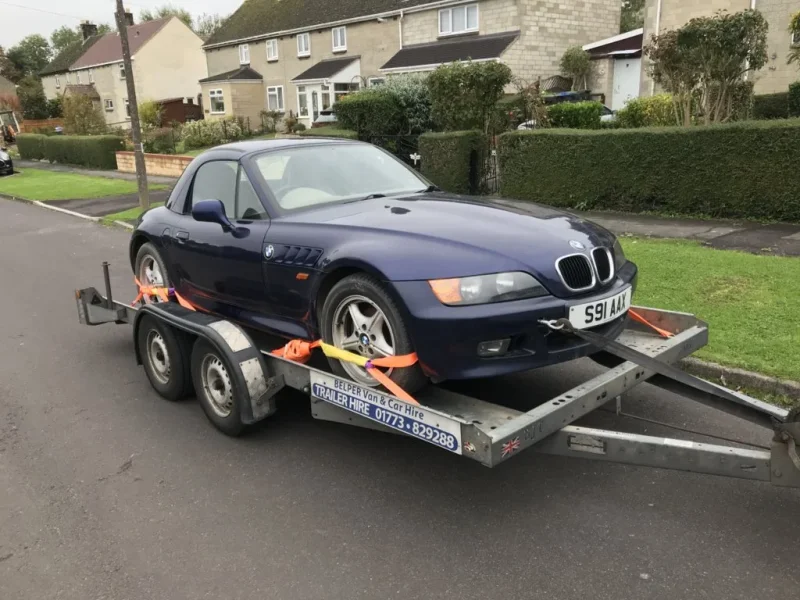
Well picked this up today ;)

B165375A-9813-4F00-A2C4-B9042908E506.webp
1881CFD5-1B20-44B5-818A-9854184C452E.webp

Got it for a very good price. As it has no MOT.

Originally bought it for just the hardtop, but the tan interior is in excellent condition and it has heated Sports Seats and factory roll hoops.
The paint is in excellent condition. It’s done 103k, not bad for a 1999 (S).
Full service history, 3 keys and all documents.

The misses came with me to pick it up, and I’m getting the impression that we might be adding this to our collection :thumbsup:

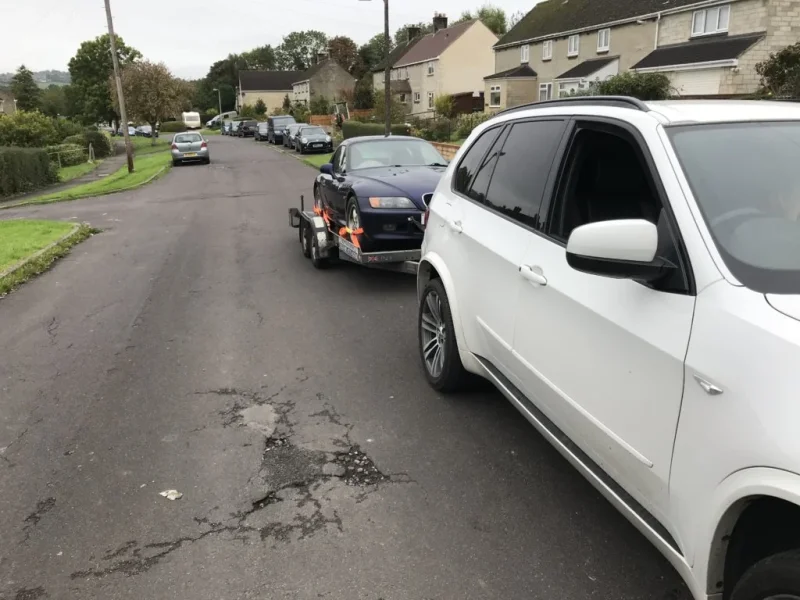
When we collected it the handbrakes were rusted in place as the previous owner hadn’t driven it in a year :eek:
So attached a tow rope to the X5 and it pulled it loose nice and easy :D

The battery was completely dead and no way of jump starting it and testing anything electrical so was a good negotiating point and I knew I was taking a risk. As soon as I got it home I swapped over the battery from my Silver Zed, crossed my fingers and turned the key.
It started first time and ticked over beautifully. :D
At the moment I’m feeling the love for the car and it has grown on me very quickly.
Next step is get the wheels off, inspect the brakes, discs, handbrakes and lines.

Also looking for some wheel ideas.
 
Back
Top