Head Gasket.

Gremlin

Zorg Guru (III)
British Zeds
Joined
Aug 10, 2016
Points
128
Location
Salisbury
Model of Z
Z3 1.9
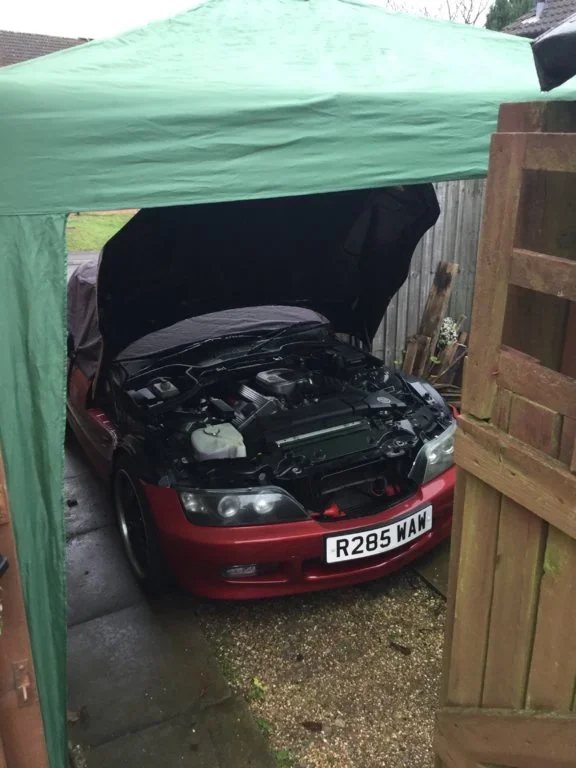
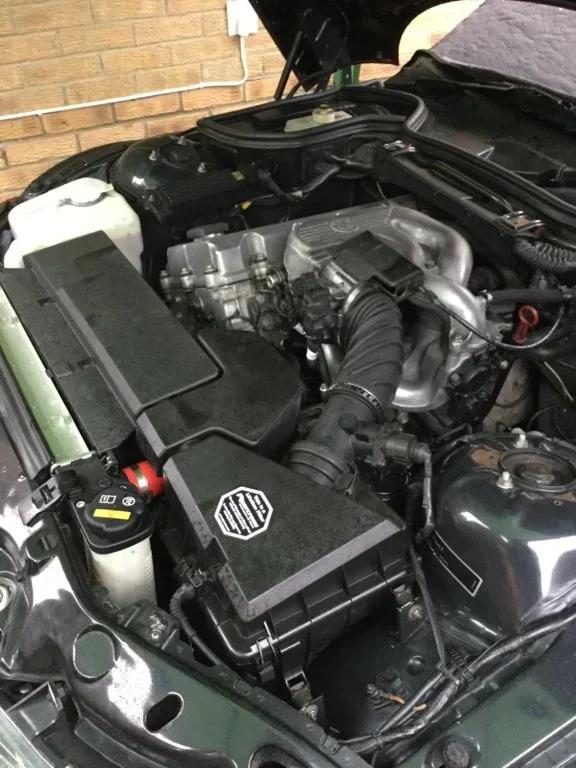
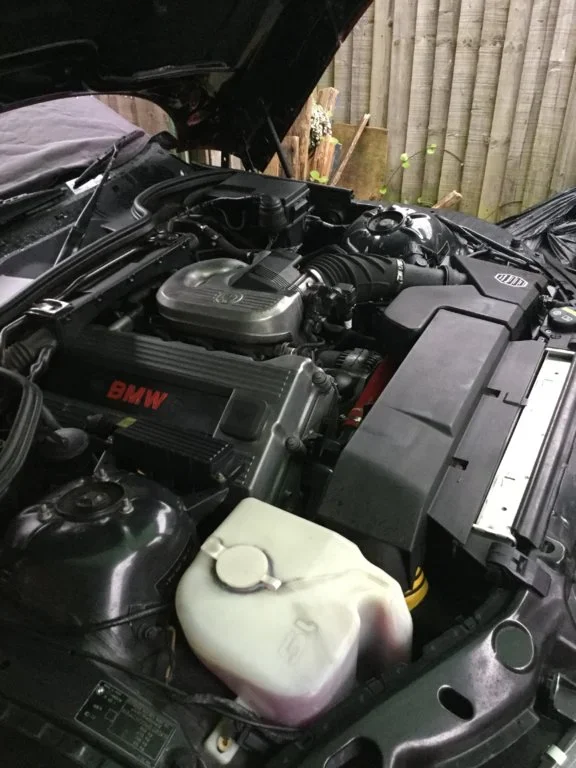
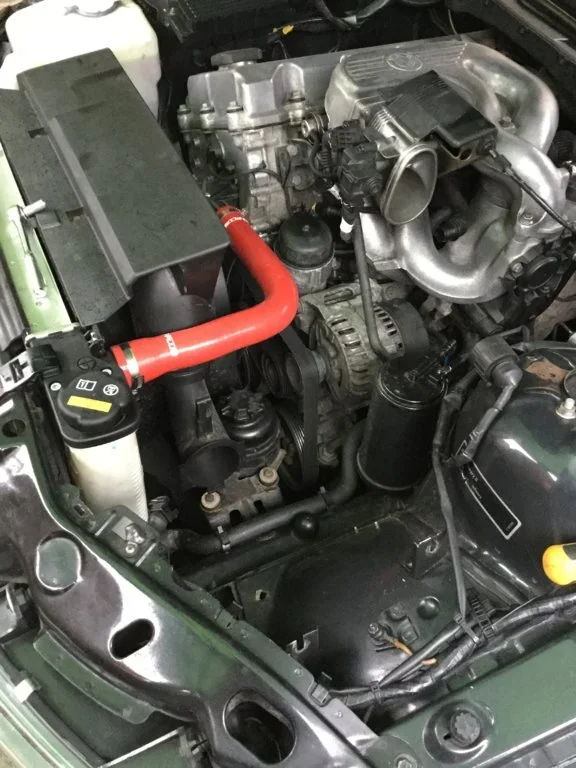
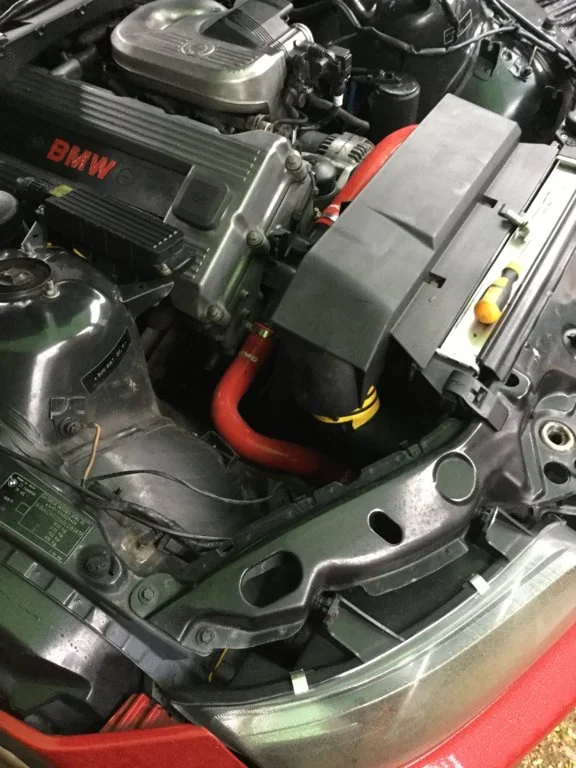
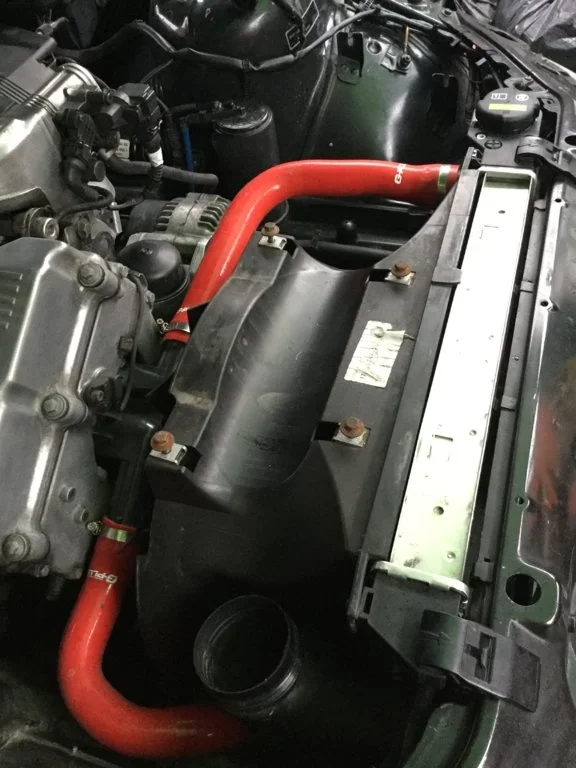
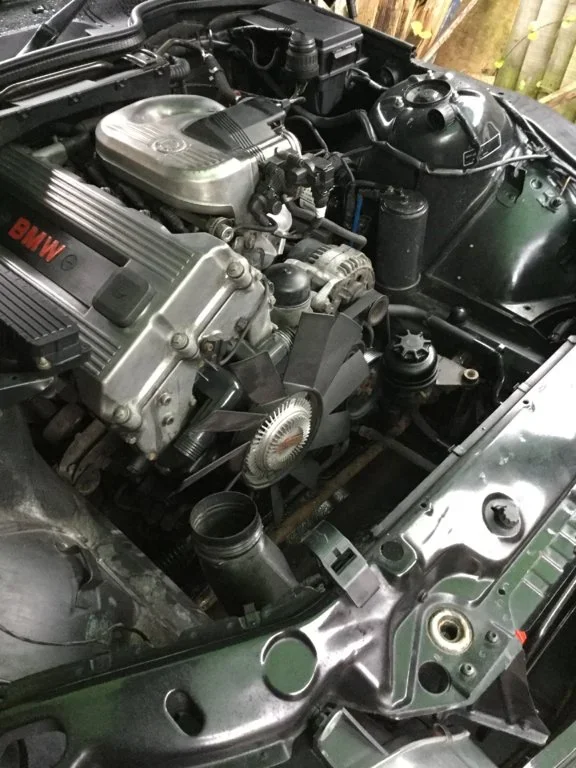
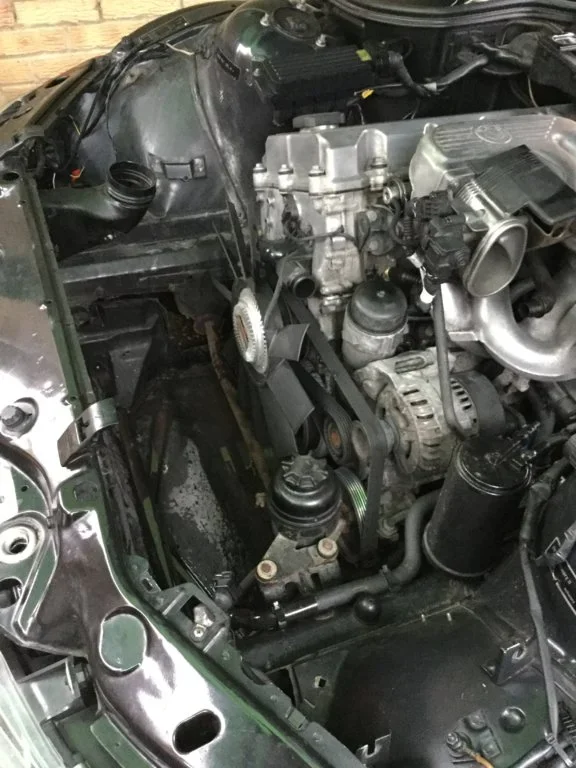
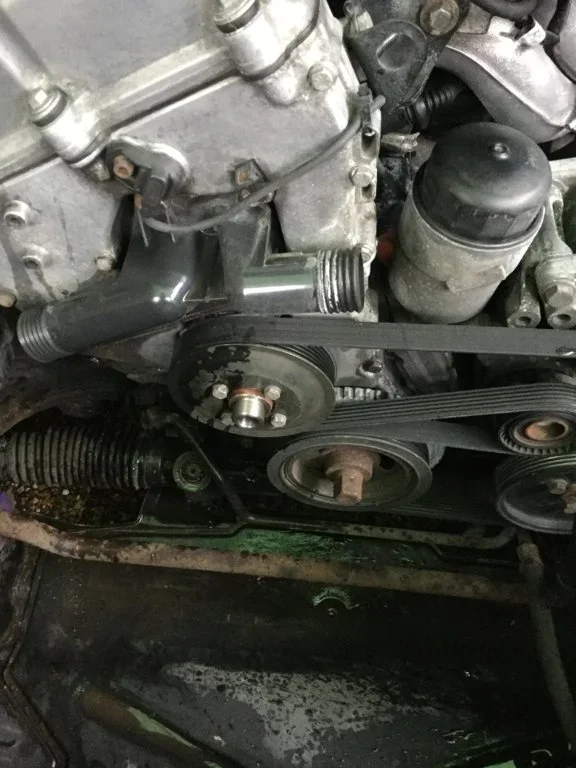
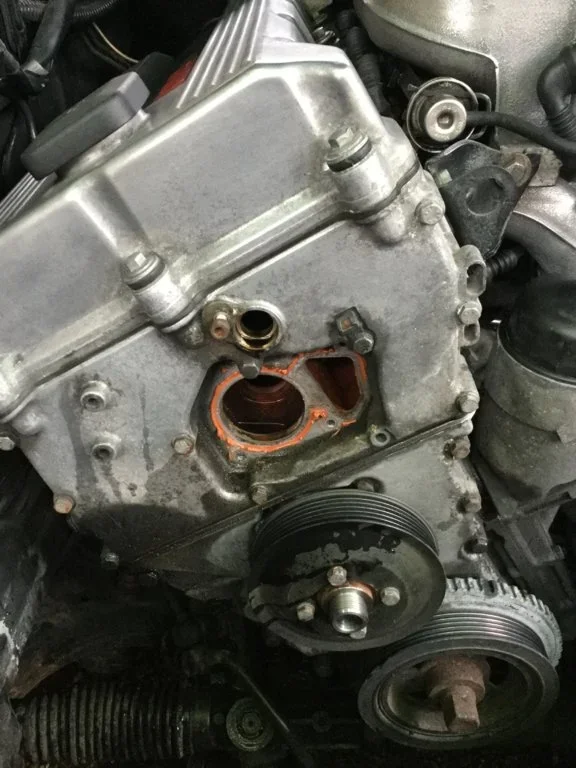
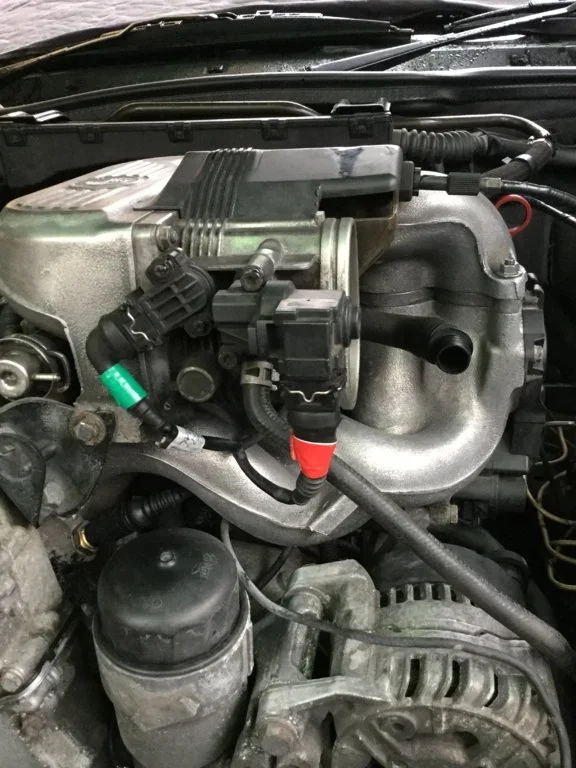
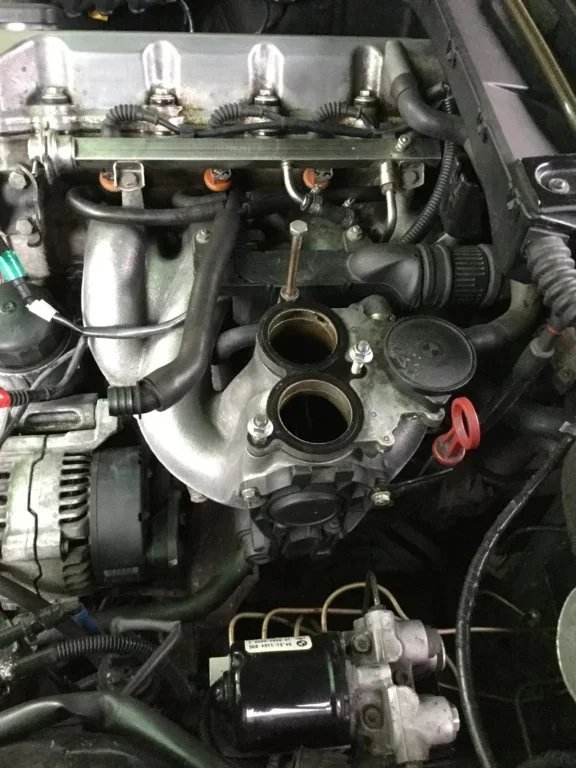
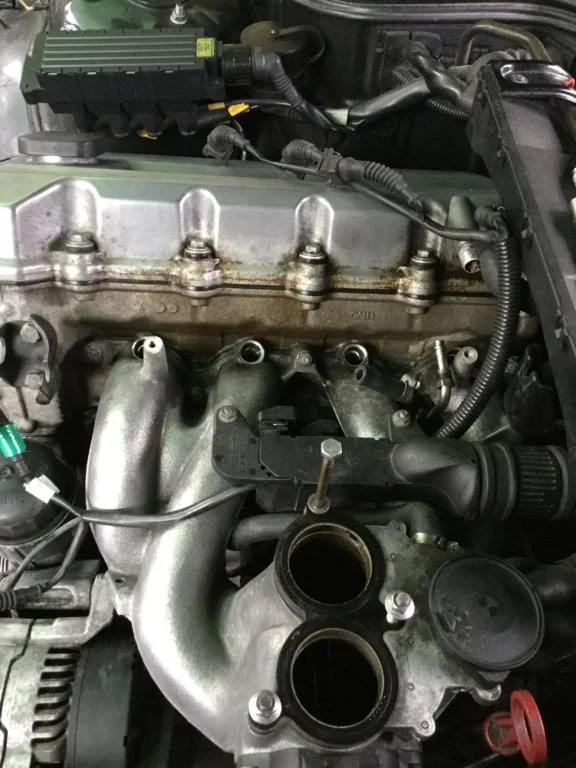
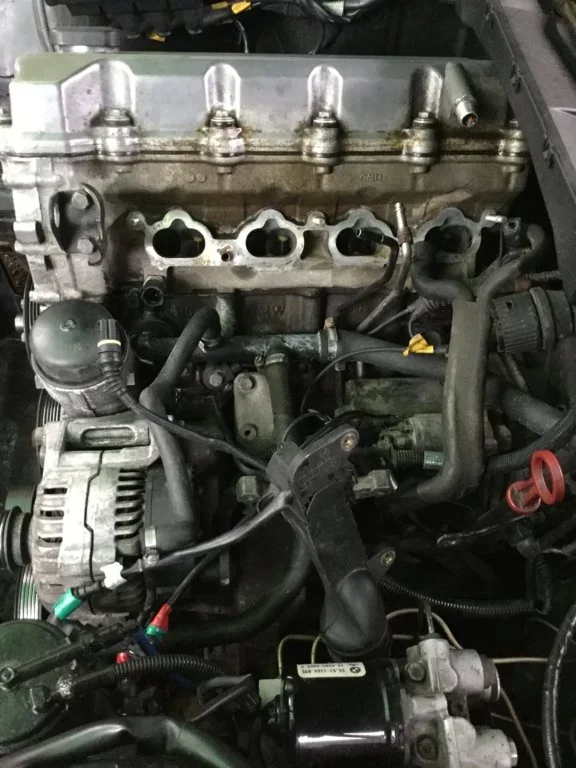
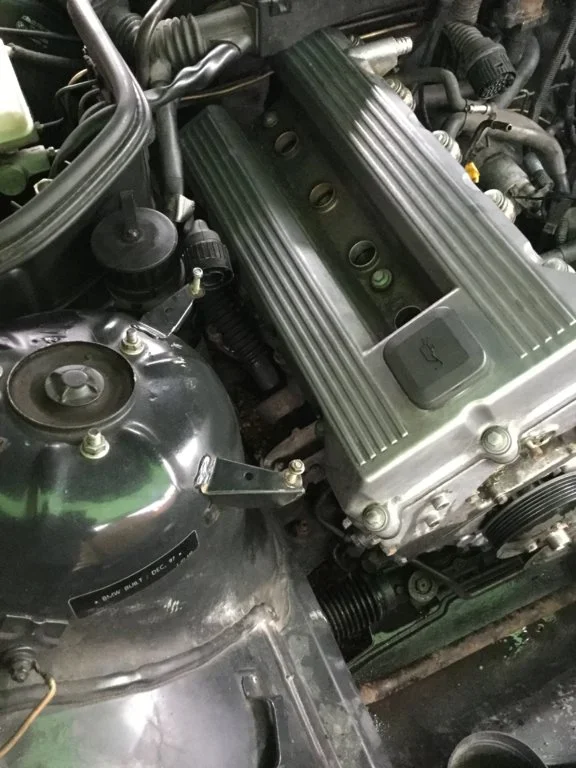
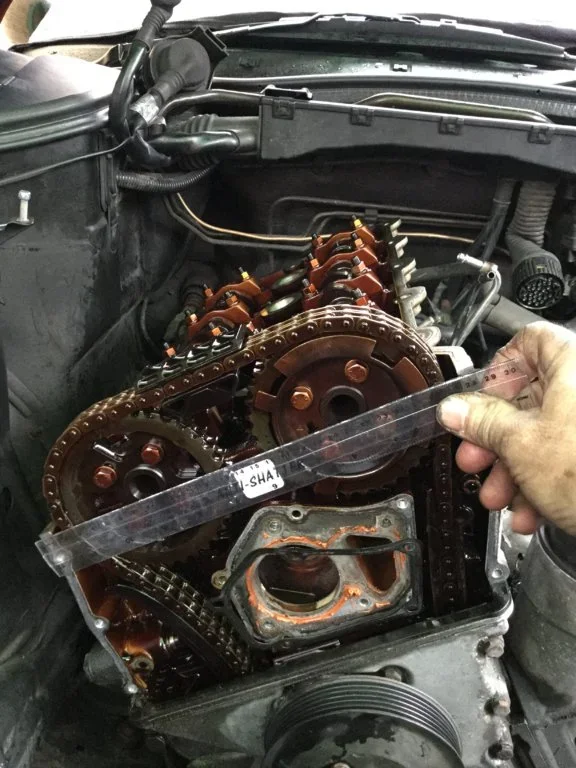
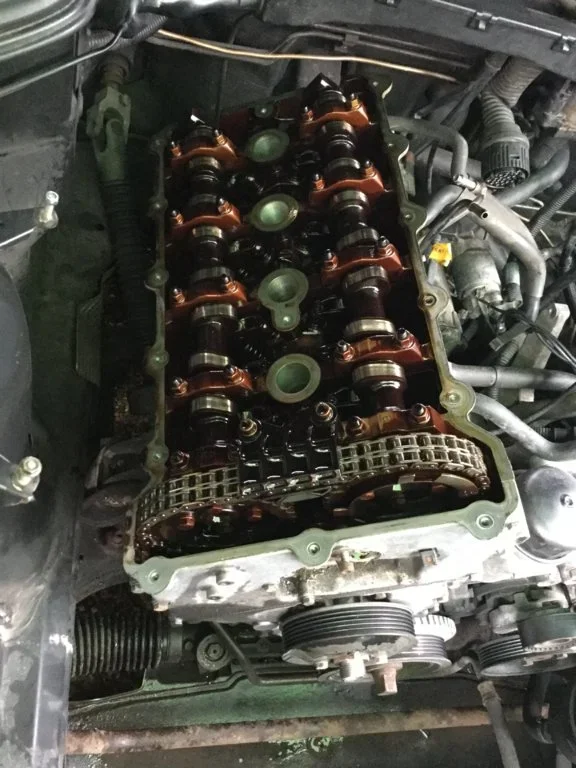
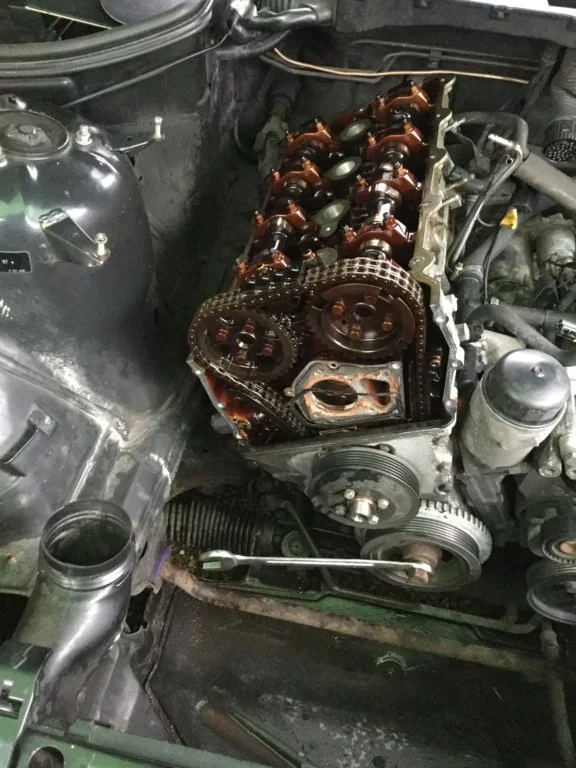
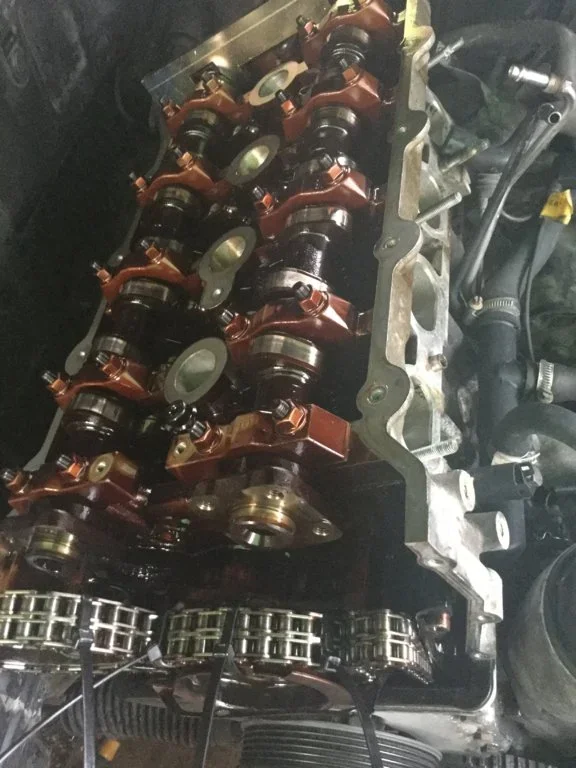
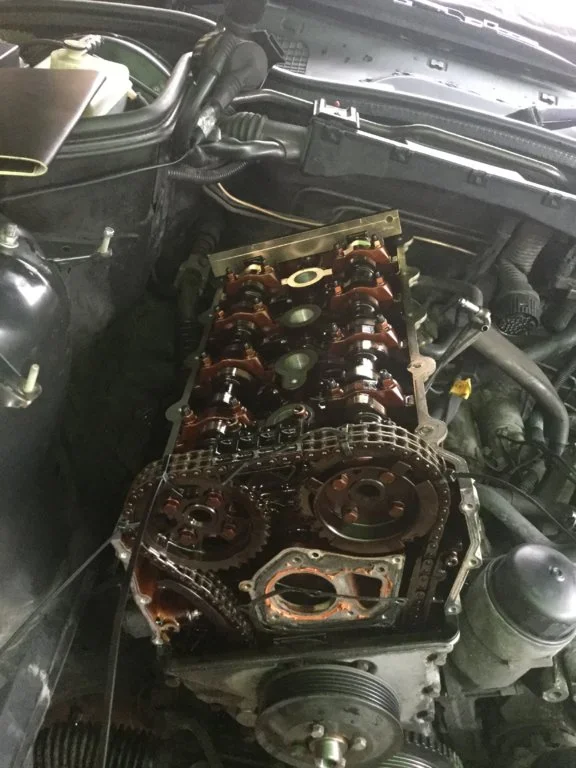
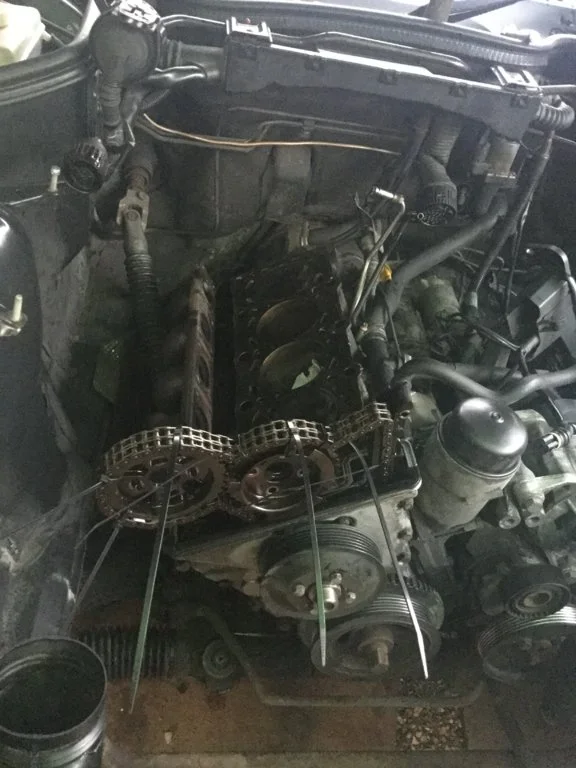
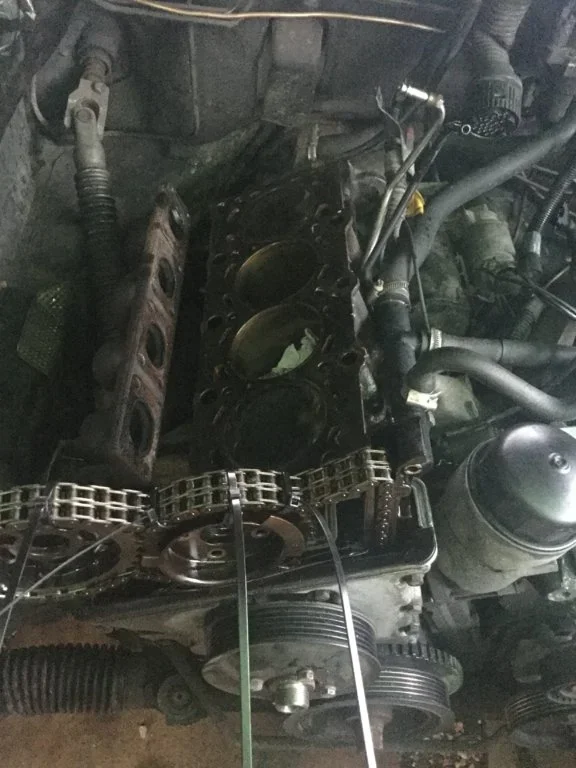
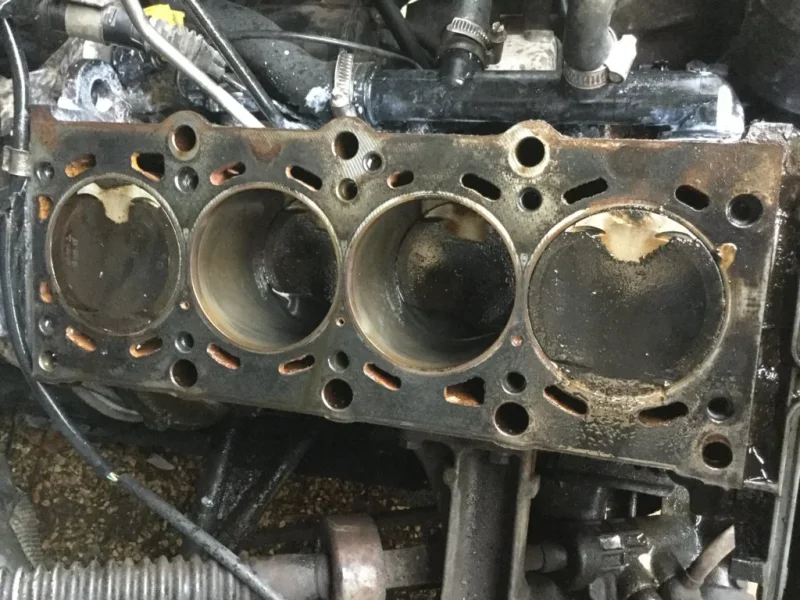
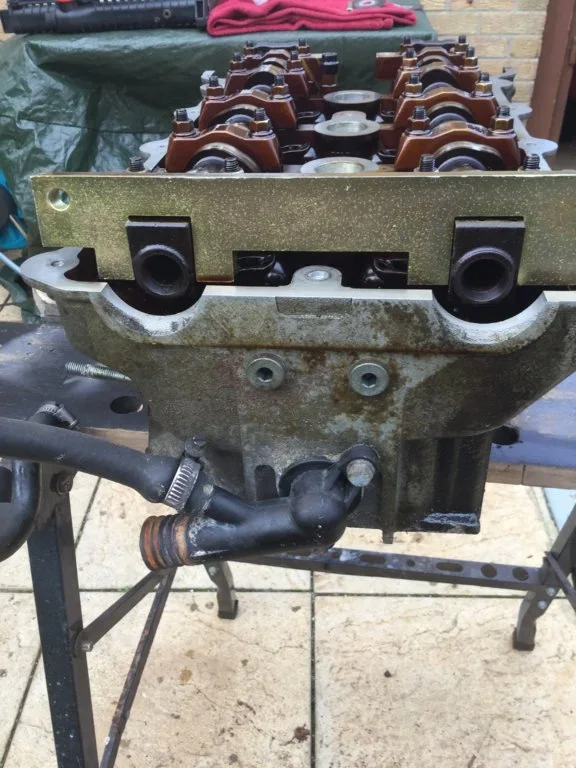
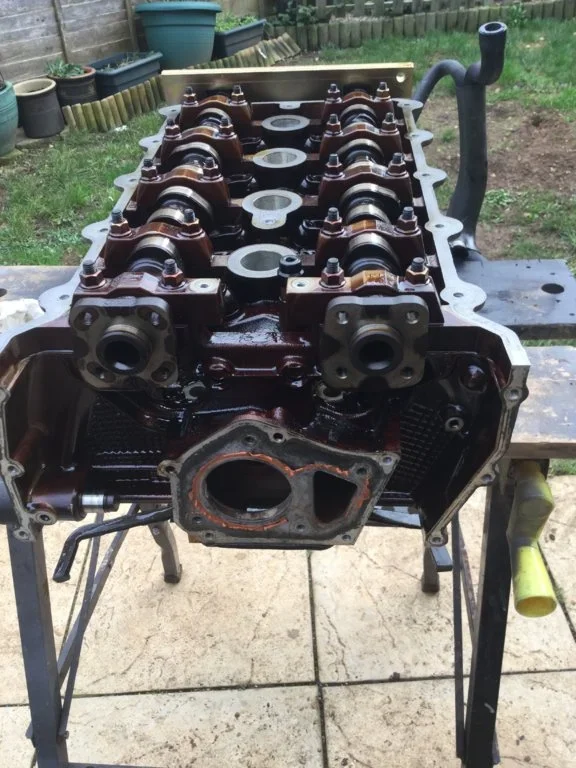
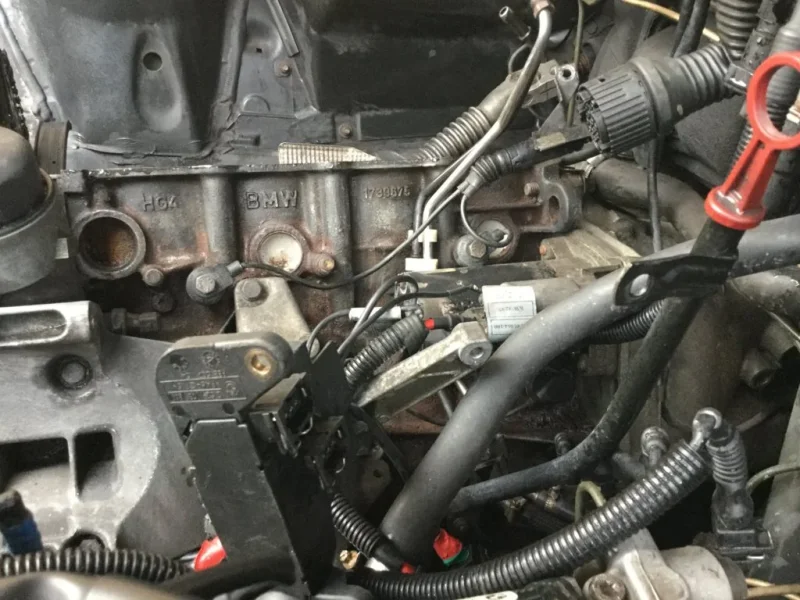
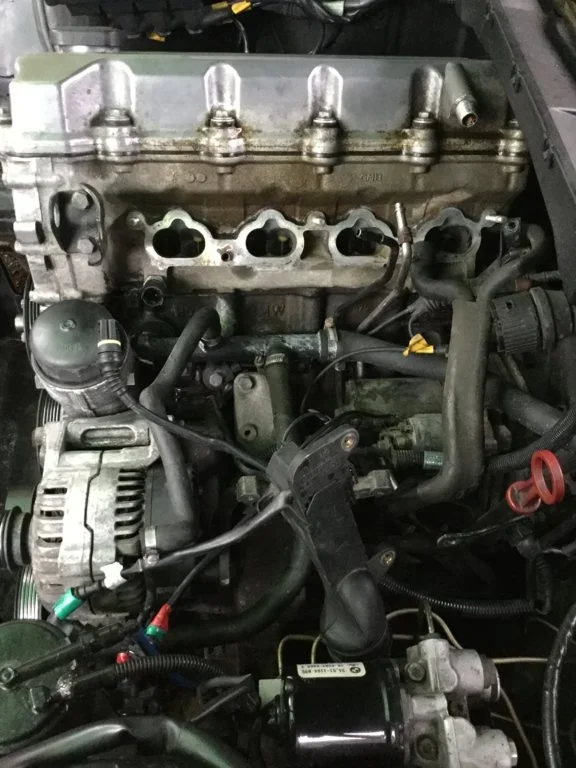
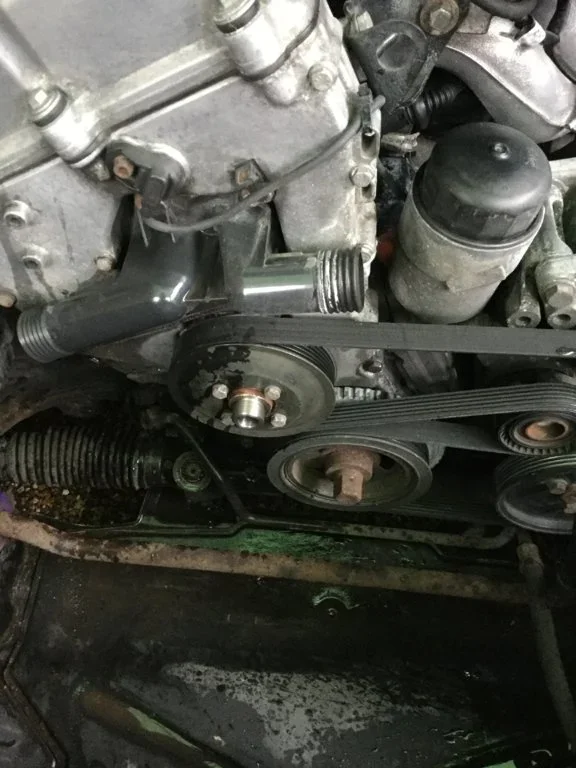
I decided today to take the head off because I’ve had a slight misfire when starting first thing in the morning it literally only lasted for a few seconds and cleared. I knew there was a possible leak at the front of head on near side just under the temperature sender unit as I could see where the water seeped out and run down the block. Now I am not sure how to do this but I was asked if I could take pictures of the job so I have.
 

Attachments

  • 92188567-6BA0-4F69-9056-A6FE0B4C32B7.webp
    92188567-6BA0-4F69-9056-A6FE0B4C32B7.webp
    53 KB · Views: 155
  • 1A9CAF78-D73C-4DF3-9895-833325FF2580.webp
    1A9CAF78-D73C-4DF3-9895-833325FF2580.webp
    67.1 KB · Views: 169
  • 275E9EAC-CE3E-4D43-91D6-87E9CF3AEA42.webp
    275E9EAC-CE3E-4D43-91D6-87E9CF3AEA42.webp
    60.4 KB · Views: 152
  • 0F184F5D-459E-4367-A38A-3330C32D0921.webp
    0F184F5D-459E-4367-A38A-3330C32D0921.webp
    67.5 KB · Views: 172
  • 12AE7ACC-EAEC-4484-BD0B-4C7CA9F8B586.webp
    12AE7ACC-EAEC-4484-BD0B-4C7CA9F8B586.webp
    68.7 KB · Views: 167
  • 5332F67C-C071-49DA-A461-78F76EC4B816.webp
    5332F67C-C071-49DA-A461-78F76EC4B816.webp
    57 KB · Views: 164
  • D930D394-872C-432F-9E64-8FE676EDE5E6.webp
    D930D394-872C-432F-9E64-8FE676EDE5E6.webp
    75.1 KB · Views: 189
  • 01A9EC89-13C6-4182-B7C3-99026532412B.webp
    01A9EC89-13C6-4182-B7C3-99026532412B.webp
    68.5 KB · Views: 156
  • 5AF6C2CB-D3F0-4856-B585-6FF27A259F17.webp
    5AF6C2CB-D3F0-4856-B585-6FF27A259F17.webp
    59.8 KB · Views: 155
  • A19A5887-AF8A-4C13-AC2D-2672A1721269.webp
    A19A5887-AF8A-4C13-AC2D-2672A1721269.webp
    63.9 KB · Views: 154
  • 73DFC007-4FA9-434C-96BB-39F7D6BABAD3.webp
    73DFC007-4FA9-434C-96BB-39F7D6BABAD3.webp
    71.2 KB · Views: 155
  • E2834962-77EA-41D8-AB33-6C81A6E14028.webp
    E2834962-77EA-41D8-AB33-6C81A6E14028.webp
    63.5 KB · Views: 157
  • C5CA93A6-789C-4A44-9D11-31DA00A2CEED.webp
    C5CA93A6-789C-4A44-9D11-31DA00A2CEED.webp
    63.1 KB · Views: 162
  • CE3F80BE-D443-43B9-80C2-90A28F21F2CA.webp
    CE3F80BE-D443-43B9-80C2-90A28F21F2CA.webp
    65.3 KB · Views: 147
  • 0F0160BC-CD14-4FE8-95F6-192437B05078.webp
    0F0160BC-CD14-4FE8-95F6-192437B05078.webp
    65.6 KB · Views: 152
  • 2158D71D-A502-449F-91F5-F25EB2715F2B.webp
    2158D71D-A502-449F-91F5-F25EB2715F2B.webp
    77.4 KB · Views: 158
  • 1E4F572B-C40E-4578-8F8D-B4A47D4FF9FC.webp
    1E4F572B-C40E-4578-8F8D-B4A47D4FF9FC.webp
    75.1 KB · Views: 152
  • FE905DBD-F5C4-41EA-BEFB-D228016BCD00.webp
    FE905DBD-F5C4-41EA-BEFB-D228016BCD00.webp
    73.7 KB · Views: 160
  • EDF6F7B4-55ED-4CC8-961A-D5AFDA50607F.webp
    EDF6F7B4-55ED-4CC8-961A-D5AFDA50607F.webp
    64.8 KB · Views: 154
  • 14D1A8BE-9415-48E8-9A88-83F5F1E4F17E.webp
    14D1A8BE-9415-48E8-9A88-83F5F1E4F17E.webp
    63.7 KB · Views: 155
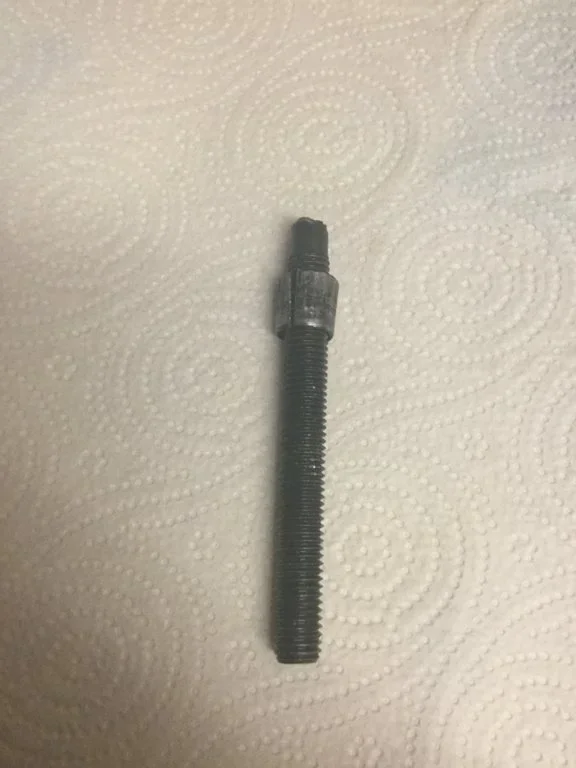
It was a long job to get the head off and the cause of the leak was who ever had car beforehand had snapped the head off one of the head bolts. This did cause me a big problem in as much as lifting the head off. To get the head off leaving timing chain on you need to slide the head back and then lift so as you clear timing chain sprockets, with that sheared of head bolt you can’t slide it back nor lift straight up.
I managed to lift the head to get a piece of wood between it and the head, I could then get a pair of mole grips in between and luckily it moved it took ages to get it out.
Well heads off now and going for pressure and crack test on Monday and if that’s ok it’s going to have a skimming off.
The pictures above are from start to finish. This is the head bolt culprit of problem.
 

Attachments

  • 3297F930-E783-4106-9547-57C9EE1680F5.webp
    3297F930-E783-4106-9547-57C9EE1680F5.webp
    58.5 KB · Views: 154
  • 3F4742F3-D85E-43A1-A61B-91FF99E8C397.webp
    3F4742F3-D85E-43A1-A61B-91FF99E8C397.webp
    62.8 KB · Views: 152
  • 8793A4D0-CBB1-4095-8227-377B9CE2E54C.webp
    8793A4D0-CBB1-4095-8227-377B9CE2E54C.webp
    33.3 KB · Views: 152
Great days work and thank you for the pictures.
Other than the sheared head bolt ( which must have been a nightmare) , were there any problems with any of the other bolts???
 
Great days work and thank you for the pictures.
Other than the sheared head bolt ( which must have been a nightmare) , were there any problems with any of the other bolts???
I didn’t check them but I don’t think the other head bolts were tight enough. Previous owner probably got cold feet after snapping that one.
The exhaust manifold nuts did not come of. The nut and stud came out and on 4 of them I had to use an extractor. And the bolts on the exhaust flange were a problem they would not come undone.
Other than that it is quite straight forwards so far. Ask me again when I put it all back together lol.
 
Lots of replacement fixings needed then. Which I suppose is not a bad idea to replace them all anyway.
Watching with great interest ......:thumbsup:
 
Lots of replacement fixings needed then. Which I suppose is not a bad idea to replace them all anyway.
Watching with great interest ......:thumbsup:
Yes I’m replacing the front pipe and cat as mine only just got through last mot. Replacing all the exhaust studs head bolts and any of the rubber hoses that go to back of head, I’m not putting it all back with out. The only other part I’m replacing is that short piece of rubber fuel pipe on the injector rail. I changed all the injectors the other day, plus all the vacuum pipes.
 
Excellent job so far, really enjoy these sort of threads:thumbsup:
 
Excellent job so far, really enjoy these sort of threads:thumbsup:
Thank you I will try and carry it on until job is completed problem I have is doing the pictures with any captions, so you lot will have to just look at the pictures. I’m hoping they follow on ok and are sort of self explanatory.
 
It was a long job to get the head off and the cause of the leak was who ever had car beforehand had snapped the head off one of the head bolts. This did cause me a big problem in as much as lifting the head off. To get the head off leaving timing chain on you need to slide the head back and then lift so as you clear timing chain sprockets, with that sheared of head bolt you can’t slide it back nor lift straight up.
I managed to lift the head to get a piece of wood between it and the head, I could then get a pair of mole grips in between and luckily it moved it took ages to get it out.
Well heads off now and going for pressure and crack test on Monday and if that’s ok it’s going to have a skimming off.
The pictures above are from start to finish. This is the head bolt culprit of problem.


Another update been out today and removed front pipe and manifold ended up having to cut through the exhaust pipe just behind the oxygen sensor as some muppet had used some right oddball nuts and bolts which they had rounded off, good job I was replacing front pipe and cat.
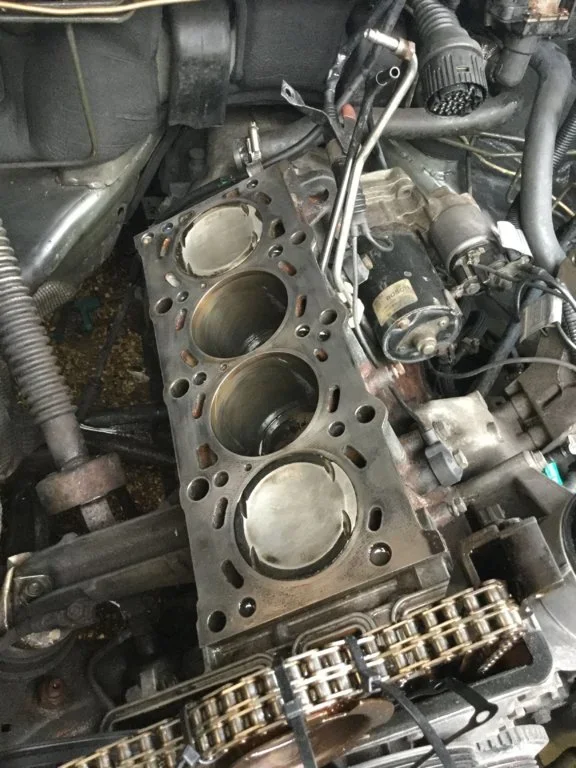
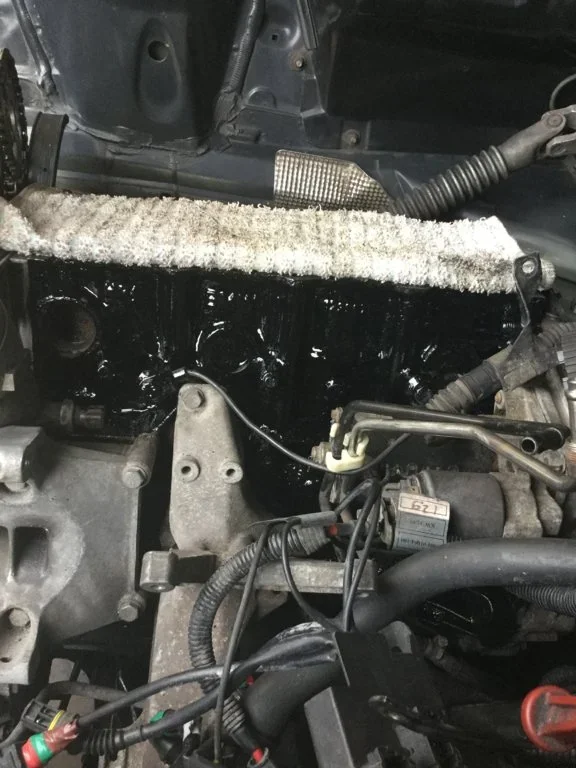
I’ve now cleaned down the engine block I may try and get some paint on there before I reassemble it all. I’ve emery clothed the head face down now ready for refitting the head. I was very pleased with the piston bores there was no lip at the top and also no movement in the pistons with in the bore.
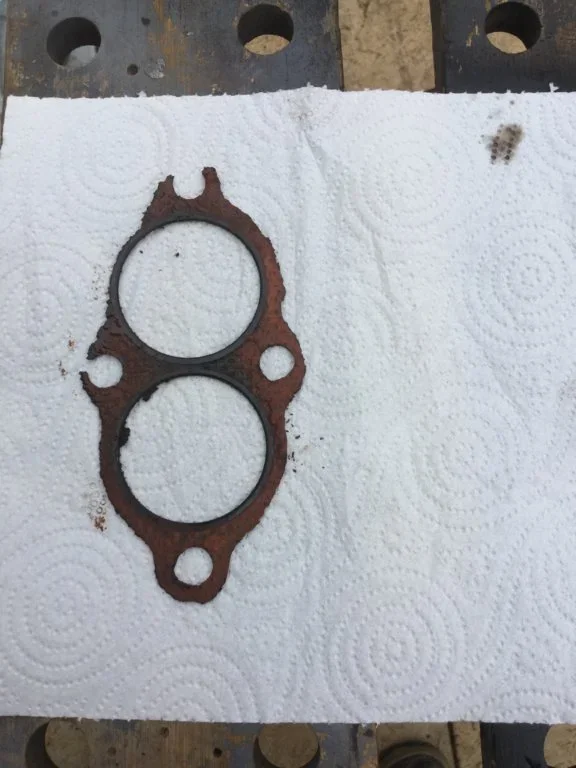
While inspecting the head I was pleased to say I found the head of the head bolt that previous owner had snapped off. That could have been a major problem, I also found that the plastic housing at rear of head with 2 water pipes on was cracked and leaking so yet another part to get from BMW. Here are some more pictures. Head will be going off tomorrow to be checked and skimmed, I may have the valves and guides checked while it’s over there.
 

Attachments

  • B3C4AB6D-6A46-45C9-A01E-1700E990F2F3.webp
    B3C4AB6D-6A46-45C9-A01E-1700E990F2F3.webp
    139.6 KB · Views: 133
  • 1CAF3F17-2648-4EBF-B611-514D0C48558F.webp
    1CAF3F17-2648-4EBF-B611-514D0C48558F.webp
    49.5 KB · Views: 143
  • DCA2B9BF-62AA-496C-98B7-DF024D1DADDE.webp
    DCA2B9BF-62AA-496C-98B7-DF024D1DADDE.webp
    80.1 KB · Views: 140
  • D67E43F8-0188-46A1-928C-65E07D99DFBD.webp
    D67E43F8-0188-46A1-928C-65E07D99DFBD.webp
    87.9 KB · Views: 141
  • 183BE72F-A5DA-4671-8FFB-DA4FD75749C4.webp
    183BE72F-A5DA-4671-8FFB-DA4FD75749C4.webp
    82.8 KB · Views: 154
  • DEEA9956-8689-4034-B0D7-2A592EEDDE41.webp
    DEEA9956-8689-4034-B0D7-2A592EEDDE41.webp
    117.6 KB · Views: 145
Another update been out today and removed front pipe and manifold ended up having to cut through the exhaust pipe just behind the oxygen sensor as some muppet had used some right oddball nuts and bolts which they had rounded off, good job I was replacing front pipe and cat.
I’ve now cleaned down the engine block I may try and get some paint on there before I reassemble it all. I’ve emery clothed the head face down now ready for refitting the head. I was very pleased with the piston bores there was no lip at the top and also no movement in the pistons with in the bore.
While inspecting the head I was pleased to say I found the head of the head bolt that previous owner had snapped off. That could have been a major problem, I also found that the plastic housing at rear of head with 2 water pipes on was cracked and leaking so yet another part to get from BMW. Here are some more pictures. Head will be going off tomorrow to be checked and skimmed, I may have the valves and guides checked while it’s over there.

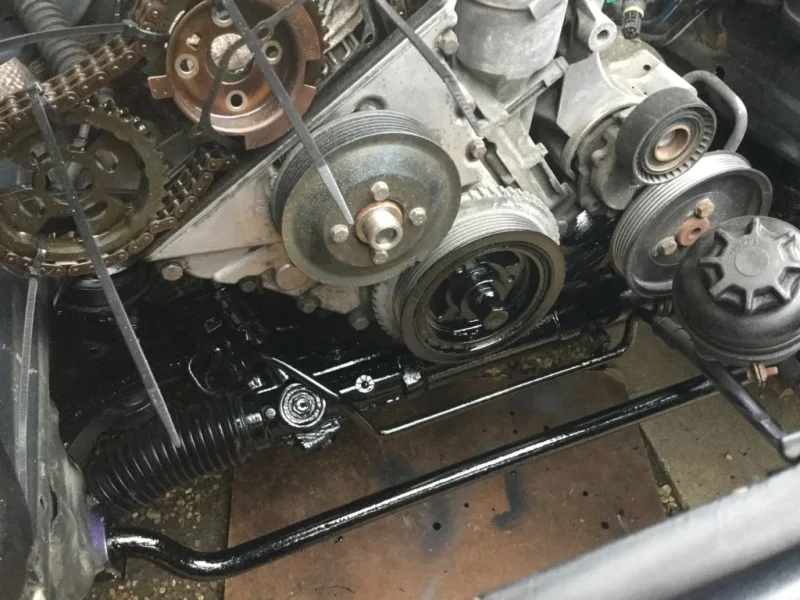
Just thought while I’m waiting for the head to come back I’d tidy up and clean engine compartment. This is a before and after pic.
 

Attachments

  • A8B1EE18-468A-4672-B3D2-C7B893766F79.webp
    A8B1EE18-468A-4672-B3D2-C7B893766F79.webp
    65.3 KB · Views: 157
  • 6A7D9944-A2EA-48BE-94F1-F40654AFAED6.webp
    6A7D9944-A2EA-48BE-94F1-F40654AFAED6.webp
    65.4 KB · Views: 137
  • 05671C74-8DED-47B5-80A4-DA990954E1C9.webp
    05671C74-8DED-47B5-80A4-DA990954E1C9.webp
    59.8 KB · Views: 144
  • 068D3BE9-831B-4FF9-ACFF-A0D6DAE1EC6A.webp
    068D3BE9-831B-4FF9-ACFF-A0D6DAE1EC6A.webp
    120.1 KB · Views: 153
Good work :thumbsup:

Watching with interest.
 
That's ballsy mate :nailbiting::nailbiting:, mines in a local BMW specialist being done as we speak, I haven't got the guts to strip the engine to that extent. Good luck with the rebuild. :thumbsup::thumbsup:
 
That's ballsy mate :nailbiting::nailbiting:, mines in a local BMW specialist being done as we speak, I haven't got the guts to strip the engine to that extent. Good luck with the rebuild. :thumbsup::thumbsup:
What wrong with it Niall?
 
Great work and looking good.:thumbsup:
 
Just thought while I’m waiting for the head to come back I’d tidy up and clean engine compartment. This is a before and after pic.
I have decided to splash out, I’m having head pressure tested and crack tested, which I think is the same thing. To having a skim and stripped and cleaned and all valeves checked and reseated and valve guides checked and new seals. I couldn’t quite afford to have it ported and polished. I can’t wait to get it back.
 
What wrong with it Niall?
Hiya Jim..The Alpina developed an annoying pinking, and I noticed a slight drop in power while chasing @Lee down the Basingstoke bypass one day :ymdevil:
Mr Vanos suggested it was a failure of the HG between two cylinders causing pre-ignition, put it into Turner Motorsports and they agreed following a compression test, soooo a new HG is being fitted (once we managed to get Alpina to sell us one :rolleyes:) along with some other works such as CVV. Hopefully no other damage to the engine but I did park her up once the problem started. Good thing is Turners were impressed with the compression of the other 4 cylinders which were where they would expect to see a new engine, so hopefully all will be good.

I totally blame @pgunter as it happened on his cruise last year :whistle:..........:D

EDIT @Gremlin Sorry to hijack your thread :sorry:
 
Hiya Jim..The Alpina developed an annoying pinking, and I noticed a slight drop in power while chasing @Lee down the Basingstoke bypass one day :ymdevil:
Mr Vanos suggested it was a failure of the HG between two cylinders causing pre-ignition, put it into Turner Motorsports and they agreed following a compression test, soooo a new HG is being fitted (once we managed to get Alpina to sell us one :rolleyes:) along with some other works such as CVV. Hopefully no other damage to the engine but I did park her up once the problem started. Good thing is Turners were impressed with the compression of the other 4 cylinders which were where they would expect to see a new engine, so hopefully all will be good.

I totally blame @pgunter as it happened on his cruise last year :whistle:..........:D

EDIT @Gremlin Sorry to hijack your thread :sorry:
Sorry to hear it buddy.

Dat be da problem wit dem new fanguled Z4 thingys =))

Hope you’re able to get it sorted. Will have to arrange a drive over your way when it starts to get warmer.
 
Sorry to hear it buddy.

Dat be da problem wit dem new fanguled Z4 thingys =))

Hope you’re able to get it sorted. Will have to arrange a drive over your way when it starts to get warmer.
Agree never get problems with the Z3 :whistle::D
 
Back
Top