First time Z3 owner attempts restoration project

Jonlloydfoster

Regular Member
British Zeds
Joined
Jun 28, 2021
Points
13
Location
Manchester
Model of Z
1.8 roadster
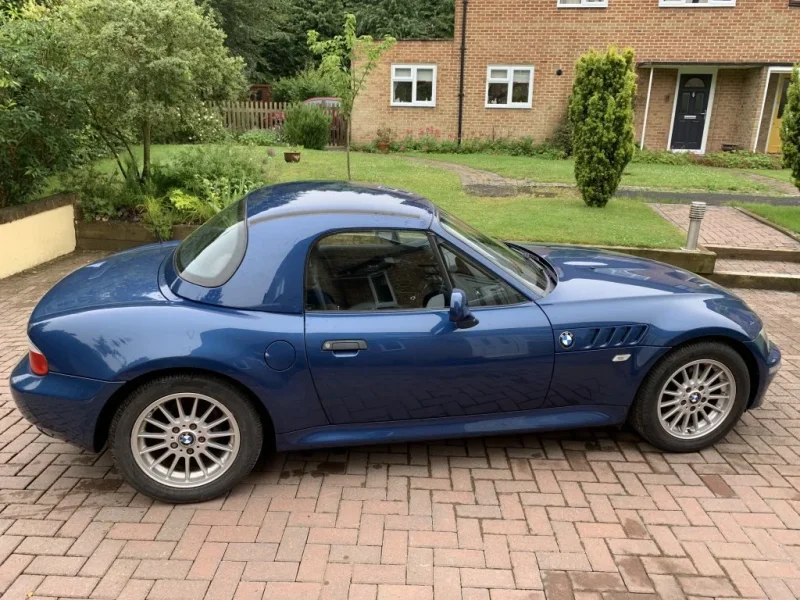
So here we go. I bought my first Z3 two weeks ago after having loved these cars for many years. Finally took the dive into a very icy plunge pool.
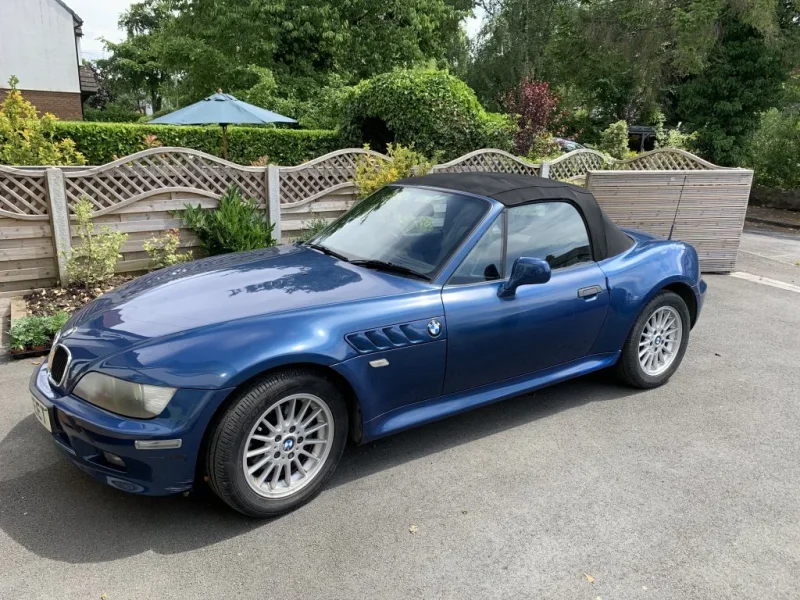
I knew the car wasn’t going to be perfect but it had everything I wanted. The colour, interior, price and factory hard top (although doubt that will ever be used).

I bought it off an elderly chap who had lots of trouble on autotrader and due to health concerns had only done about 90 miles in the last year.
My good deed was done and it survived the 200 mile trip from Oxford to Manchester no issues.
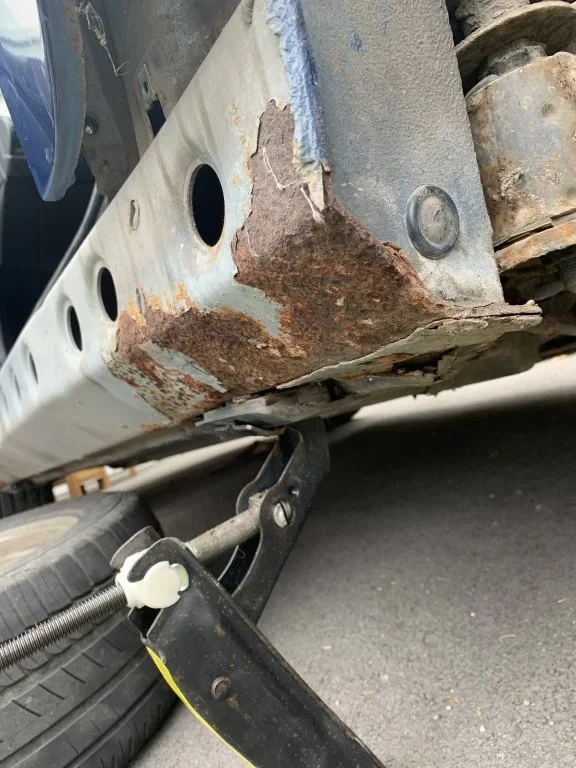
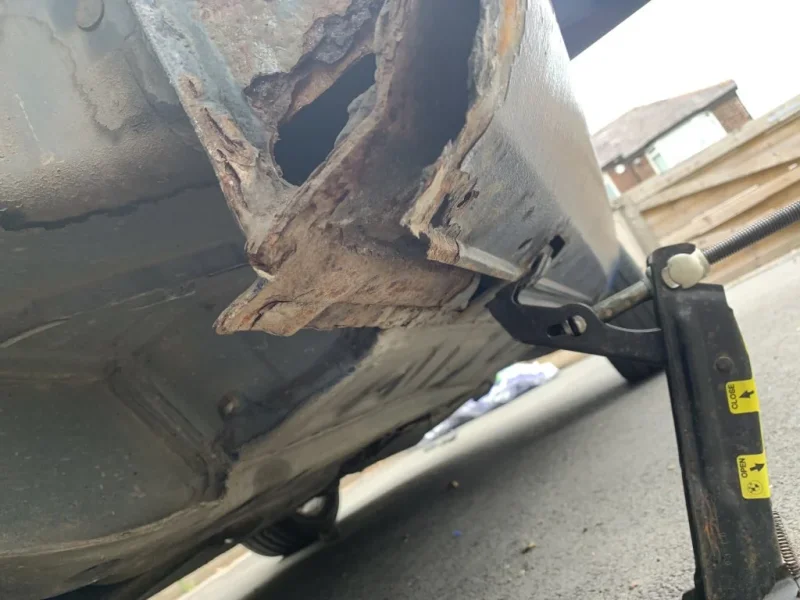
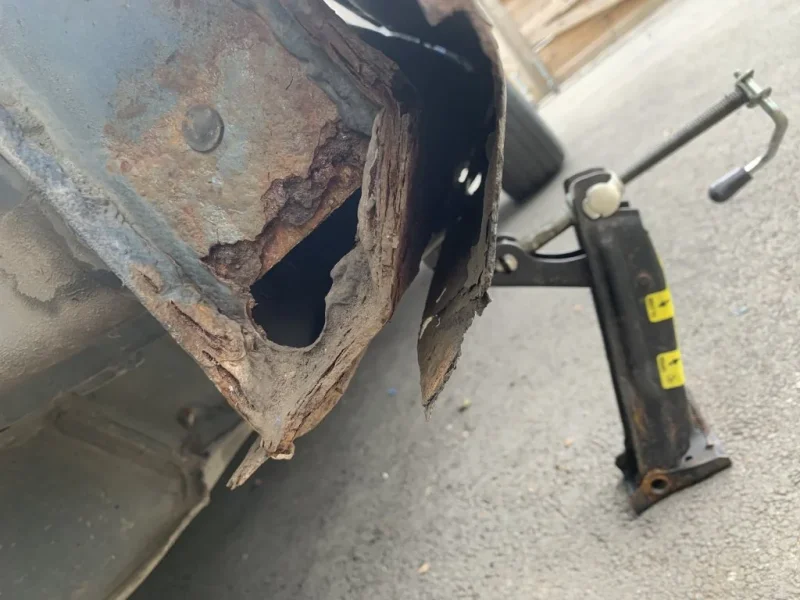
Once I got her home and started to examine her properly that’s when things got scary.
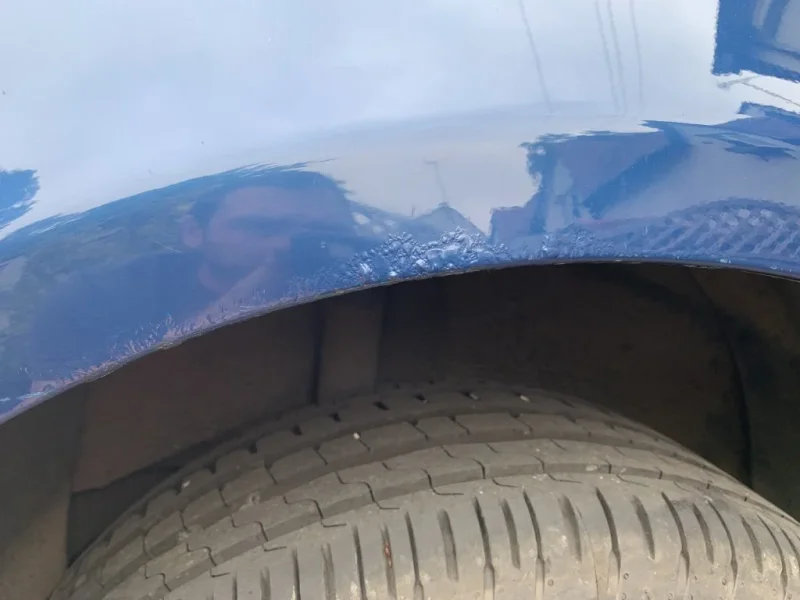
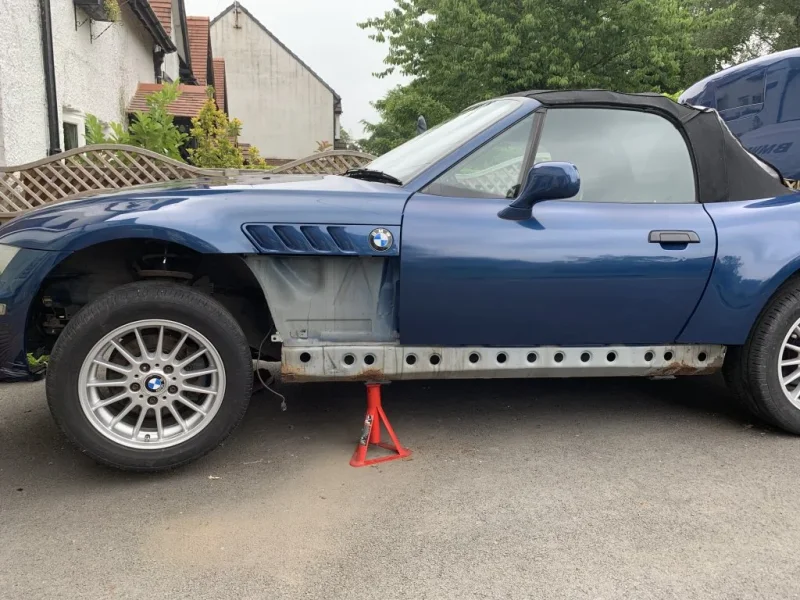
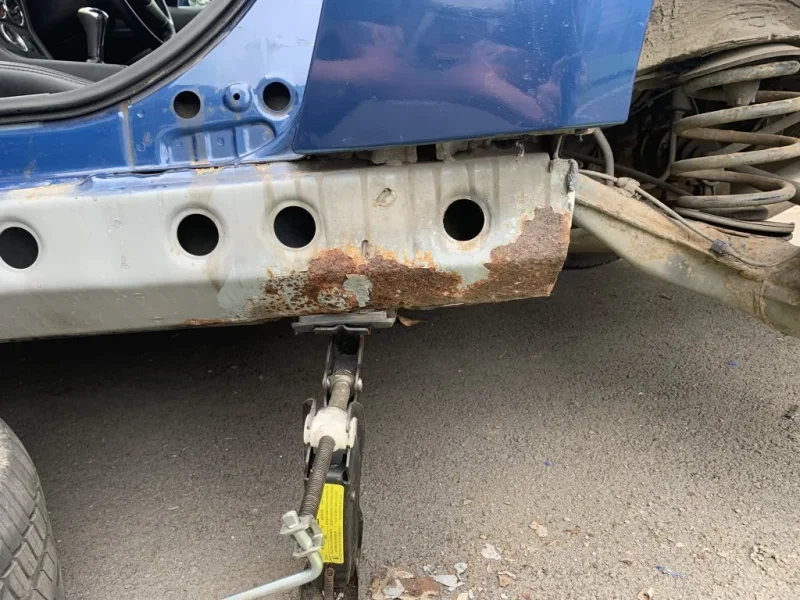
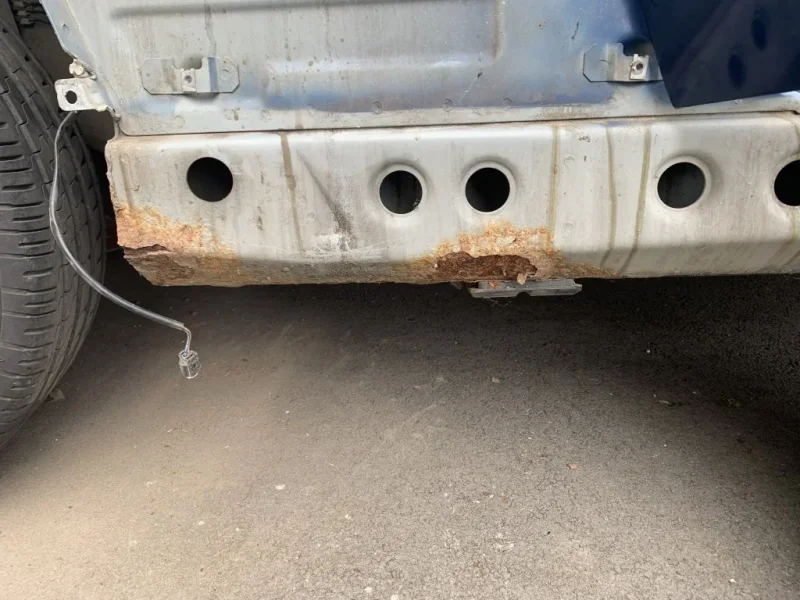
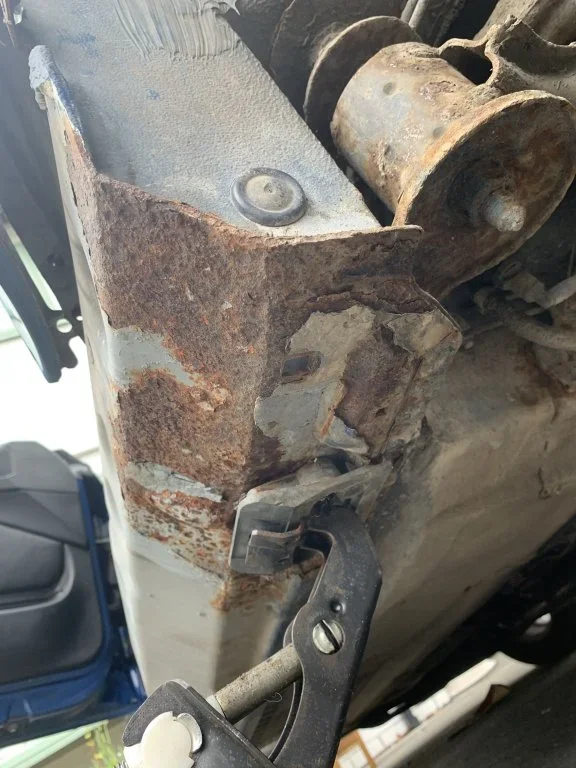
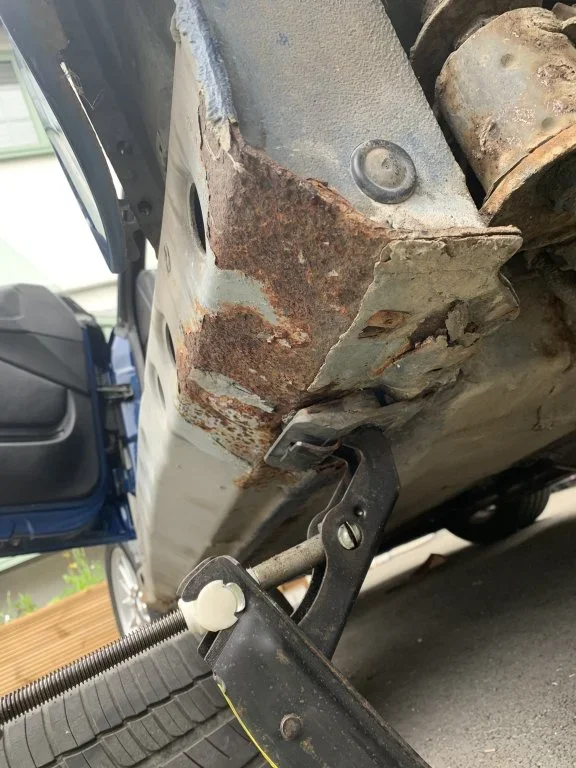
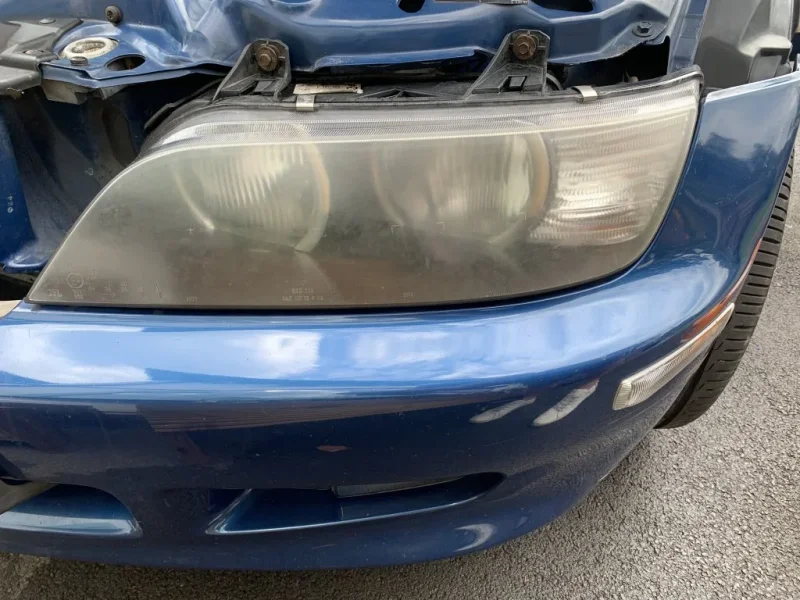
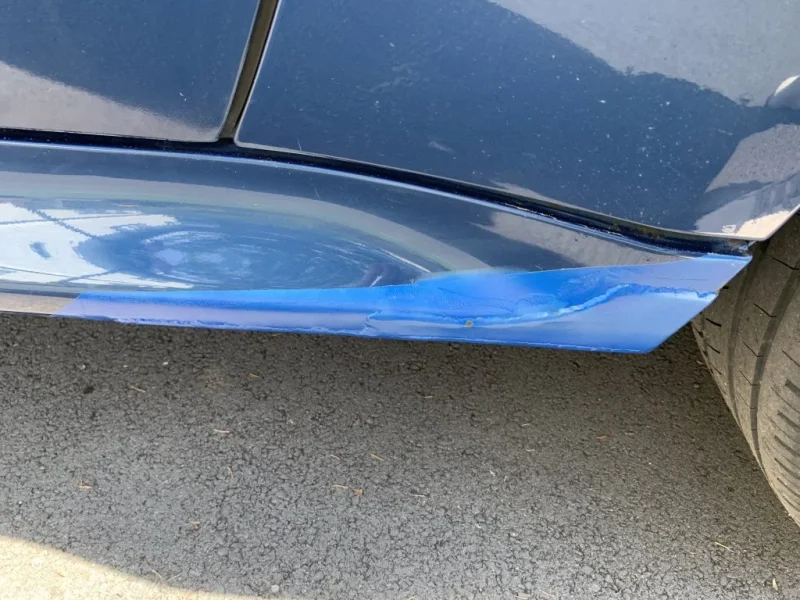
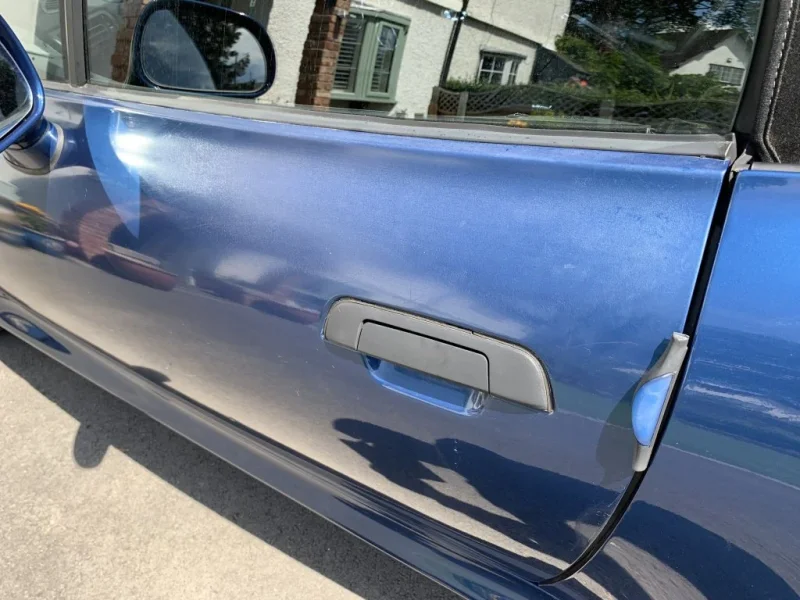
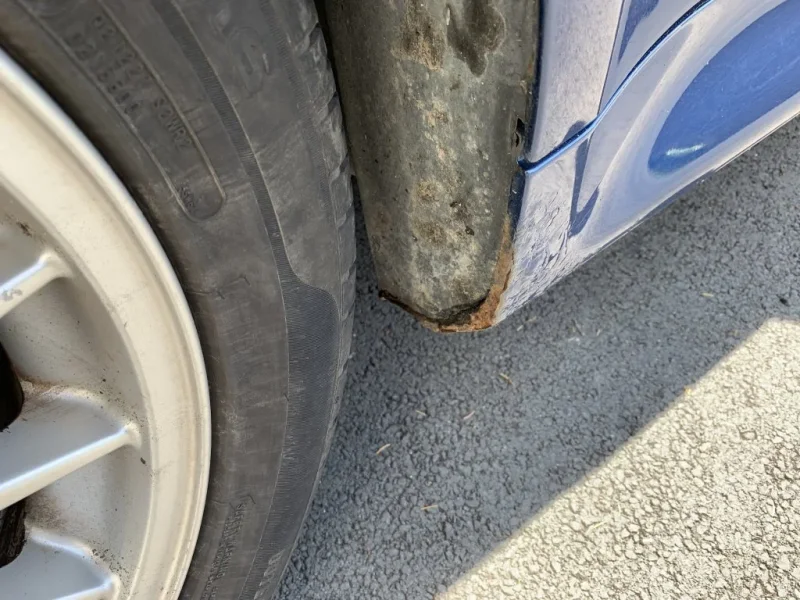
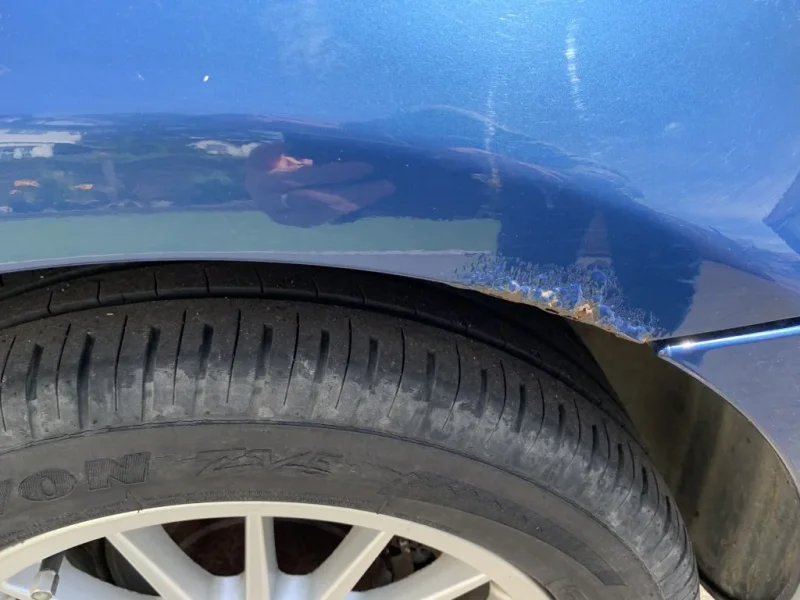
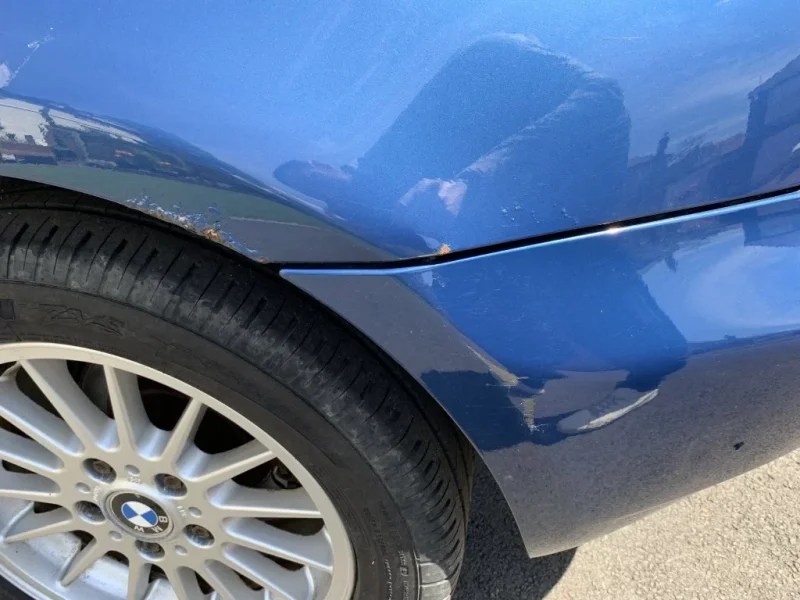
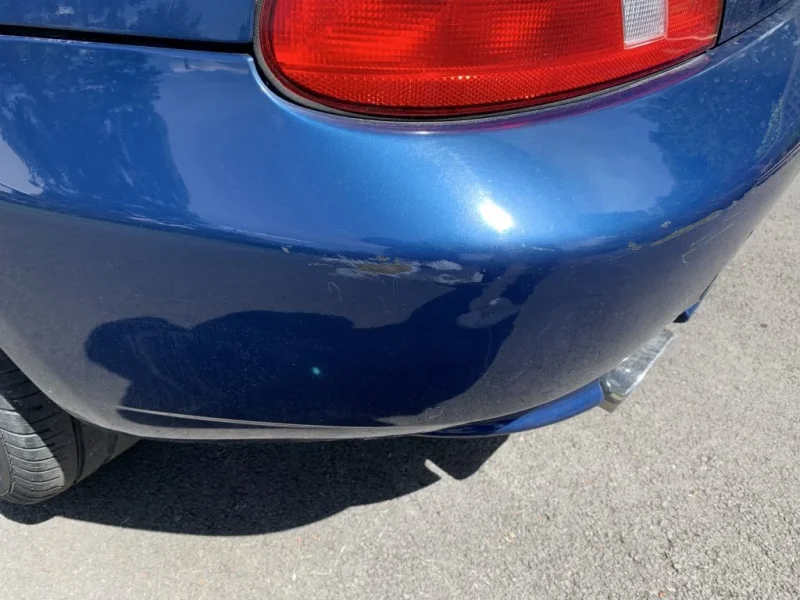
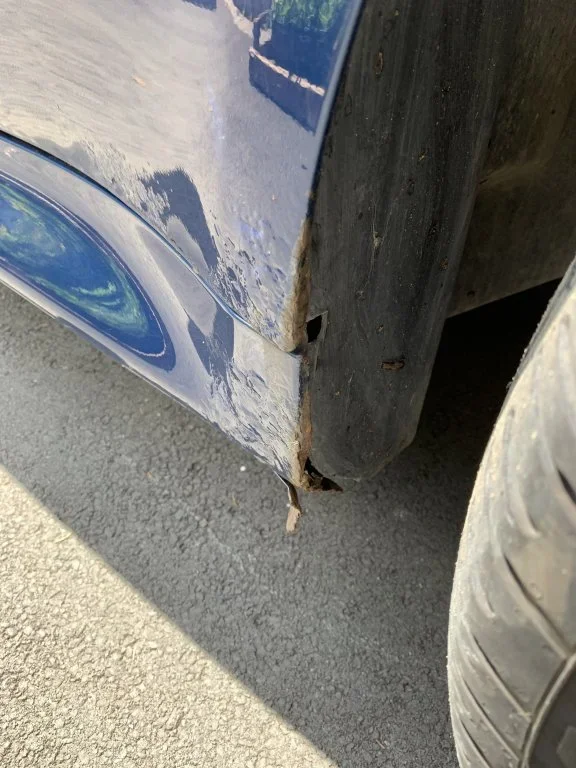
Rust on pretty much every panel to some degrees but mainly the outer sills.

So as with all great projects I started my list…

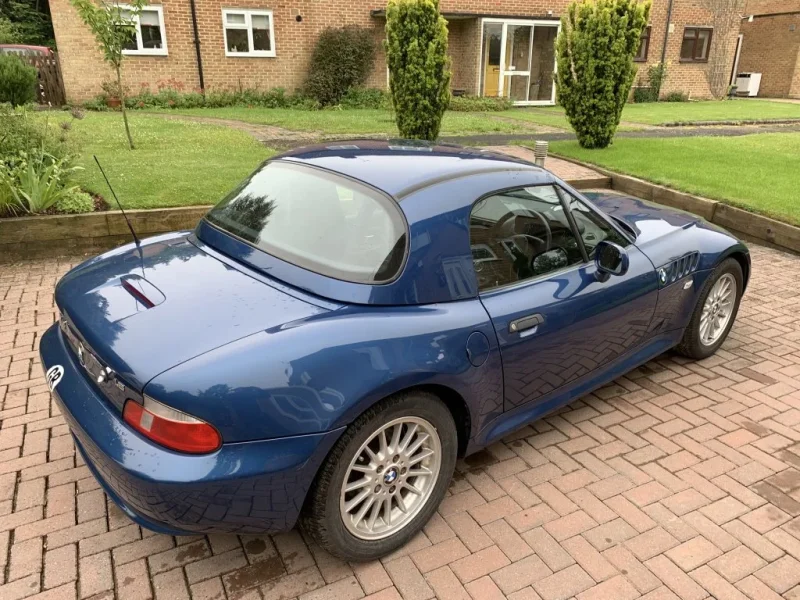
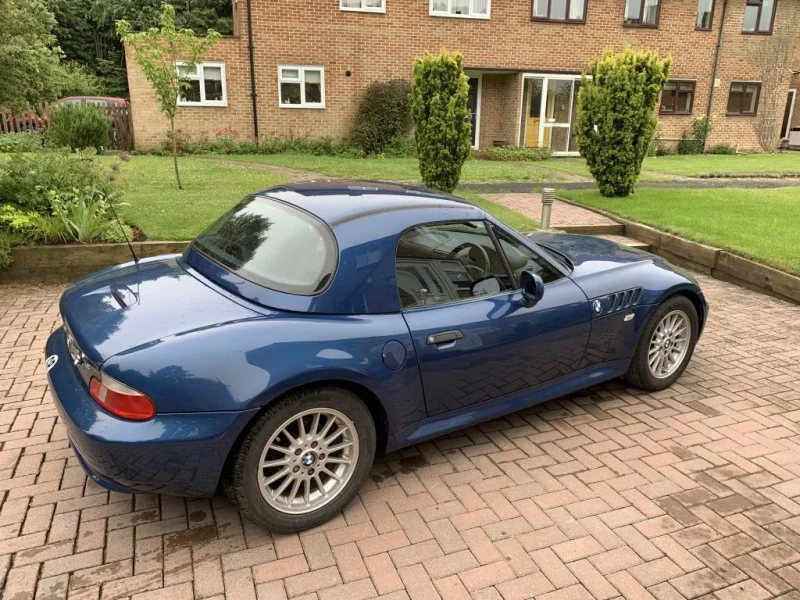
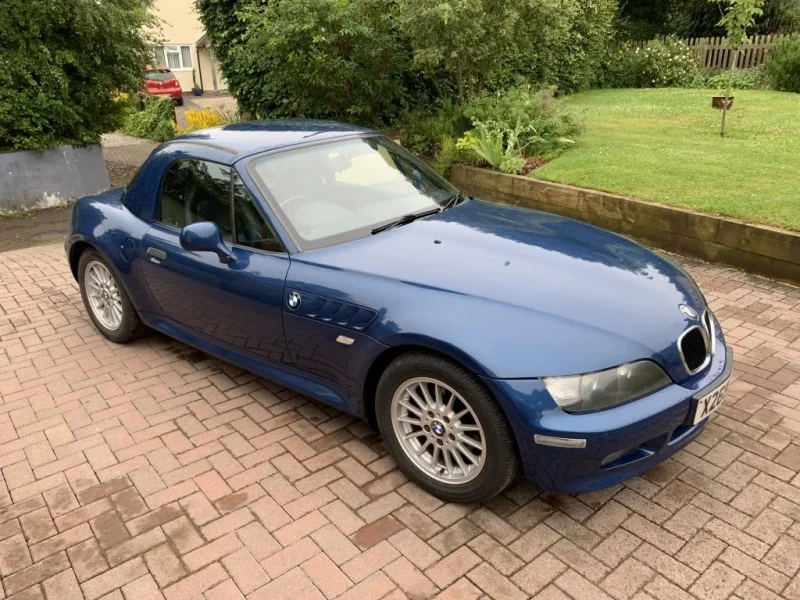
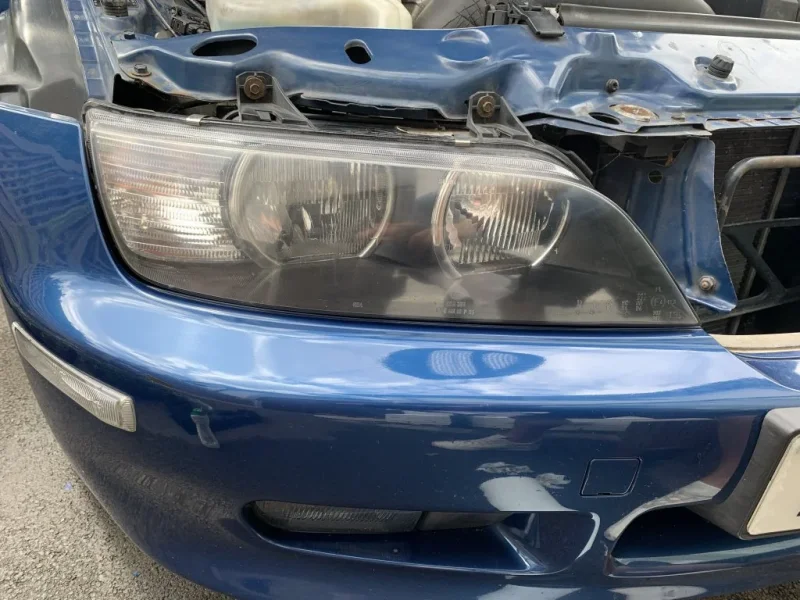
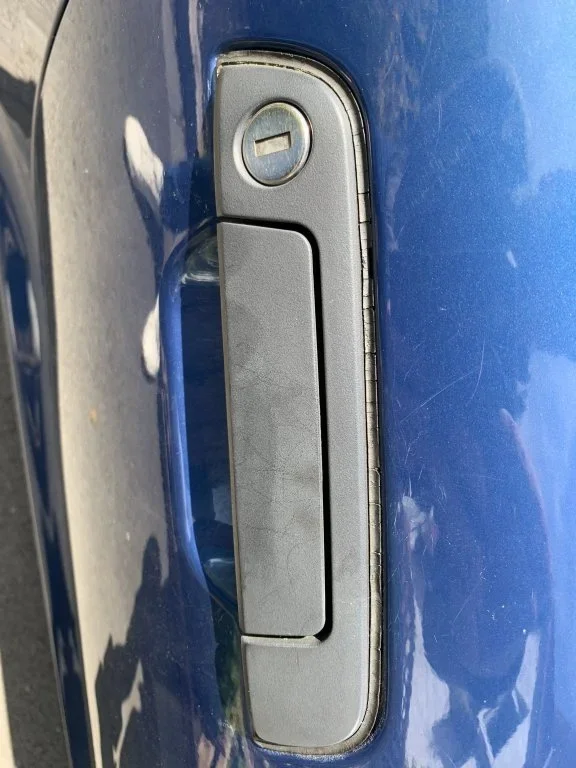
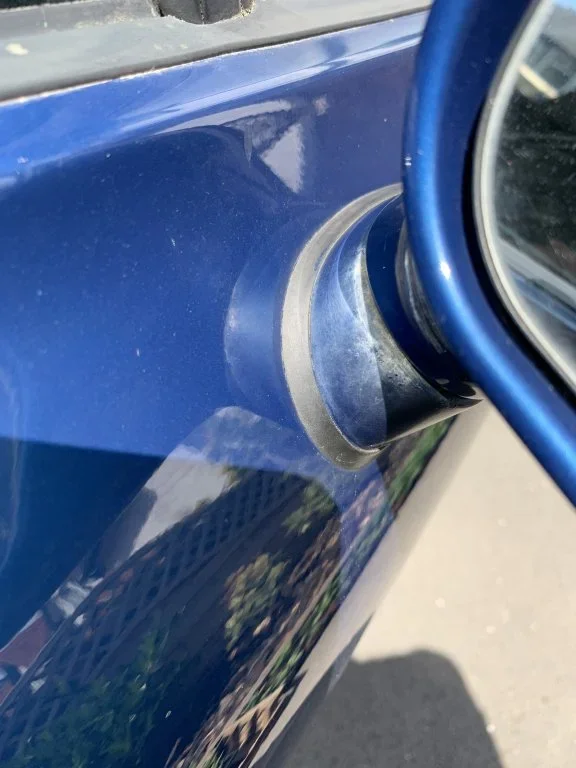
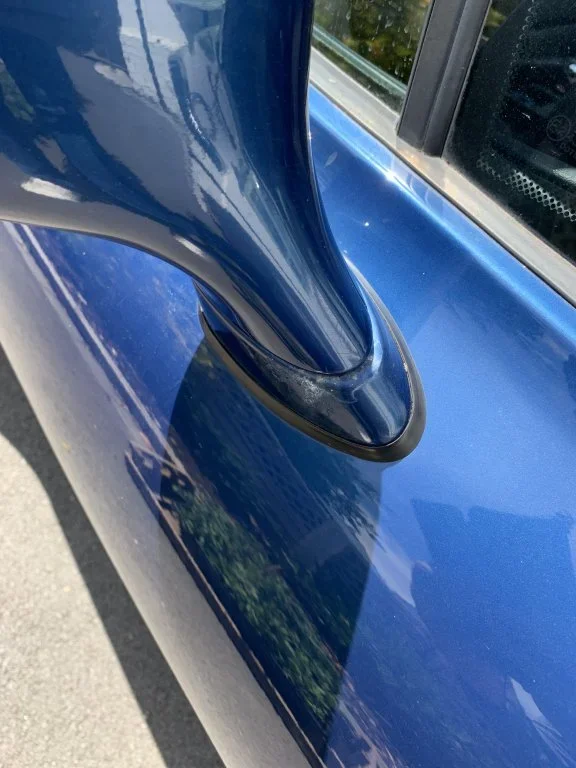
photos taken in pick up day when everything seemed sweet!
 

Attachments

  • 8D3103B1-E70E-4799-8AF1-7493C3EC17AC.webp
    8D3103B1-E70E-4799-8AF1-7493C3EC17AC.webp
    201.4 KB · Views: 297
  • C8BA6098-2170-44F7-AFCE-6A26AD50AE11.webp
    C8BA6098-2170-44F7-AFCE-6A26AD50AE11.webp
    211.2 KB · Views: 293
  • 3FF3AA81-E9E0-42FB-9B85-1018B5F6632A.webp
    3FF3AA81-E9E0-42FB-9B85-1018B5F6632A.webp
    237 KB · Views: 290
  • C1CE619C-2D26-428A-8FD7-04248768FE7A.webp
    C1CE619C-2D26-428A-8FD7-04248768FE7A.webp
    206.1 KB · Views: 315
After my initial shock and desire to resell I took the car to a local body shop to see if it was bad or just my first time jitters. Luckily I met a guy called Simon at Lancashire Auto Bodies who was brilliant took me on a tour of the garage and showed me the several restoration projects they had and put my mind at ease that anything could be done. I decided this was a passion project so time and money became redundant (to some degree).
 
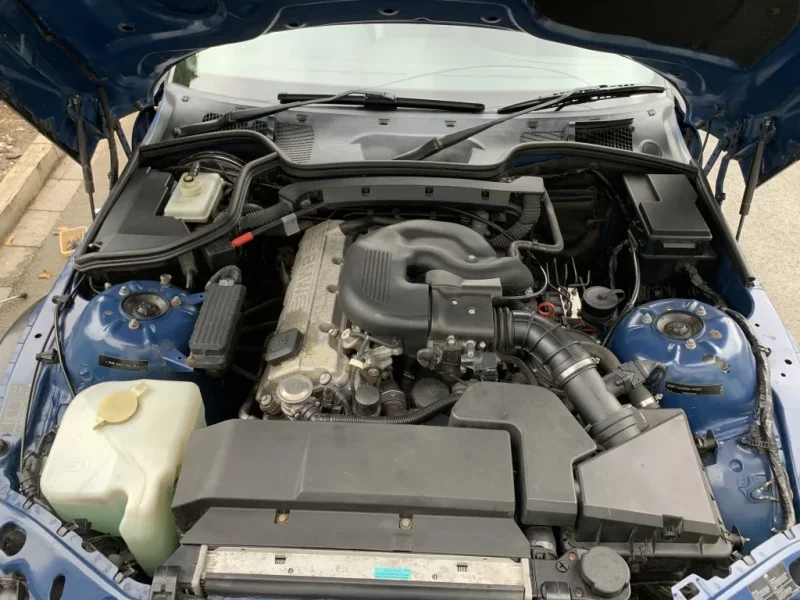
Initial photos from getting home after a quick clean up and engine tidy up (very basic nothing messed with although is did manage to disconnect a battery for the first time).

my list of actions so far I’m sure there are many others to come

1. Replace outer sills
2. Sort out rust on inner sills
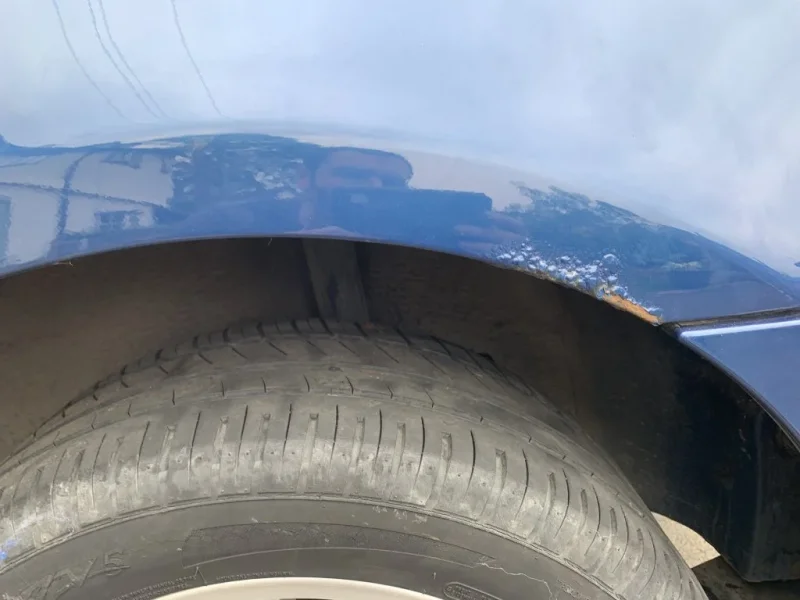
3. Repair rust on NS rear wheel arch
4. Repair rust on OF rear wheel arch
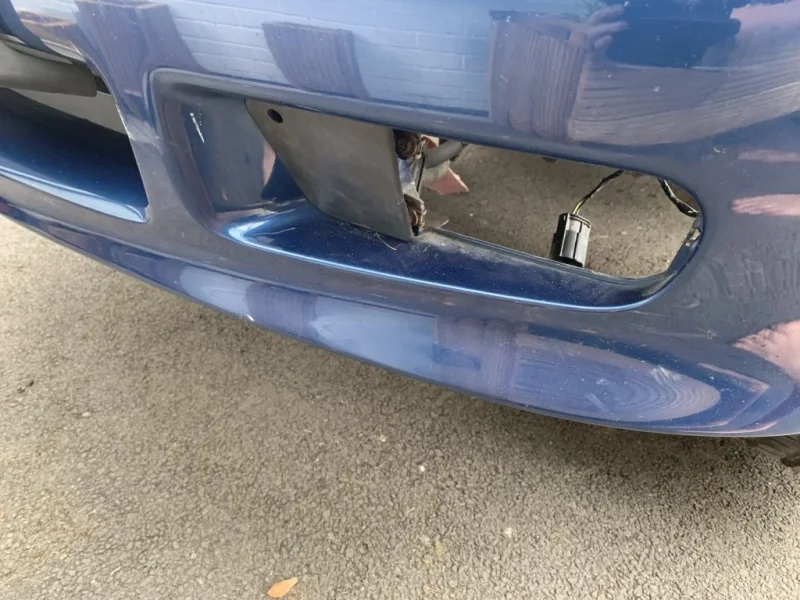
5. Replace front fog light
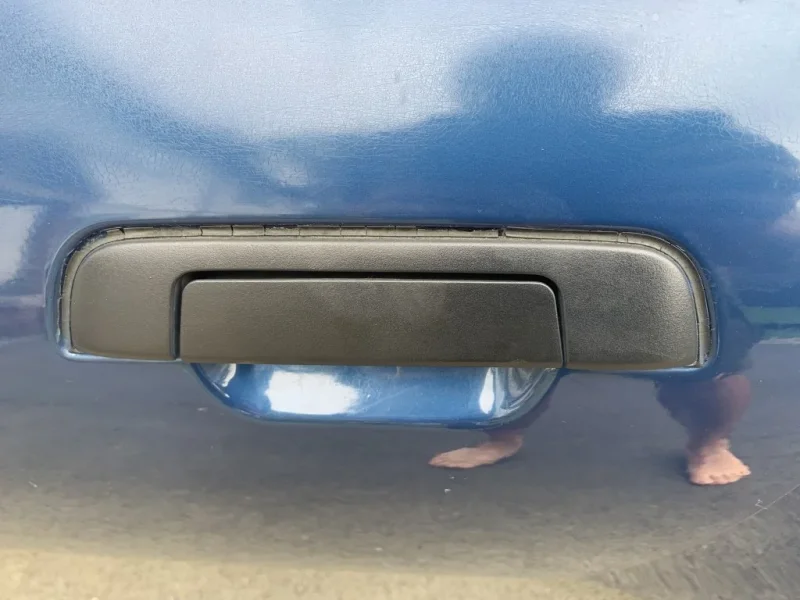
6. Replace car door handle seals
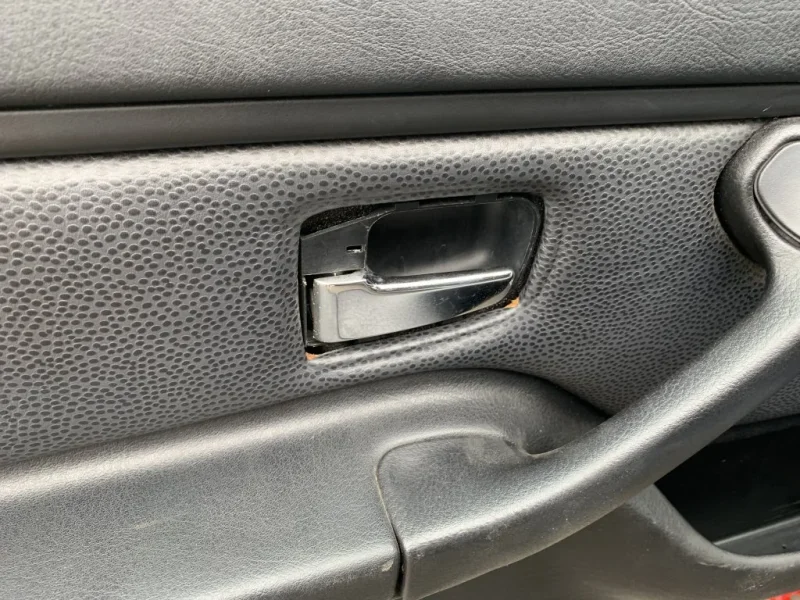
7. Replace inside car door bracket (MIA)
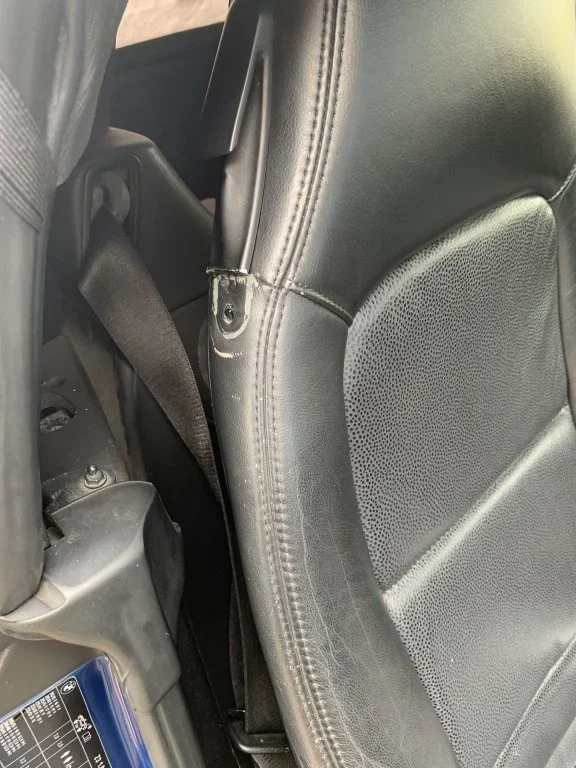
8. Fix/replace seat belt holder on drivers car sear
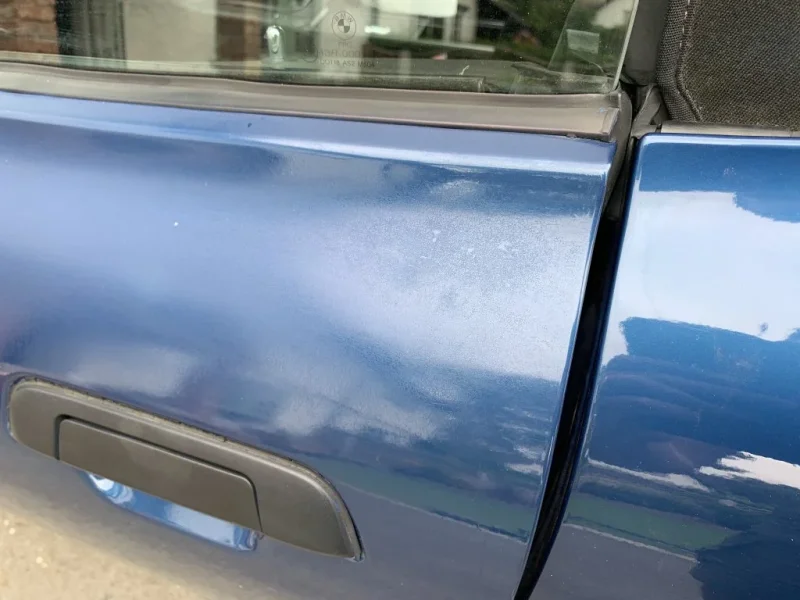
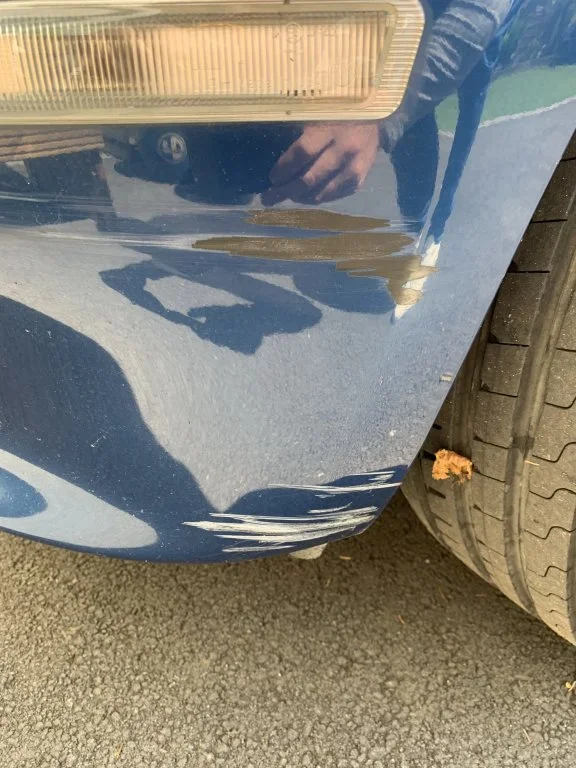
9. Overall paint work and scratches including passenger door that has bizarre paint work issues from previous owner (possible crap attempts to paint)
10. BMW badge replacements
 

Attachments

  • E4CCBAE1-C55F-4A43-A947-CDBF829103CD.webp
    E4CCBAE1-C55F-4A43-A947-CDBF829103CD.webp
    47.8 KB · Views: 300
  • 9337572E-540C-4731-8592-3DF4B6488BD5.webp
    9337572E-540C-4731-8592-3DF4B6488BD5.webp
    132.1 KB · Views: 309
  • 40650654-3172-48D0-9752-07798D0C0ECD.webp
    40650654-3172-48D0-9752-07798D0C0ECD.webp
    205.4 KB · Views: 307
  • 706F7FE0-FF58-41F2-B727-C8CB7CBCAC86.webp
    706F7FE0-FF58-41F2-B727-C8CB7CBCAC86.webp
    104.5 KB · Views: 314
  • 6329CAC0-7F49-4990-9E3E-9F9FD9EF91C9.webp
    6329CAC0-7F49-4990-9E3E-9F9FD9EF91C9.webp
    93.5 KB · Views: 285
  • D3329CD8-7306-4324-BDAD-9097A7788D6E.webp
    D3329CD8-7306-4324-BDAD-9097A7788D6E.webp
    91.6 KB · Views: 304
  • 980D4706-BB80-4F82-811E-32FDCEE5DC3B.webp
    980D4706-BB80-4F82-811E-32FDCEE5DC3B.webp
    124.2 KB · Views: 298
  • 62F94BF7-333D-4877-909D-5D024B1C40B1.webp
    62F94BF7-333D-4877-909D-5D024B1C40B1.webp
    61.2 KB · Views: 306
  • 88B91FAA-8A9A-49FC-9043-EC02B486C2F0.webp
    88B91FAA-8A9A-49FC-9043-EC02B486C2F0.webp
    175 KB · Views: 322
  • 4FA5B0AD-D964-4648-B32D-8F9AEC1C3CD9.webp
    4FA5B0AD-D964-4648-B32D-8F9AEC1C3CD9.webp
    176.5 KB · Views: 330
  • 53860F5C-440D-4C0F-9B8C-829CBAC8C276.webp
    53860F5C-440D-4C0F-9B8C-829CBAC8C276.webp
    148 KB · Views: 315
  • FC0B3360-E5AB-4D24-8981-88F857F419F4.webp
    FC0B3360-E5AB-4D24-8981-88F857F419F4.webp
    74.8 KB · Views: 315
  • A56051B5-654B-41FA-A0E9-7508E1E4E6FB.webp
    A56051B5-654B-41FA-A0E9-7508E1E4E6FB.webp
    78.8 KB · Views: 307
  • CF655BB3-F9AA-433A-A9C8-14CDC6BDAB6C.webp
    CF655BB3-F9AA-433A-A9C8-14CDC6BDAB6C.webp
    79.4 KB · Views: 311
  • DFE40D52-7FB6-4245-ACE6-E6203BC22A08.webp
    DFE40D52-7FB6-4245-ACE6-E6203BC22A08.webp
    80.1 KB · Views: 317
  • 1761D6B7-B8EE-48DB-8AC7-41C95010BF28.webp
    1761D6B7-B8EE-48DB-8AC7-41C95010BF28.webp
    88.8 KB · Views: 321
  • A6336DDB-C2C6-4C66-9DC8-DE1E39608134.webp
    A6336DDB-C2C6-4C66-9DC8-DE1E39608134.webp
    132.9 KB · Views: 310
  • FBF557DA-E647-4141-8996-7C6FCEFFB934.webp
    FBF557DA-E647-4141-8996-7C6FCEFFB934.webp
    138.1 KB · Views: 309
  • 2D2CE766-C599-4A5F-9DBA-F3DCA962D85F.webp
    2D2CE766-C599-4A5F-9DBA-F3DCA962D85F.webp
    249 KB · Views: 319
  • 2BF04BE7-4586-44BC-8C05-75C71F27191B.webp
    2BF04BE7-4586-44BC-8C05-75C71F27191B.webp
    83.3 KB · Views: 320
  • 962F3828-13BB-471C-95E9-A3A6174338E9.webp
    962F3828-13BB-471C-95E9-A3A6174338E9.webp
    155.4 KB · Views: 285
  • 48ED6051-8128-428B-88C0-3E314570B4DD.webp
    48ED6051-8128-428B-88C0-3E314570B4DD.webp
    120.1 KB · Views: 274
  • 7D6A3E62-3CD6-4C5D-A5B0-4C7711CAD401.webp
    7D6A3E62-3CD6-4C5D-A5B0-4C7711CAD401.webp
    156.1 KB · Views: 300
  • DF6221DD-6912-4CF4-B55E-86559EBCC358.webp
    DF6221DD-6912-4CF4-B55E-86559EBCC358.webp
    88.9 KB · Views: 283
  • 6D9FAC20-0A75-4981-9873-F69192189F7F.webp
    6D9FAC20-0A75-4981-9873-F69192189F7F.webp
    103.9 KB · Views: 302
  • 11F181ED-EADB-4C10-8BE0-AC4C24D6055B.webp
    11F181ED-EADB-4C10-8BE0-AC4C24D6055B.webp
    124.5 KB · Views: 294
  • 3D09382A-E001-4267-BBFB-624D3F2CBDB6.webp
    3D09382A-E001-4267-BBFB-624D3F2CBDB6.webp
    67.8 KB · Views: 285
  • 3AB89BB0-1560-47AB-B097-2A37A36D0650.webp
    3AB89BB0-1560-47AB-B097-2A37A36D0650.webp
    45.6 KB · Views: 291
  • E6449107-53A5-4817-AFD9-FECBD0F1D432.webp
    E6449107-53A5-4817-AFD9-FECBD0F1D432.webp
    54.6 KB · Views: 299
  • 18F6582D-79CC-414A-9633-7984E9017308.webp
    18F6582D-79CC-414A-9633-7984E9017308.webp
    79.1 KB · Views: 306
Some work to do - but if you intend to keep the car and have the finance to bring the car up to your standards - press on! What condition is the interior in?
The joy is bringing Zeds back to the showroom look over time - the engine > hopefully is bullet proof!

Enjoy!
 
Thanks David, the interior is in good condition apart from the broken seat belt issue.
Going to start simple and get the inner sill fixed up and the wheel arches, figure I’ll have to get some help from a local body shop for this and bring the paint work back up to scratch that’s my main priority.
I’ll get some outer sills on order and add them on.


Then I’ll take a look at the brake discs and callipers.
 
Congratulations, these cars are so much fun, worth all of the effort. Check for roof and boot leaks too, I’m still sorting some of those out on mine. Everything is repairable eventually!
 
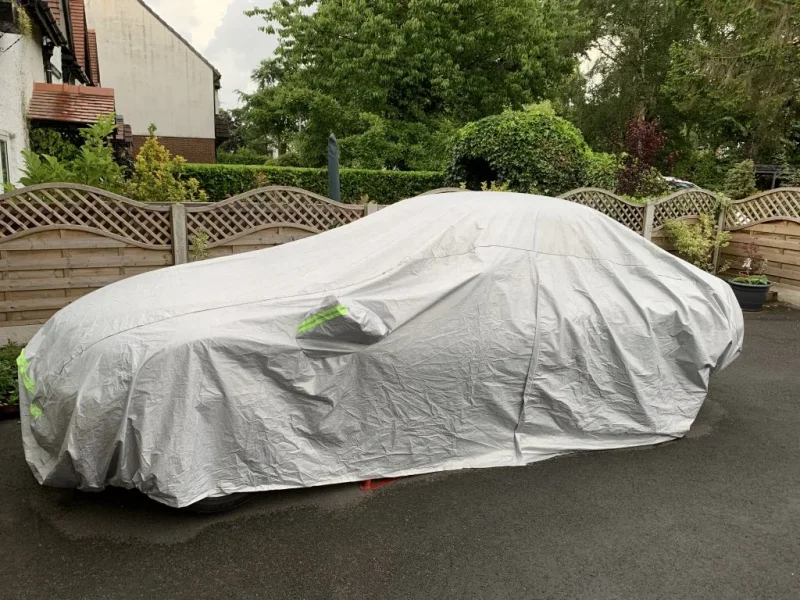
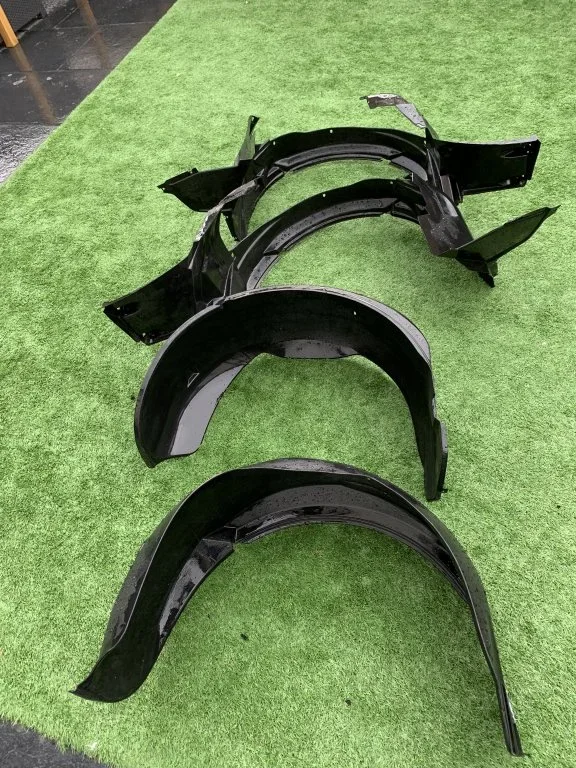
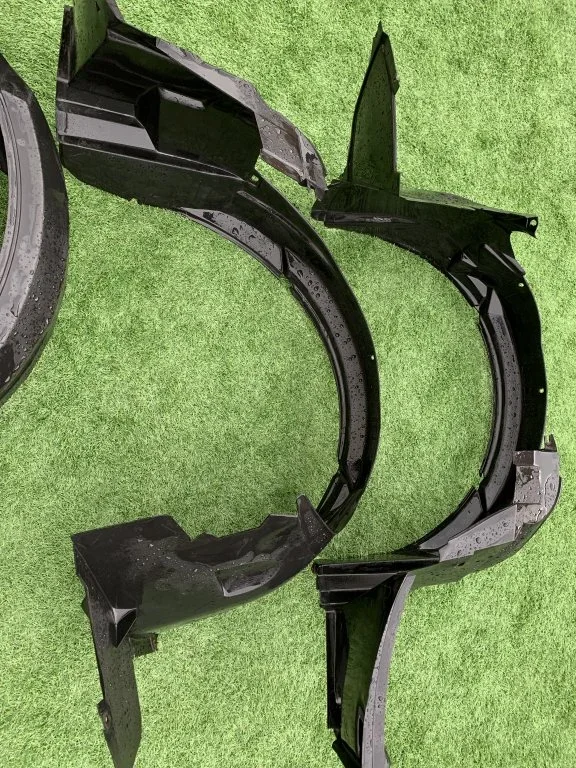
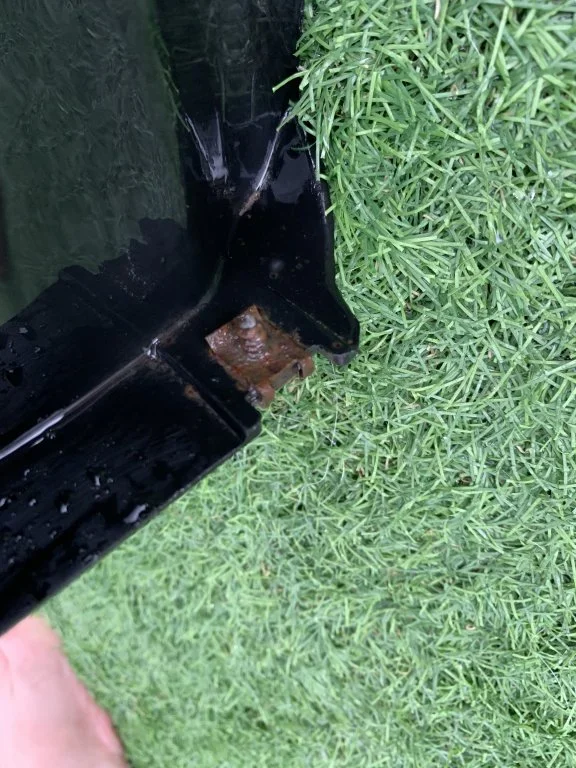
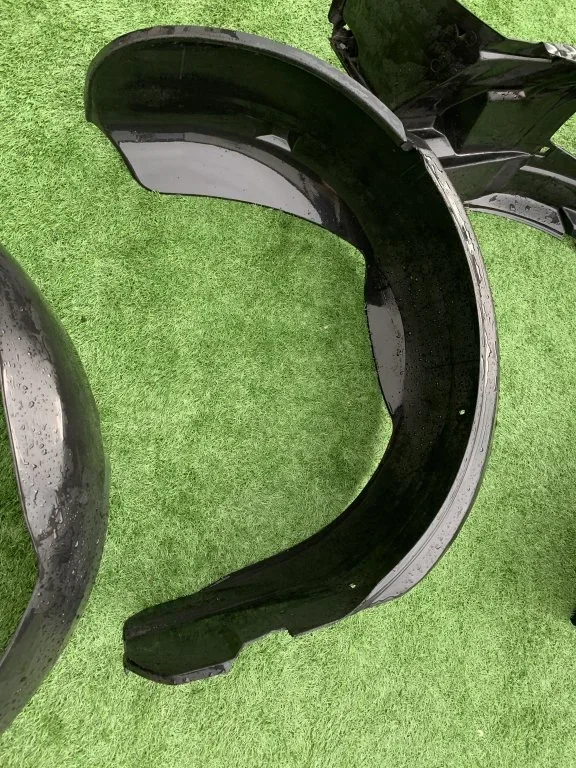
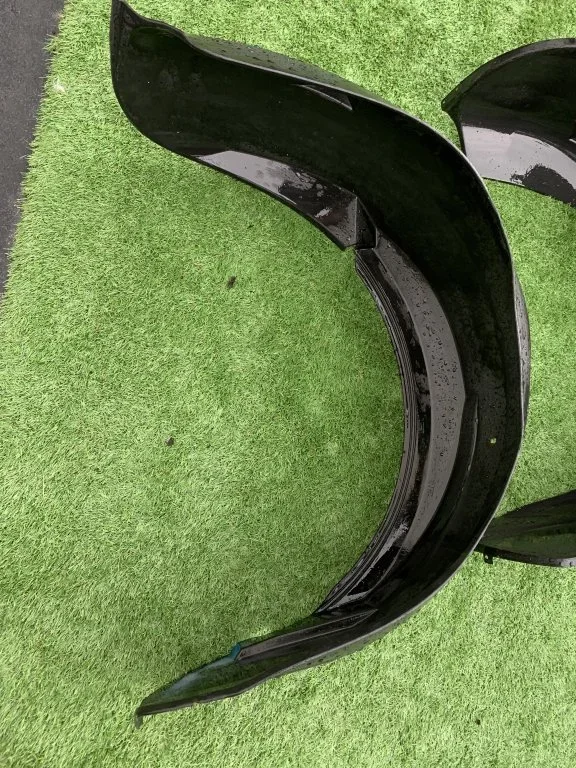
So today while Zed took a rest under her not so waterproof cover (storm cover def to be ordered) I managed to do some cleaning work on the inside wheel arches which came up great but a few rusted screws still to come off.

I also petitioned my neighbours to let me build a car port in some shared ground behind our house to provide some shelter.

Did a lot of OEM searches for various parts today glad to find a resource to help guide me with new parts just need the expertise to fit them now.

My main questions are:
1. Is it safe to leave my car on all four axles stands while I do the work.

2. Have I lost my sanity! And I think I’ve bitten off more than I can chew!!
 

Attachments

  • 8171CF6C-5C92-4A76-95E3-42E57E7FA15A.webp
    8171CF6C-5C92-4A76-95E3-42E57E7FA15A.webp
    222.8 KB · Views: 282
  • E62D7DDD-5E33-4A45-A2CD-F0DEC347E0EE.webp
    E62D7DDD-5E33-4A45-A2CD-F0DEC347E0EE.webp
    162.7 KB · Views: 291
  • 50E2C893-210B-48B3-A371-E184201FF0DC.webp
    50E2C893-210B-48B3-A371-E184201FF0DC.webp
    159.2 KB · Views: 282
  • 1ADF2697-3522-4856-A946-B313F9071159.webp
    1ADF2697-3522-4856-A946-B313F9071159.webp
    166.9 KB · Views: 288
  • 2F7AB8F8-14B1-479E-9786-2CBCBD43EBDB.webp
    2F7AB8F8-14B1-479E-9786-2CBCBD43EBDB.webp
    103.1 KB · Views: 298
  • 355F70D0-0887-4A5E-917B-AF5E88C980BF.webp
    355F70D0-0887-4A5E-917B-AF5E88C980BF.webp
    143.5 KB · Views: 271
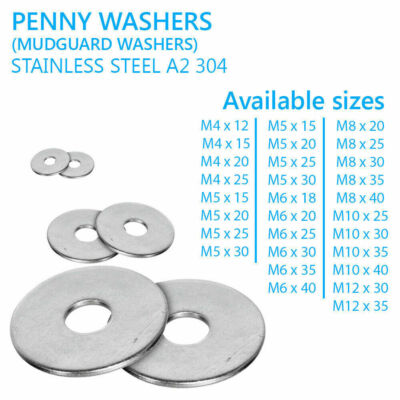
As long as the axle stands are on solid ground the car will be fine elevated on the stands. Take your time, as you have the wing liners out take the cover sills off and see what condition they are in and the inner sill, you may find rust in thre which depending on how bad may need some welding to patch it up. Suggest you have a look at @Mazza thread on Bognor Lean To Project to see whats involved. Pays to have some new sill trim clips and new screws for the sills on hand when you do this job. Personally I would use stainless self tappers same dimension as oem steel fasteners, obtained mine from ebay and some addittional stainless washers to increase the head size of the new self tappers as they a tad smaller than the oem ones.
 
Last edited:
It all may seem daunting but we've all seen worse. Just plod on and tackle one thing at a time. This time next year ..................................... :thumbsup: :thumbsup:
 
I get really nervous working under a car on jack stands too... I usually find some big wood blocks (thicker than I am) and strategically place them under the car as backup, then I give the car a really good shake to make sure it’s steady and solid before going under
 
Nice write up, you are in the right place for advice and help and has many have said "it can all be done" just take your time.
 
So slow progress due to work, buying new tools, weather and most of all rusty bolts that take forever to remove.

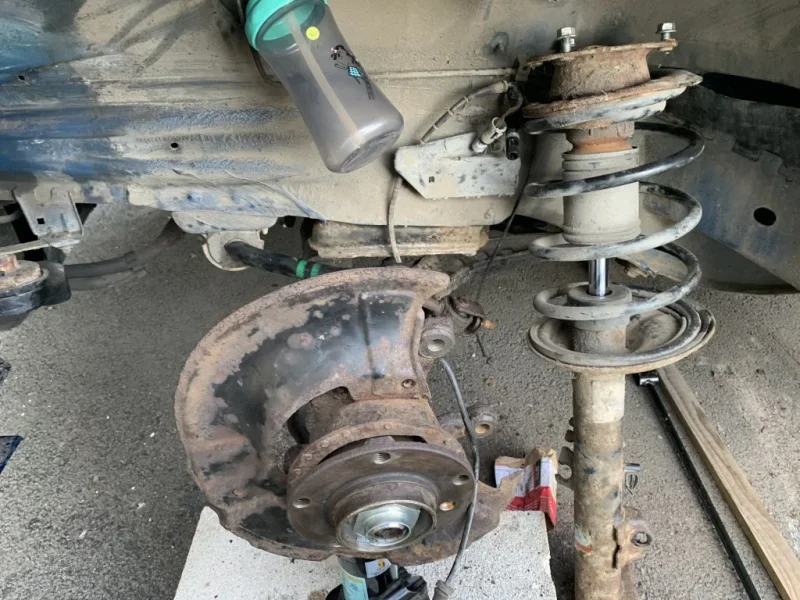
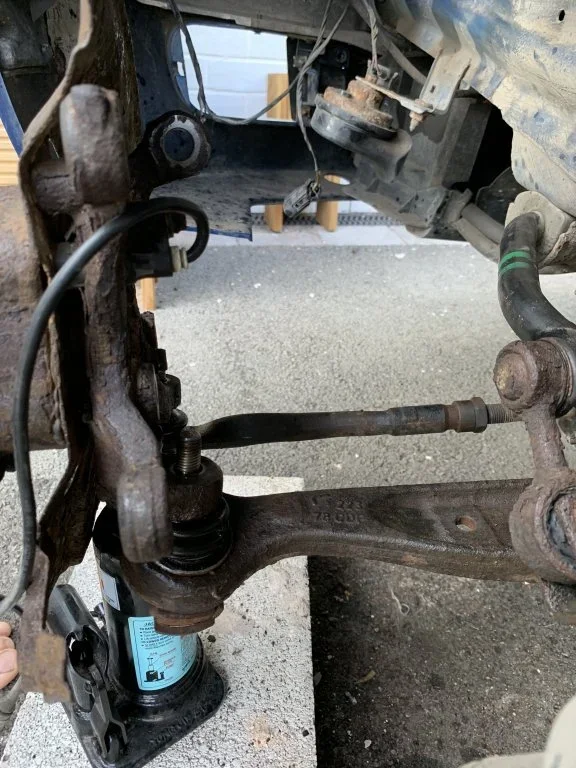
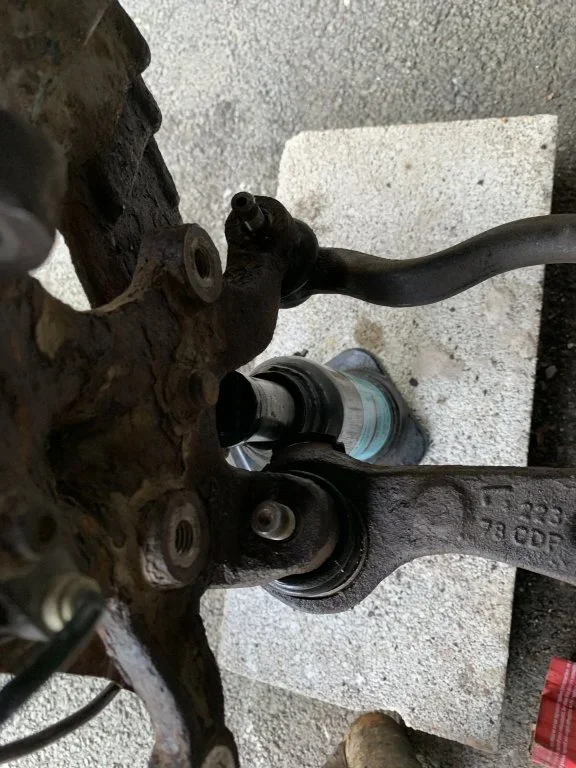
I’m currently removing as much as possible from the near side front axle and replacing most of it as it’s all either snapped or badly degraded.

I am a bit stuck on a few parts though. The wheel suspension joints that slide into the king pin and the screw from the tie rod that also slides into the king pin won’t budge at all. Photos attached any advice much appreciated…

also apologies had to use my son’s cup to deal with a snapped brake pipe.
 

Attachments

  • 0775373A-D6E7-41ED-9D34-25168BA38F97.webp
    0775373A-D6E7-41ED-9D34-25168BA38F97.webp
    169.5 KB · Views: 288
  • 7F8C7095-BF00-4C37-A30C-1745034400E2.webp
    7F8C7095-BF00-4C37-A30C-1745034400E2.webp
    99.5 KB · Views: 279
  • E802BA71-F26D-4E4F-9C65-FEB422A699C9.webp
    E802BA71-F26D-4E4F-9C65-FEB422A699C9.webp
    84.7 KB · Views: 281
WD40 overnight then hot air gun on nuts and bolts for 5 mins, crack crack and they are off!!
 
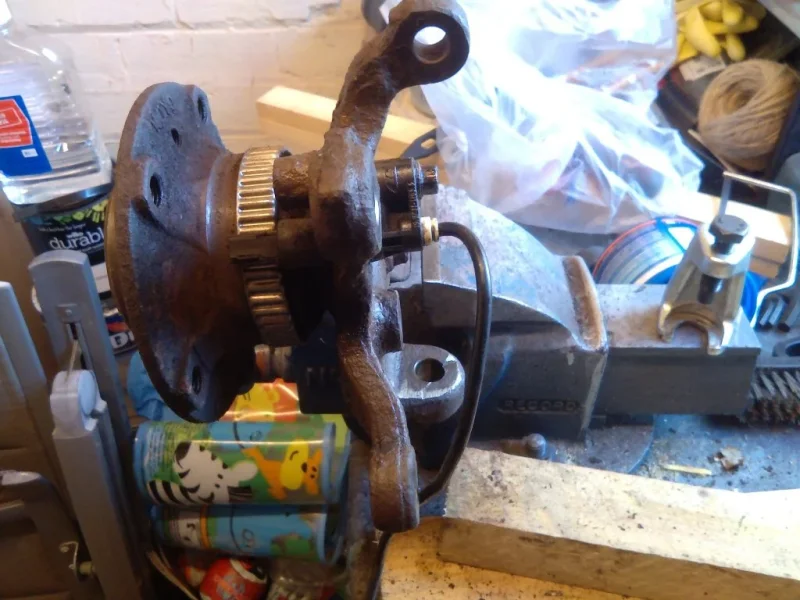
Looks like you have run into the same problem I had when replacing my front suspension the only difference being that I managed to remove the steering tie rod ball joint. I tried every method to split the joint, in the end I had to remove the control arm and the hub in one piece and seperate the ball joint on the bench. To do this I cut the ball joint stud flush with the lug ( it was deformed after all the hammering etc) and used the splitter shown, I think this was the splitter I used on the tie rodIMG_20201002_124935.jpg
 
If your not mechanically minded and know how to "shock" tapered joints using a hammer you will need a ball joint splitter.
Search on YouTube for "How to use a ball joint splitter"

Tony.
 
Back
Top