Bmw Z3I , the electric zed's journey

Watching your project with interest - hope all works out - best of luck!
 
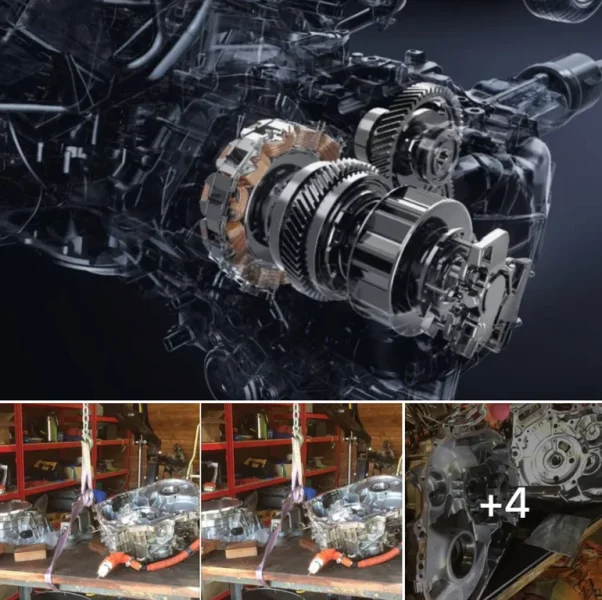
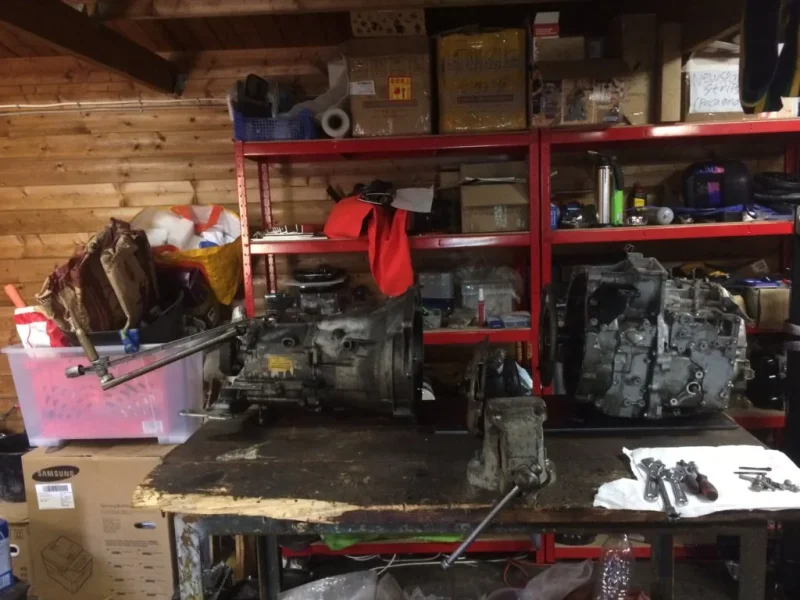
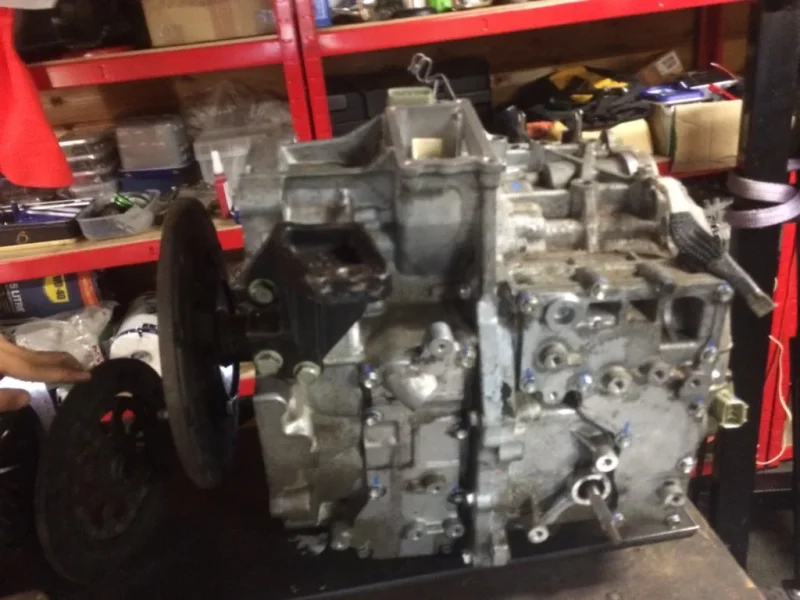
So recently I have the motor opened already and the tasks were removing the gears (CVT gear, differential gears and other speed synchronising gears) and removing those opens up space and its unnecessary to have them and resulted in a weight reduction of 30 kg and then we have looked into connecting the two motors together before they were separated one was used for power and one was used for regenerative breaking so the plan was to weld a gear behind the shaft to make the whole shaft as one and then we welded the outer 4 gears to prevent the inner gear from rotating and now the shaft are connecting the 2 motors and after sorting the 2 caps (sealing 4wd cvt axle shaft for the side) and then its time to seal it back!
 

Attachments

  • Screen Shot 2018-08-12 at 17.34.08.webp
    Screen Shot 2018-08-12 at 17.34.08.webp
    90 KB · Views: 407
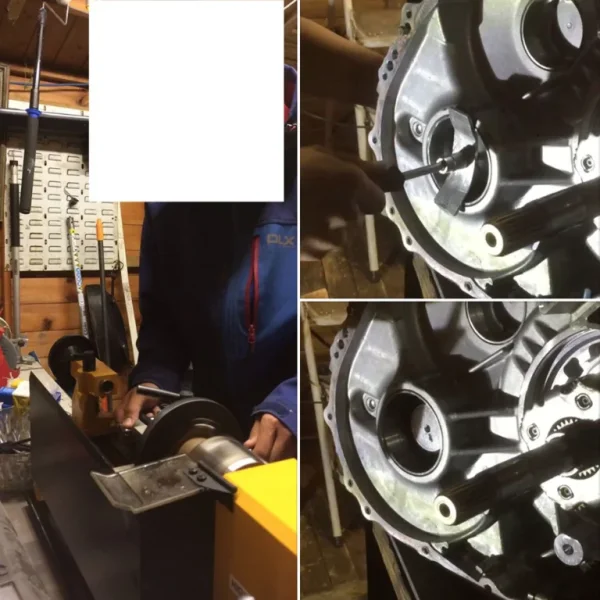
Now on each end of the motor, there is two hole in total and that was for the 4wd CVT transmission, we won't need it so we custom made two aluminium discs to fit the hole and there is rubber ring already so the seal should be good!

Unable to upload vid due to format so screenshot some of the content.

ps: also confident the car should move in this month!!
Yes, this month!!
 

Attachments

  • Screen Shot 2018-08-12 at 17.34.20.webp
    Screen Shot 2018-08-12 at 17.34.20.webp
    59.5 KB · Views: 374
Unable to upload vid due to format
If you have videos, can you upload them to YouTube or Vimeo? You can also directly link to Facebook videos as well, assuming they are publicly view-able...
 
If you have videos, can you upload them to YouTube or Vimeo? You can also directly link to Facebook videos as well, assuming they are publicly view-able...
Aha ok I will try to link some on the following post
Thanks!
 
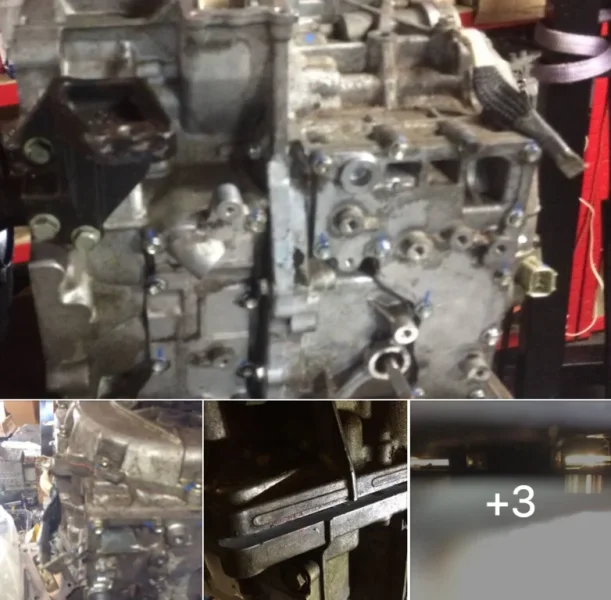
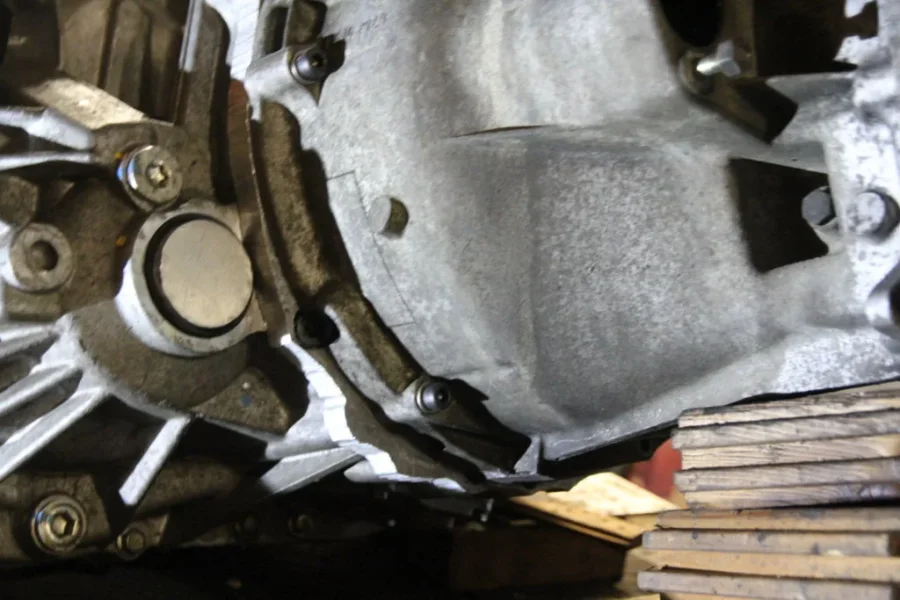
After welding the shaft and plugin the holes from the 4wd system the case is sealed with the liquid rubber gasket
its comin together now
 

Attachments

  • Screen Shot 2018-08-12 at 17.34.28.webp
    Screen Shot 2018-08-12 at 17.34.28.webp
    59.6 KB · Views: 372
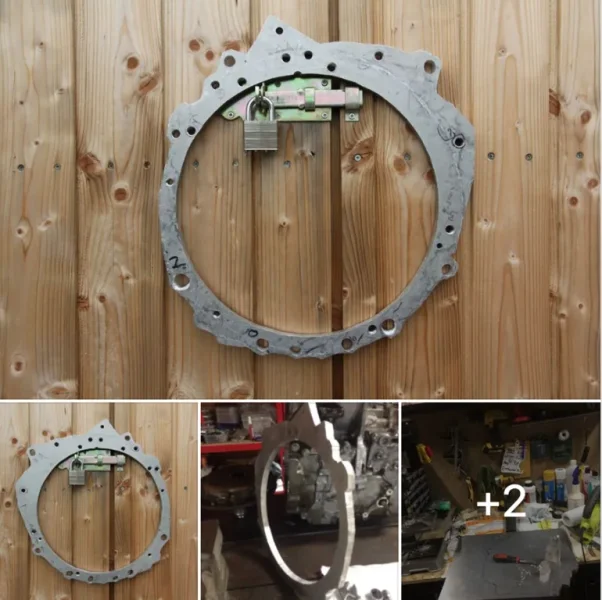
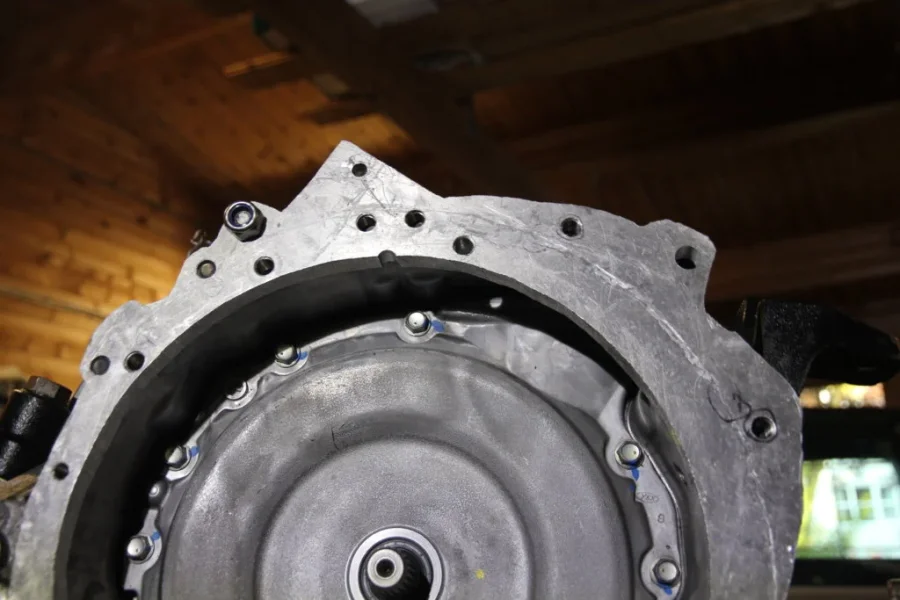
So the adapter plate was crafted out of a 2 cm thick aluminium plate, I had drawn on the aluminium plate and cut it out with a jigsaw and bosch metal cutting blade which made the process a lot faster and easier, after the outer and the inside circle was cut out it was drilled and riveted with m8 and m10s so the bolt doesn't strip the aluminum
several video post separately!
So the adapter plate was crafted out of a 2 cm thick aluminium plate, I had drawn on the aluminium plate and cut it out with a jigsaw and bosch metal cutting blade which made the process a lot faster and easier, after the outer and the inside circle was cut out it was drilled and riveted with m8 and m10s so the bolt doesn't strip the aluminum
several video post separately!
 

Attachments

  • Screen Shot 2018-08-12 at 17.34.38.webp
    Screen Shot 2018-08-12 at 17.34.38.webp
    70.8 KB · Views: 367
Nice one @LeoWH

It's great to see a young innovative engineer getting involved the way you are.

A bit of advice though from a 60 odd year old fart, ........ take that tie off when you're using power tools and if you want to stay on the good side of your mom or even a future wife, wear some overalls and not your best white shirt =))

Keep it up, this is a brilliant thread
 
Thanks for the support and advice haha, that was filmed after school just got back lol
 
@LeoIWH,

Cracking work.

One quick tip (and I agree with @Jack Ratt, my supervisor would have slapped me around the head for wearing loosing clothing when working with machines).

On internal; corners, especially if the metal is load bearing, try and use a radiused corner. Sharp internal corners are notorious for cracking. If you have a small internal radius it spreads point loads and help avoid cracks due to "stress raisers". This applies to most materials including plastic, brick and metal. However, I am not a structural engineer, so it may not apply to your design if it is not load bearing.

https://en.wikipedia.org/wiki/Stress_concentration
https://en.wikipedia.org/wiki/BOAC_Flight_781 was a famous example of stress raisers. The window design changed because of this.

Can't wait to see the next stage!
 
@Clockwatcher New post
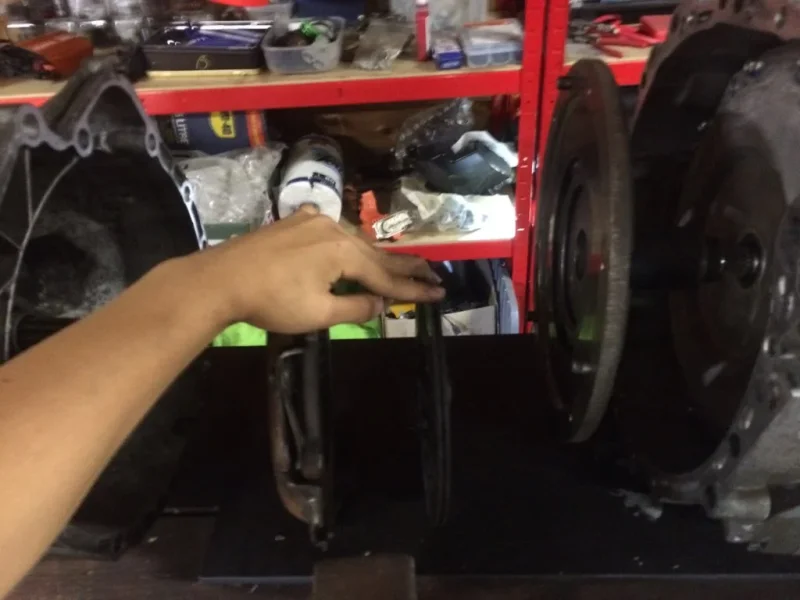
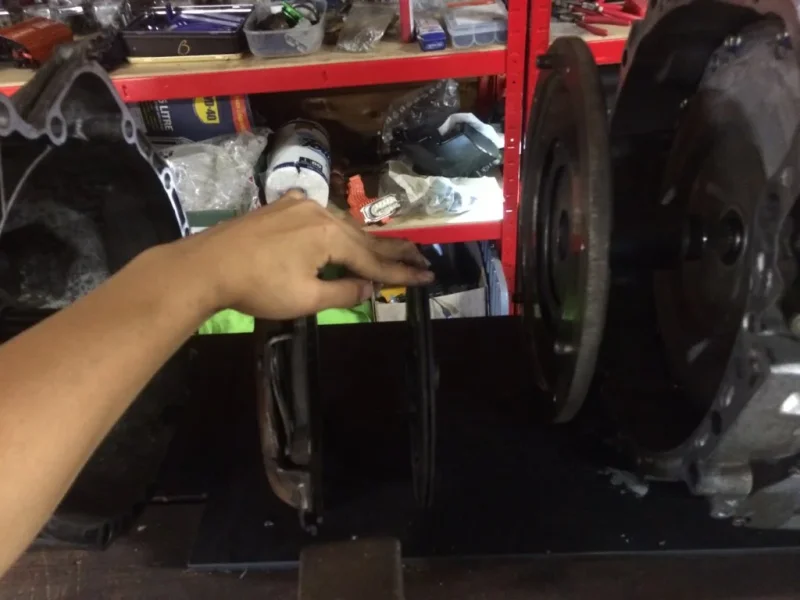
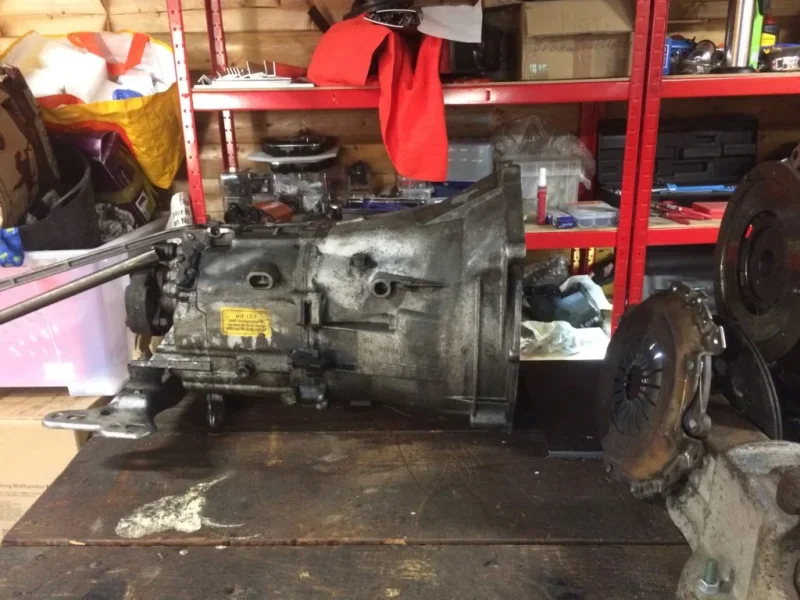
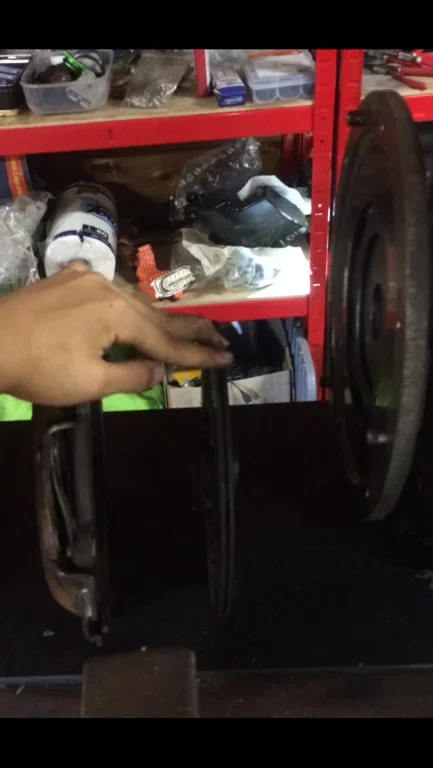
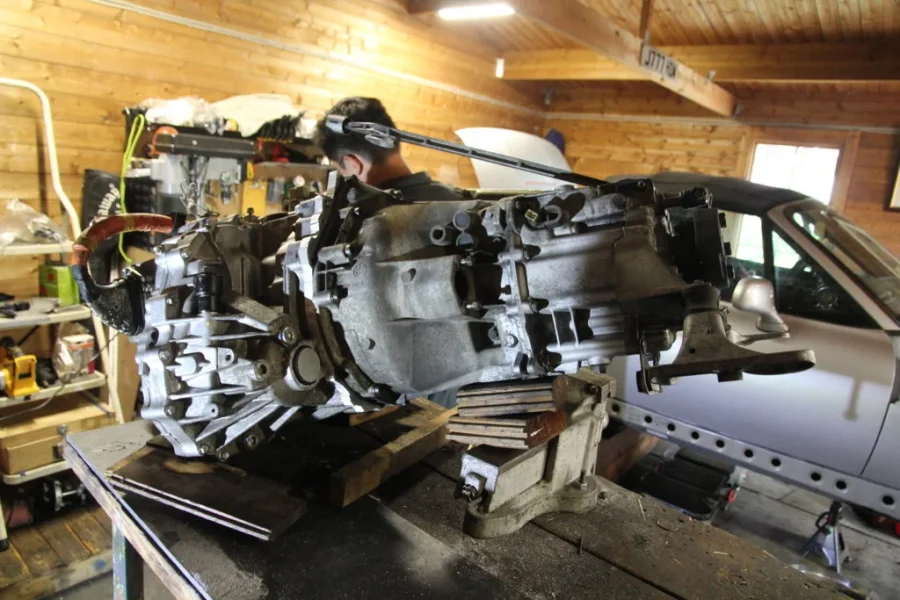
Since the adapter plate was made the development went into connecting the shafts together and we have introduced the clutch and unfortunately we did not consider when the clutch is pushed down and the stress related to the motor's internal component and pump so the effort was wasted and a direct shaft will be made and replacing this (we have salvaged parts from this and may be used in future project) part 1
 

Attachments

  • IMG_4784.webp
    IMG_4784.webp
    88.9 KB · Views: 283
  • IMG_4786.webp
    IMG_4786.webp
    72.3 KB · Views: 277
  • IMG_4787.webp
    IMG_4787.webp
    51 KB · Views: 302
  • IMG_4788.webp
    IMG_4788.webp
    54.8 KB · Views: 309
  • IMG_4789.webp
    IMG_4789.webp
    106.2 KB · Views: 298
  • IMG_4794.webp
    IMG_4794.webp
    23.3 KB · Views: 319
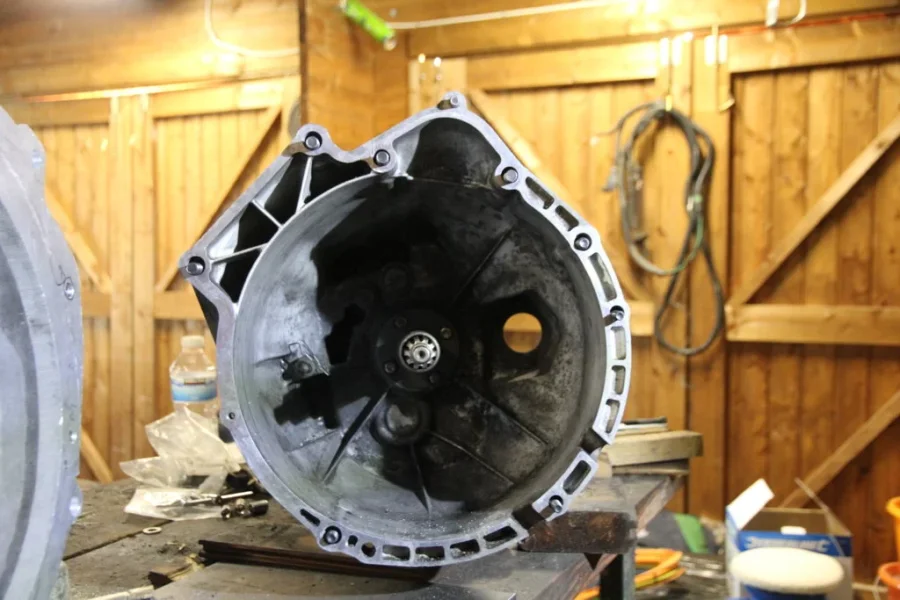
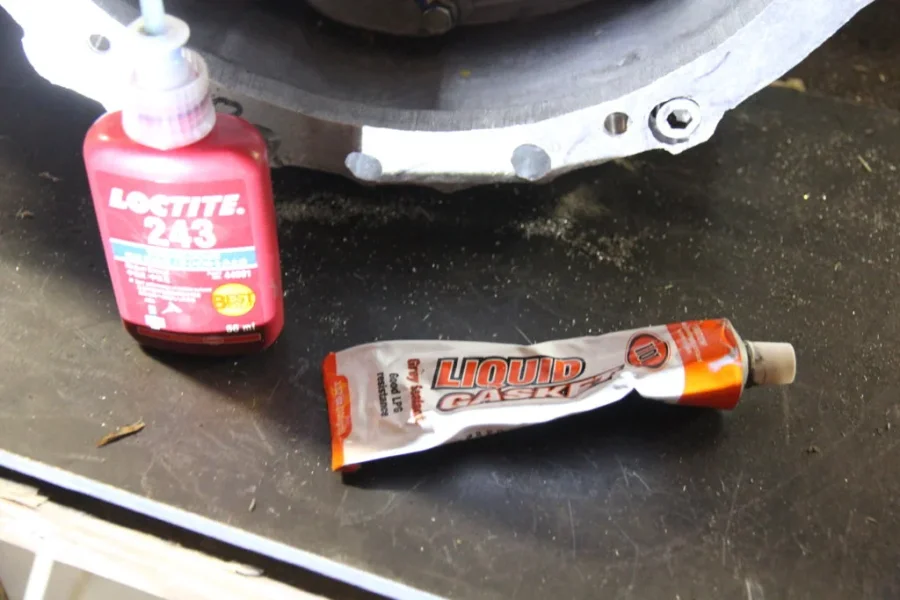
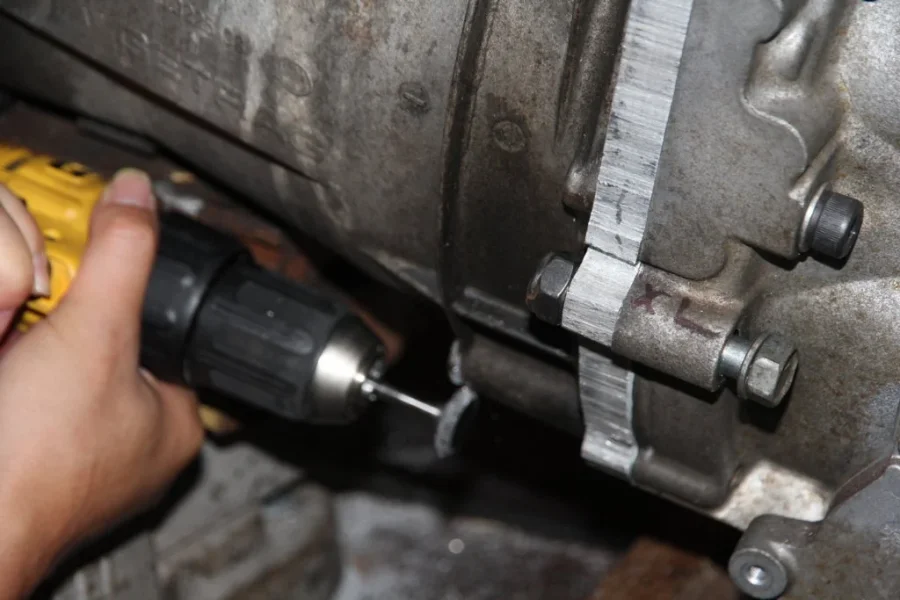
Now it is a matter of bolting the gearbox to the plate and then to the motor, bolts with thread locker and washers and cutting away some parts off the gearbox because the longest bolt we have is too short!
 

Attachments

  • IMG_8922.webp
    IMG_8922.webp
    73.1 KB · Views: 306
  • IMG_8923 2.webp
    IMG_8923 2.webp
    79.6 KB · Views: 296
  • IMG_8951.webp
    IMG_8951.webp
    69.3 KB · Views: 282
  • IMG_8954.webp
    IMG_8954.webp
    69.3 KB · Views: 301
  • IMG_8957.webp
    IMG_8957.webp
    112.5 KB · Views: 300
  • IMG_8958.webp
    IMG_8958.webp
    73.3 KB · Views: 298
Hi Leo, just catching up here. I have to say I'm very impressed with your interest in this project. I would add one observation to your post #28 as well as wearing a tie ( that's a real no-no), please get, and wear, some eye protection too. Take it from someone who has visited the local hospital to have pieces of metal removed from both eyes over the years.

Tony.
 
Hi Leo, just catching up here. I have to say I'm very impressed with your interest in this project. I would add one observation to your post #28 as well as wearing a tie ( that's a real no-no), please get, and wear, some eye protection too. Take it from someone who has visited the local hospital to have pieces of metal removed from both eyes over the years.

Tony.
I really need to improve the safety of mine, thanks
 
Waiting to see that unit fitted and running Leo. Great work mate.:thumbsup:

Tony.
 
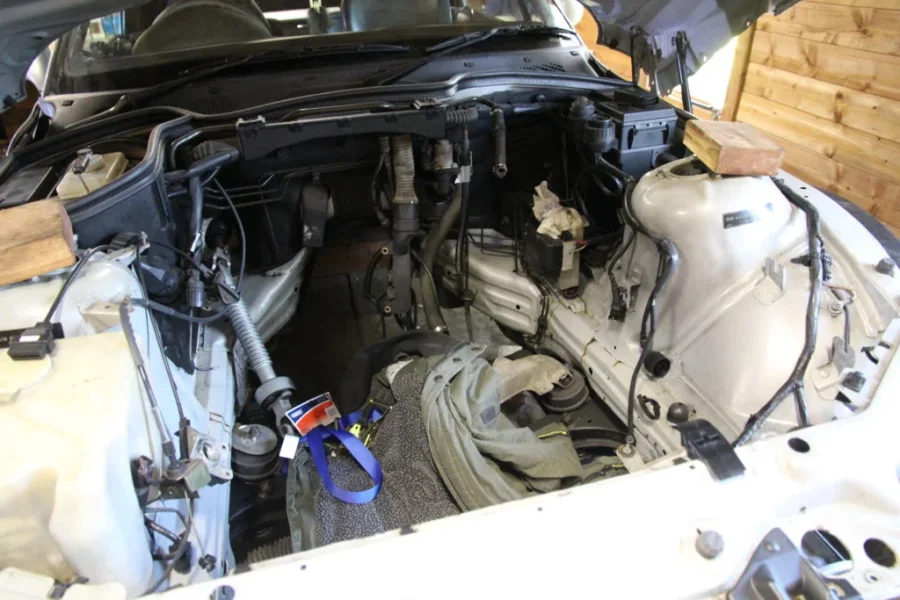
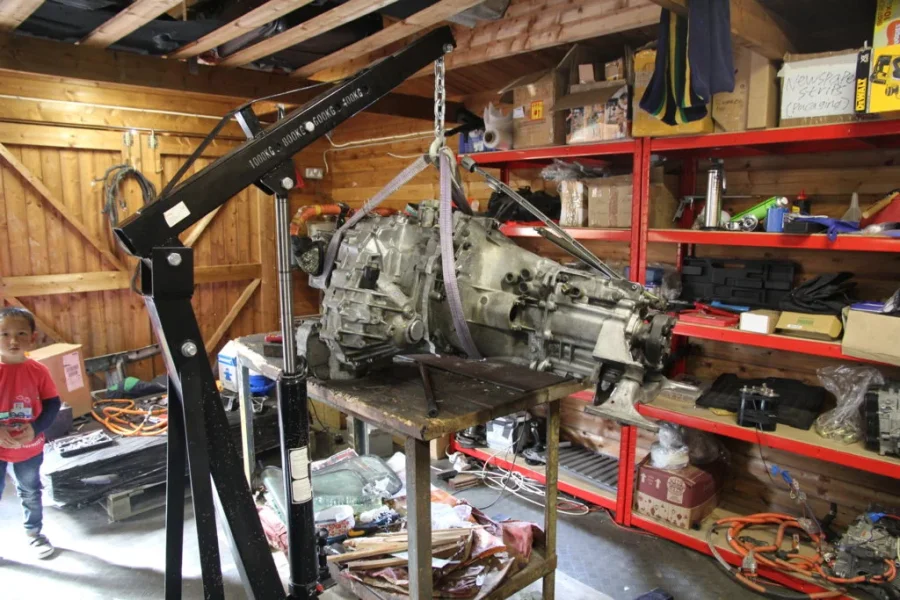
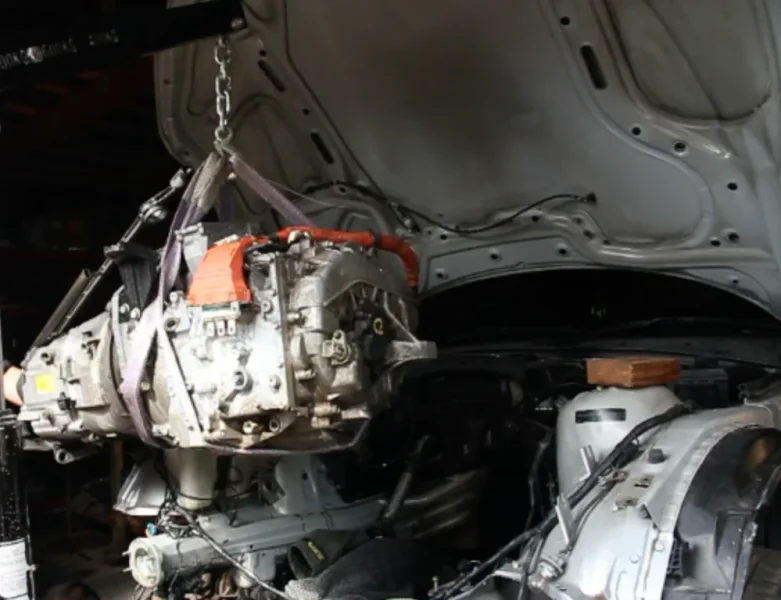
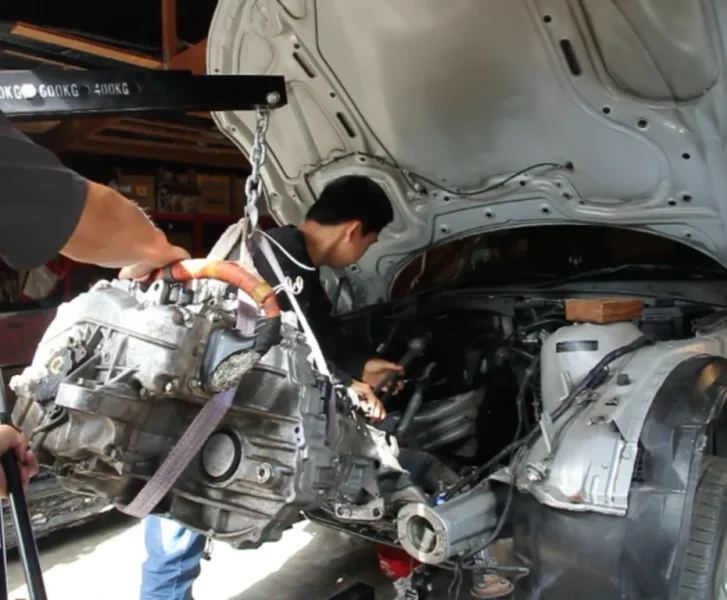
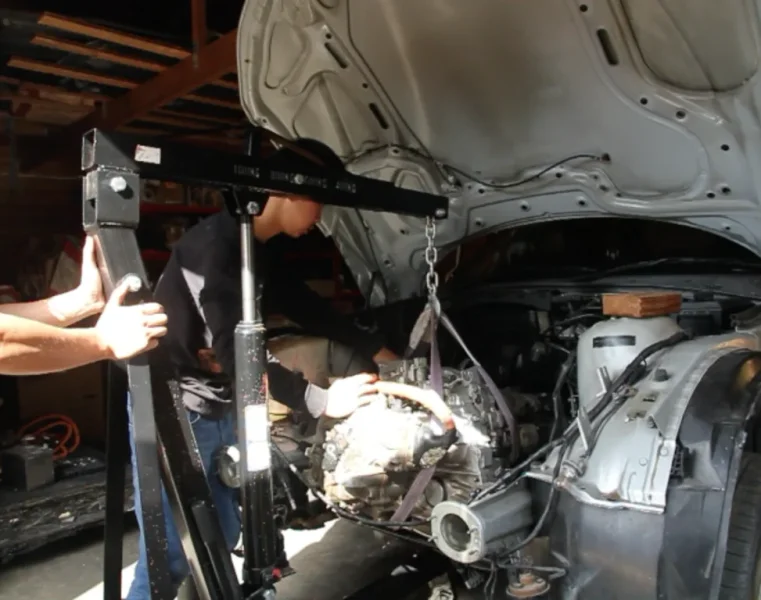
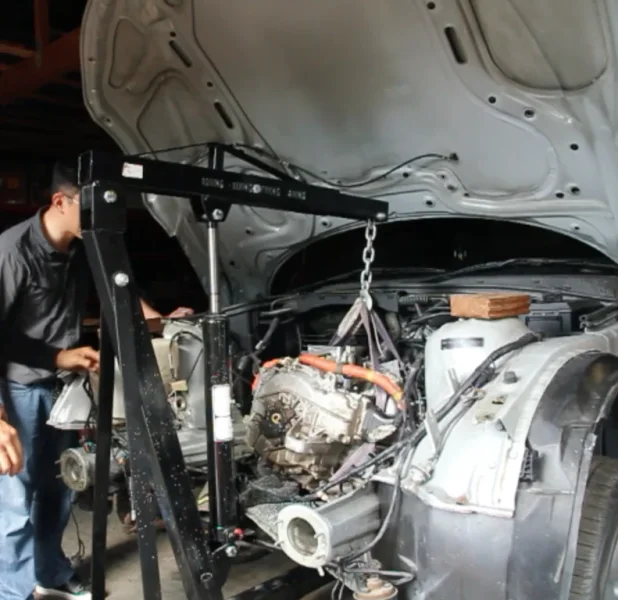
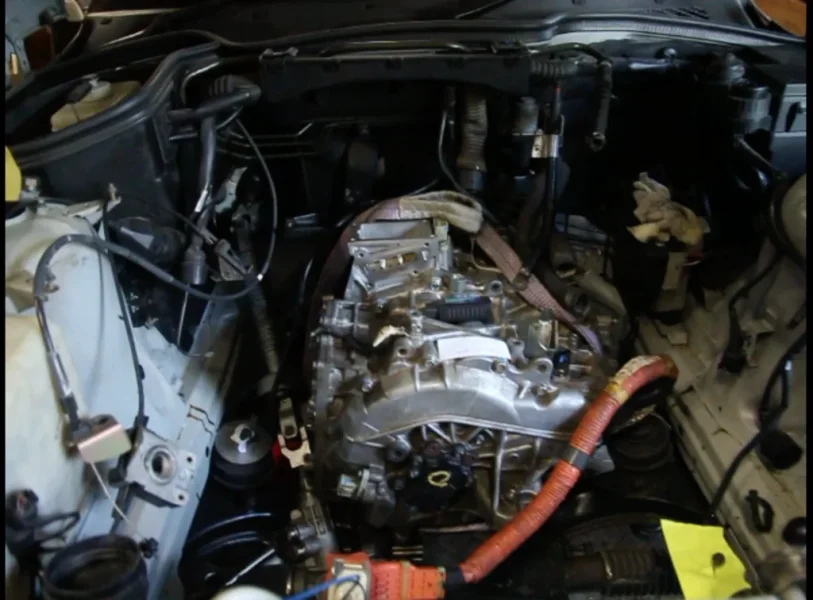
The motor is finally bolted correctly to the gearbox without nasty noise, it was checked again and then it was strapped and lifted by engine crane and it was successfully installed and the next thing to do is test it!
 

Attachments

  • IMG_8905.webp
    IMG_8905.webp
    96 KB · Views: 305
  • IMG_8976.webp
    IMG_8976.webp
    144.5 KB · Views: 290
  • Screen Shot 2018-08-24 at 00.10.24.webp
    Screen Shot 2018-08-24 at 00.10.24.webp
    56.1 KB · Views: 419
  • Screen Shot 2018-08-24 at 00.10.52.webp
    Screen Shot 2018-08-24 at 00.10.52.webp
    69.1 KB · Views: 411
  • Screen Shot 2018-08-24 at 00.11.12.webp
    Screen Shot 2018-08-24 at 00.11.12.webp
    63.5 KB · Views: 376
  • Screen Shot 2018-08-24 at 00.11.35.webp
    Screen Shot 2018-08-24 at 00.11.35.webp
    59.9 KB · Views: 369
  • Screen Shot 2018-08-27 at 22.48.15.webp
    Screen Shot 2018-08-27 at 22.48.15.webp
    65.6 KB · Views: 387
Wow, it looks tiny. How will it compare to the petrol engine weight wise Leo?

Tony.
 
Back
Top